
To install a tiny bathroom sink yourself, first gather necessary tools like pliers, a screwdriver, and Teflon tape. Turn off the water supply, disconnect existing lines, and carefully remove the old sink. Position the new sink, secure it with mounting brackets, and install the drain assembly. Connect the supply lines and check for leaks before finishing. If you want step-by-step guidance on ensuring a secure, leak-free fit, keep exploring the details below.
Key Takeaways
- Turn off water supply, drain lines, and disconnect existing sink before beginning installation.
- Select a compact sink that fits your bathroom space and ensure compatibility with existing plumbing.
- Securely attach the sink to the countertop or vanity with appropriate mounting hardware, leveling as needed.
- Connect the drain assembly and supply lines, using Teflon tape and tightening fittings without over-tightening.
- Check for leaks, ensure stability, and clean the area before testing water flow and completing the installation.

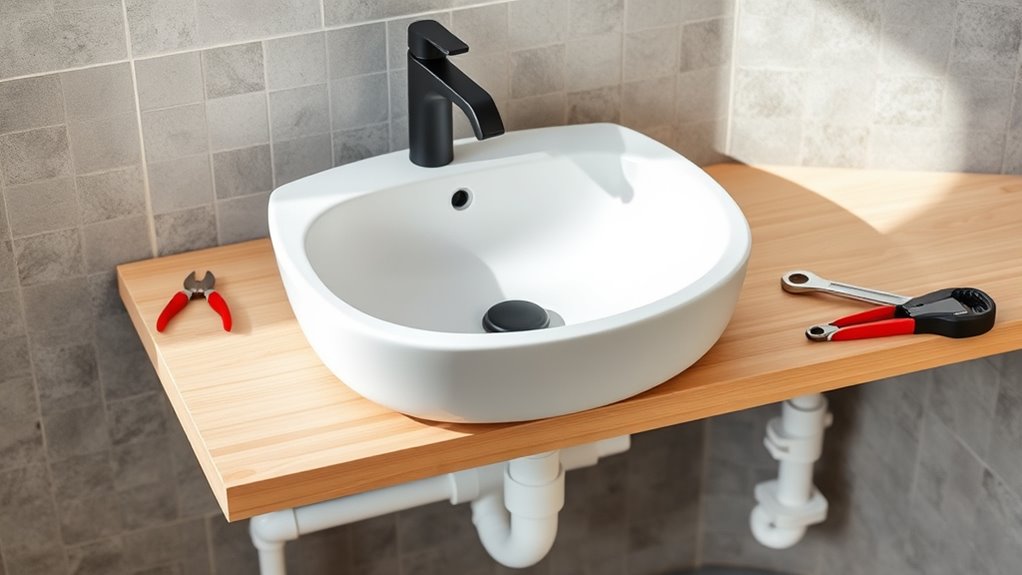
Installing a tiny bathroom sink yourself can be a straightforward project if you follow the right steps. The first thing you need to do is gather all the necessary plumbing tools and sink materials before you start. These tools typically include a pipe wrench, adjustable pliers, a basin wrench, a screwdriver, and Teflon tape. Having everything on hand keeps the process smooth and prevents unnecessary trips to the hardware store. As for sink materials, choose a compact sink that fits your bathroom’s space, along with the appropriate mounting hardware, drain assembly, and supply lines. Double-check that the sink matches the existing plumbing connections or plan for compatible replacements.
Once you have your tools and materials ready, turn off the water supply to prevent any leaks or water damage. Drain any remaining water from the lines by opening the faucet. Next, remove the old sink if there’s one in place. Use your plumbing tools to disconnect the water supply lines and loosen any mounting brackets holding the sink. Be cautious during this step to avoid damaging surrounding cabinetry or plumbing fixtures. With the old sink out of the way, inspect the countertop or vanity to ensure it’s clean and level. If there are any rough edges or debris, smooth them out so your new sink sits securely.
Turn off water, drain lines, remove old sink, and inspect the surface for a secure fit.
Position the new sink on the countertop or vanity, making sure it aligns with the drain hole and faucet holes. Most tiny sinks come with mounting brackets or clips—install these as per the manufacturer’s instructions. Secure the sink firmly in place, ensuring it’s level and properly aligned to prevent any leaks or instability later. Before connecting the drain, install the drain assembly into the sink’s drain hole, applying Teflon tape on threaded connections to prevent leaks. Connect the drain to the P-trap, and tighten all fittings with your adjustable pliers or basin wrench, ensuring a snug fit without over-tightening.
Next, connect the supply lines to the faucet and shut-off valves, again tightening fittings securely but carefully to avoid stripping threads. Turn the water supply back on and check for leaks around all connections. Run water through the faucet to make sure everything flows properly and that no leaks appear under the sink. If you notice any drips, tighten connections slightly or reapply Teflon tape. It’s also helpful to understand the importance of compatible plumbing parts to ensure a secure fit and prevent future leaks. Once you’re satisfied with the setup, clean the area and wipe away any excess tools or debris, leaving your new tiny bathroom sink ready for use. Following these steps, armed with the right tools and materials, makes DIY sink installation manageable and rewarding.
Frequently Asked Questions
Can I Install a Tiny Bathroom Sink Without Plumbing Experience?
Yes, you can install a tiny bathroom sink without plumbing experience if you learn basic plumbing and sink mounting techniques first. Start by understanding plumbing basics like connecting water supply lines and sealing drain fittings. Follow clear instructions and watch tutorials to grasp sink mounting techniques. Take your time, double-check connections, and stay patient. With careful preparation, you can successfully complete your sink installation and avoid major issues.
What Tools Are Essential for Installing a Small Sink?
You’ll need essential plumbing tools like a wrench, basin wrench, pipe cutter, and pliers for your sink installation. Accurate measurement techniques are vital, so keep a tape measure handy to guarantee proper fit and alignment. Don’t forget a level to check your work and plumber’s tape to prevent leaks. While it might seem overwhelming, having these tools and techniques makes the process manageable, even if you’re new to plumbing.
How Long Does a DIY Tiny Sink Installation Typically Take?
You can typically complete a tiny bathroom sink installation within 2 to 4 hours, depending on the installation timeline and complexity factors. If the plumbing connections are straightforward, it might take less time. However, if you encounter unexpected issues like old pipes or tight spaces, it could extend the process. Preparing your tools and materials beforehand helps streamline the project, making it quicker and easier to finish.
Is There a Risk of Water Damage With Small Sink Installations?
Yes, there’s a risk of water damage with small sink installations if you’re not careful. Water leakage can occur from improperly sealed connections or faulty plumbing, leading to hidden moisture. Over time, this moisture can cause mold growth and damage your walls or flooring. To minimize these risks, verify all connections are tight, use quality sealants, and check regularly for leaks. Proper installation helps protect your space from water-related issues.
Can I Upgrade My Tiny Bathroom Sink Later Easily?
Absolutely, upgrading your tiny bathroom sink later is a breeze—if you’re okay with a little plumbing adventure. You’ll love how easy it is to enhance your space with a new sink, thanks to flexible plumbing options. Just keep in mind, a sink upgrade might involve rerouting some pipes, but hey, that’s part of the fun. So go ahead, dream bigger—your plumbing’s more versatile than you think!
Conclusion
With your new tiny sink in place, you’ve completed more than just an installation—you’ve crafted a small sanctuary of cleanliness and simplicity. Like a delicate seed planted in a tiny garden, this project symbolizes your ability to transform limited space into a functional oasis. Every drop of water now flows with purpose, reminding you that even the smallest changes can make a big difference. Embrace this accomplishment as a symbol of your resourcefulness and creativity.