
To create a DIY tiny house solar shower, start by sourcing or building a water tank with proper filtration and sterilization, such as ceramic filters and boiling or UV sterilizers. Insulate the tank with reflective materials like foil-backed foam or insulating blankets to keep water warm and prevent freezing. Position the setup where it gets ample sunlight to maximize solar gain. If you continue exploring, you’ll discover simple steps to optimize your warm, sustainable outdoor shower.
Key Takeaways
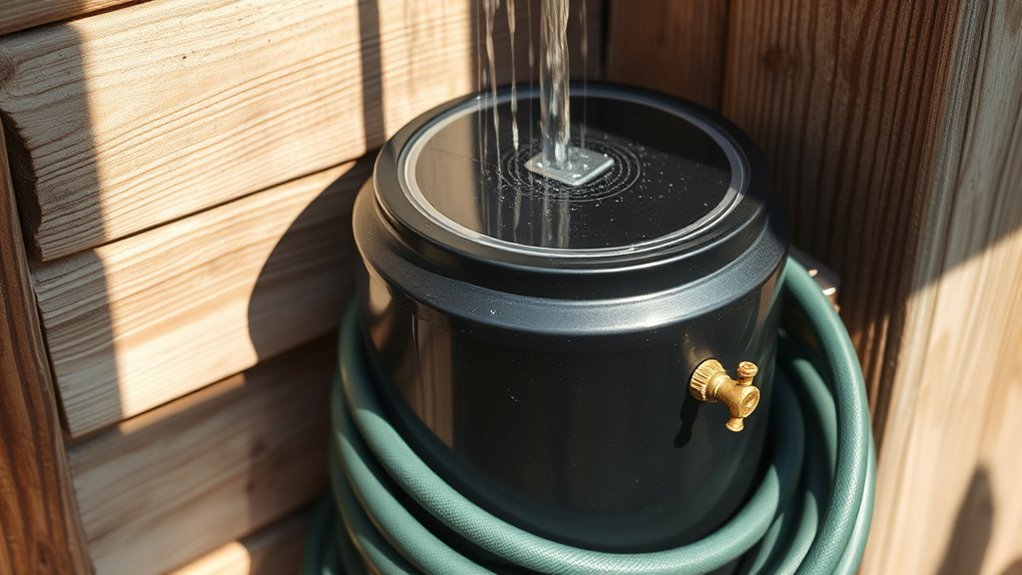
- Use a dark-colored, sealed water container to maximize solar absorption and heat water naturally.
- Incorporate reflective insulation around the water tank to retain heat and slow cooling.
- Elevate the tank on a insulated platform to prevent heat loss and improve water flow.
- Install a simple showerhead with a valve for easy on/off control and comfortable use.
- Ensure water is purified before heating, using filtration and boiling, for safe, hygienic outdoor showers.
If you’re looking to enjoy hot showers in your tiny house without relying on electricity or gas, building a DIY solar shower is a practical and eco-friendly solution. One of the most important aspects of creating a comfortable and safe solar shower is ensuring the water is properly purified. You don’t want to risk bacteria or contaminants, especially if you’re sourcing water from natural sources like rain or nearby streams. To address this, incorporate water purification methods into your design. You can install simple filtration systems, such as charcoal or ceramic filters, to remove impurities. For added safety, consider boiling water before use or using UV sterilizers if your setup allows. This way, you maintain hygiene without compromising the sustainability of your solar shower.
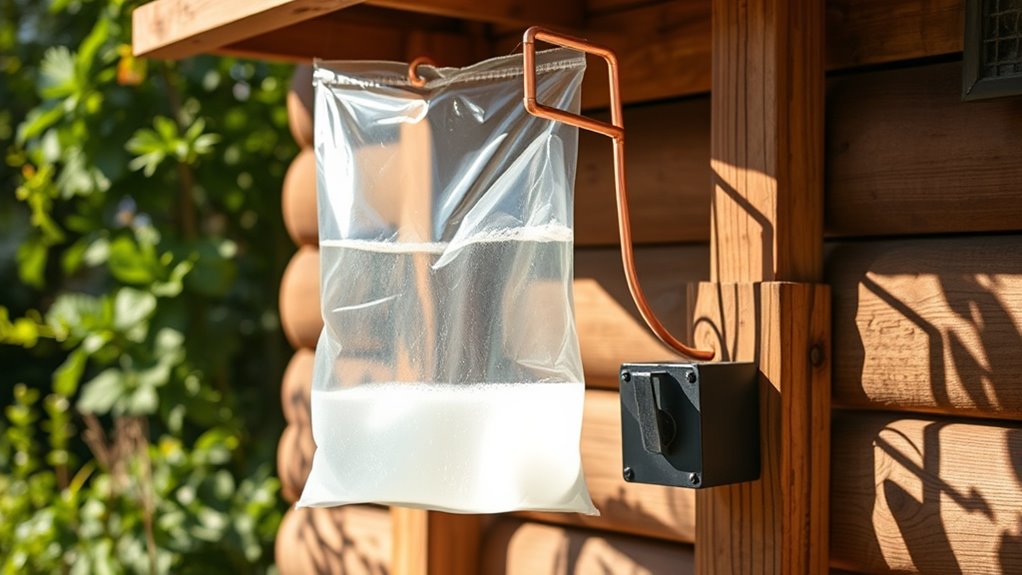
Next, focus on insulation techniques to keep your water warm longer and maximize efficiency. Proper insulation not only conserves heat but also prevents freezing during colder months. Use reflective insulation materials like foil-backed foam or spray foam to line your water container or pipes. These materials reflect heat back into the water, maintaining a comfortable temperature. Additionally, wrapping your water tank with insulating blankets or foam boards can considerably slow heat loss. When designing your shower enclosure, consider using materials that retain heat, such as double-walled panels or insulated curtains. This insulation is especially vital if you’re using your solar shower during winter or in cooler climates, as it helps you enjoy warm water even on cloudy days.
Use reflective insulation and insulating blankets to keep water warm longer and prevent freezing.
Another effective insulation technique involves elevating your water container off the ground, reducing heat loss through conduction. You can place it on a sturdy platform or pallets wrapped with insulating material. This small step can make a noticeable difference in how long your water stays warm. Combine this with a reflective barrier around your setup to direct more sunlight onto the water container, boosting heating efficiency. Remember, the key is to minimize heat escape and maximize solar gain, so carefully choose your insulation and placement.
Incorporating water purification and insulation techniques into your DIY solar shower setup guarantees a safe and warm experience. Proper purification keeps you healthy, while effective insulation prolongs your comfort. By thoughtfully designing your system, you’ll enjoy hot, clean showers in your tiny house without the need for external power sources, making your off-grid lifestyle even more sustainable and enjoyable.
Frequently Asked Questions
How Long Does the Water Stay Hot in the Solar Shower?
The water in your solar shower stays hot for about 1 to 3 hours, depending on factors like temperature retention and insulation methods. To prolong the heat, make sure to insulate the tank well using reflective materials or foam insulation. Keep the shower in a sunny spot during the day, and consider covering it with a reflective tarp at night to reduce heat loss. Proper insulation maximizes your hot water time.
Can the Shower Be Used During Cloudy Days?
Think of your solar shower as a sail catching the wind; it can still catch some sunlight during cloudy days. While weather adaptation impacts solar panel efficiency, you can often still use your shower on overcast days, though it might take longer to heat water. The reduced sunlight means less heat, but the system remains functional, providing a invigorating shower even when the sky isn’t perfectly clear.
What Is the Maximum Water Capacity of the System?
Your system’s water tank capacity typically ranges between 5 to 20 gallons, depending on your setup. The system volume directly relates to this capacity, impacting how long you can shower before needing a refill. If you opt for a larger water tank, you’ll enjoy extended use without frequent refills, but it might add weight and size. Be sure to choose a size that balances your shower needs and available space.
Is It Safe to Leave the Shower Exposed to Weather?
Leaving your solar shower exposed to weather can pose risks if you haven’t addressed weatherproofing concerns. Rain, snow, or strong winds could damage the system or cause leaks. Additionally, an unprotected shower may attract theft, especially if it’s easy to access. To keep it safe and functional, consider weatherproofing it with durable covers or enclosures, and secure it properly to prevent theft and weather-related damage.
How Easy Is It to Connect to Existing Water Sources?
Connecting your solar shower to existing water sources is relatively straightforward if you verify plumbing compatibility first. You’ll need to ensure your water inlet fits standard fittings and that your water pressure is adequate. The installation complexity varies based on your setup, but with basic tools and some DIY skills, you can usually manage it yourself. Just take your time to match fittings and follow proper sealing procedures for a secure connection.
Conclusion
Building your own tiny house solar shower is a simple, satisfying project that saves money and boosts your eco-friendly lifestyle. With just a few supplies and some effort, you create a shower that’s as powerful as a mountain stream and as reliable as the sunrise. Imagine the freedom of hot water anytime you want, no matter how remote your adventures take you. This DIY project proves you’re capable of transforming small ideas into extraordinary life-changing solutions.