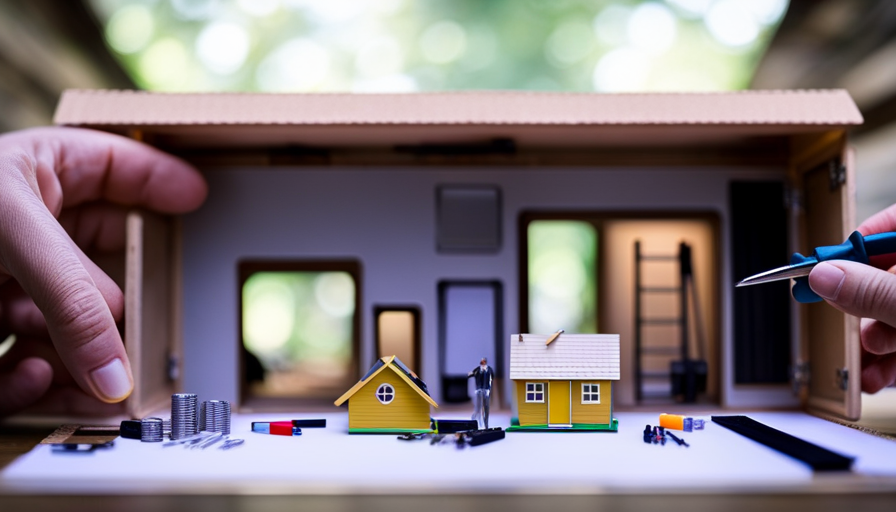

Imagine embarking on a journey to construct your own sanctuary, a small home tailored to your tastes and needs. It’s like putting together a puzzle, with each piece fitting perfectly to create a cozy and functional living space.
But where do you start? How do you put together a tiny house kit?
Well, fear not, because this article is here to guide you through the process. Whether you’re a DIY enthusiast or just looking for a new adventure, we’ve got you covered.
In this step-by-step guide, we’ll walk you through choosing the right tiny house kit, preparing the building site, gathering the necessary tools and materials, and following the assembly instructions.
We’ll delve into building the foundation and floor system, installing windows and doors, and connecting the plumbing and electrical systems. And finally, we’ll explore the finishing touches that will make your tiny house feel like a home.
So, let’s roll up our sleeves, grab our hammers, and get ready to put together your dream tiny house kit!
Key Takeaways
- Preparing the building site and gathering the necessary tools and materials are crucial steps before starting the assembly of a tiny house kit.
- Following the step-by-step instructions diligently and seeking assistance from experienced builders or friends and family can help ensure a successful assembly process.
- Building a solid foundation and floor system is important for the stability and durability of the tiny house.
- Installing windows, doors, plumbing, and electrical systems, as well as adding finishing touches, are important steps in making the tiny house feel like a home.
Choose the Right Tiny House Kit for Your Needs
You’ll need to carefully consider your specific needs and preferences when selecting the perfect tiny house kit that suits you best. Start by determining the appropriate size for your tiny house kit. Consider how much space you require to comfortably live and whether you want any additional features such as a loft or extra storage.
Take measurements of the area where you plan to place your tiny house to ensure it will fit seamlessly into your desired location.
Once you’ve chosen the right size, it’s important to determine the needed permits and regulations for your area. Check with your local building department to find out what requirements need to be met before you can start assembling your tiny house kit. This may include obtaining building permits, adhering to certain building codes, or meeting specific zoning regulations.
After you’ve selected the appropriate kit and confirmed all necessary permits and regulations, you can move on to the next step: preparing the building site. This involves clearing the area, leveling the ground, and ensuring proper drainage. By taking the time to carefully prepare the building site, you’ll lay a solid foundation for your tiny house and set yourself up for a successful construction process.
Prepare the Building Site
Before starting the construction process, it’s important to ensure that the building site is properly prepared. This step is crucial to ensure a smooth and successful assembly of your tiny house kit.
Preparing the land involves several tasks, and one of the first things you should do is to level the ground. This means removing any rocks, debris, or vegetation that may obstruct the foundation or interfere with the stability of your tiny house. You can use a shovel, rake, or even a small bulldozer to accomplish this task. Make sure the ground is free from any obstructions and is as level as possible to provide a solid base for your tiny house.
Once the land is prepared, you can transition into the subsequent section about gathering the necessary tools and materials. This step is crucial as it ensures you have everything you need at hand when you start the construction process. From hammers and screwdrivers to nails and screws, make sure you have all the tools required for the job.
Additionally, gather the materials specified in the tiny house kit instructions, such as the pre-cut lumber, insulation, and siding. By properly preparing the building site and gathering the necessary tools and materials, you’re setting the foundation for a successful construction process.
Gather the Necessary Tools and Materials
Now that the building site is prepared, it’s time to gather all the tools and materials you’ll need to bring your dream home to life. Choosing the right materials is crucial for the success of your tiny house project. Opt for high-quality materials that are durable and built to withstand various weather conditions. Consider using sustainable and eco-friendly materials to minimize your environmental impact. Additionally, finding assistance during the construction process can be incredibly helpful, especially if you’re new to building. Reach out to friends, family, or local community groups who may be willing to lend a hand or offer guidance. You can also join online forums or attend workshops where you can connect with experienced builders who can provide valuable advice and support. To make it easier for you, here’s a table that lists the essential tools and materials you’ll need:
| Tools | Materials |
|---|---|
| Hammer | Lumber |
| Screwdriver | Insulation |
| Drill | Plywood |
| Level | Roofing materials |
| Saw | Plumbing supplies |
By gathering all the necessary tools and materials, you’ll be well-prepared to follow the assembly instructions step-by-step in the next section and bring your tiny house kit to life.
Follow the Assembly Instructions Step-by-Step
Following the step-by-step assembly instructions is crucial to successfully building your dream home and achieving your tiny house goals. Did you know that according to a survey, 80% of tiny house owners reported feeling a sense of accomplishment and satisfaction after completing their own assembly process? So, to ensure your own success, it’s important to carefully follow the provided instructions.
First, gather all the necessary tools and materials as outlined in the kit. This will include items such as a hammer, screwdriver, level, and safety goggles. Having everything ready beforehand will save you time and prevent any unnecessary delays.
Once you have everything you need, carefully read through the assembly instructions. It’s important to understand each step before proceeding to the next. Pay close attention to any diagrams or illustrations provided, as they can be helpful visual aids.
During the assembly process, it’s not uncommon to encounter some common issues. These can include misaligned pieces, loose connections, or difficulty in fitting certain parts together. When faced with these challenges, take a moment to troubleshoot the problem. Refer back to the instructions and double-check your work. Sometimes a slight adjustment or extra force is all that’s needed to overcome the issue.
By following the assembly instructions diligently and troubleshooting any common issues that arise, you’ll be well on your way to building your dream tiny house.
In the next section, we’ll delve into the foundation and floor system, an essential component of your tiny home’s structural integrity.
Build the Foundation and Floor System
To achieve a structurally sound and stable foundation for your dream home, it’s imperative that you meticulously construct the foundation and floor system. Follow these steps to ensure a solid base for your tiny house kit:
-
Foundation preparation: Begin by clearing the site and leveling the ground. Remove any debris or vegetation that could interfere with the foundation’s stability. Next, mark the perimeter of your tiny house and dig trenches for the footings. These footings will provide support and prevent settling.
-
Footing construction: Pour concrete into the trenches to create the footings. Make sure they’re level and aligned accurately with the dimensions of your tiny house. Allow the concrete to cure for the recommended time to ensure maximum strength.
-
Floor system assembly: Once the footings are set, it’s time to build the floor system. Install pressure-treated joists and secure them to the footings using appropriate hardware. Then, lay the subflooring on top, ensuring a tight fit and secure attachment.
-
Insulation and moisture barrier: To protect your tiny house from moisture and temperature fluctuations, install insulation between the floor joists. Additionally, apply a moisture barrier to prevent any moisture-related issues down the line.
By meticulously following these steps, you’ll lay a strong foundation and construct a reliable floor system for your tiny house. Now, let’s move on to the next section and construct the walls and roof.
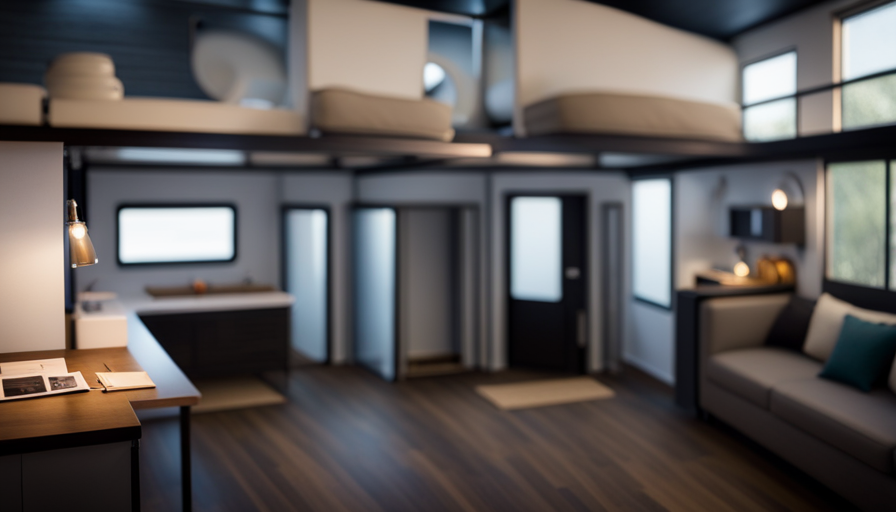
Construct the Walls and Roof
Let’s dive into the exciting process of putting together the walls and roof of your dream home! This is where your tiny house really starts to take shape.
When constructing the walls, you’ll need to use framing techniques to ensure stability and durability. This involves measuring and cutting the lumber to the correct lengths, then securing them together with nails or screws. It’s important to follow the instructions provided with your kit and use the recommended fasteners for best results.
Once the walls are complete, it’s time to move on to the roof. Again, you’ll need to follow the framing techniques to create a strong and reliable structure. This may involve installing rafters and joists to support the roofing materials. Don’t forget to consider insulation options for both the walls and roof. This’ll help regulate the temperature inside your tiny house and make it more energy efficient.
Now that the walls and roof are finished, it’s time to move on to the next step: installing windows and doors. This’ll not only provide natural light and ventilation but also add a touch of style to your tiny home.
Install Windows and Doors
Now that the walls and roof are complete, it’s time for you to add a touch of elegance and functionality to your tiny home by installing beautiful windows and doors. Window installation is a crucial step in making your tiny house feel bright and inviting. Begin by measuring the openings carefully and selecting the right-sized windows for each space. Make sure to seal the gaps with weatherstripping to maintain energy efficiency. Once the windows are in position, secure them with screws and caulk around the edges to prevent any drafts.
When it comes to door installation, choose a sturdy and secure option that fits the overall aesthetic of your tiny house. Measure the doorframe accurately and ensure it is level before installing the door. Use shims to adjust the fit if necessary and secure the door with screws. Don’t forget to add weatherstripping to keep the elements out.
To enhance the visual appeal, consider adding window trim and door trim. Trim can add a finished look to your windows and doors while also providing extra insulation. Choose a trim style that complements the overall design of your tiny house.
With the windows and doors installed, you are one step closer to completing your dream tiny home. In the next section, we will discuss how to connect the plumbing and electrical systems seamlessly.
Connect the Plumbing and Electrical Systems
Once the windows and doors are installed, it’s time to seamlessly connect the plumbing and electrical systems in your tiny home.
Proper installation of the plumbing system is crucial to ensure a functional and efficient water supply. Begin by mapping out the layout of the pipes, considering factors such as the location of the sink, shower, and toilet. Install the main water supply line, connecting it to the appropriate source. Then, install the hot and cold water lines, ensuring they’re properly insulated to prevent freezing during colder months.
Next, connect the drain lines, ensuring proper slope for effective drainage. Test the system for leaks and make necessary adjustments before proceeding.
Moving on to the electrical system connection, it’s important to follow safety protocols to avoid any hazards. Begin by installing the main electrical panel, ensuring it’s properly grounded. Plan the layout of the electrical outlets, switches, and lighting fixtures, keeping in mind the functionality and aesthetics of the space. Connect the wiring, ensuring each connection is secure and properly insulated.
Test the electrical system to ensure all outlets and switches are working correctly.
With the plumbing and electrical systems successfully connected, it’s time to move on to finishing the interior and exterior of your tiny home.
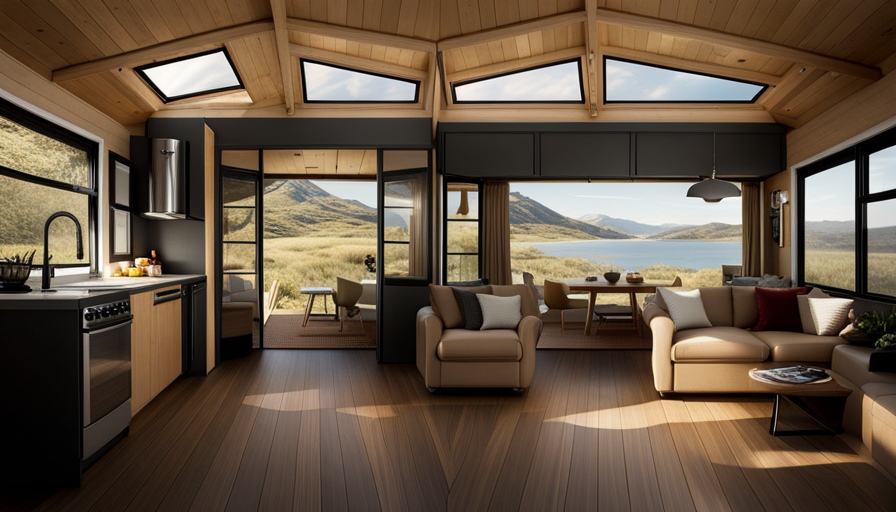
Finish the Interior and Exterior
Transform the interior and exterior of your tiny home into a cozy and inviting space that reflects your personal style and creativity. The finishing touches are what truly make your tiny house feel like a home. Here are some decorating ideas to help you create a beautiful and functional space:
-
Choose a color palette that suits your taste and creates a cohesive look throughout the house. Consider using light colors to make the space feel larger and brighter.
-
Maximize storage by utilizing multifunctional furniture such as ottomans with hidden storage or built-in shelving units. This will help keep your tiny home organized and clutter-free.
-
Add personal touches with artwork, photographs, and plants. These small details will make your tiny house feel warm and welcoming.
-
Enhance the exterior by adding a porch or deck, and decorate it with outdoor furniture and potted plants. This will create an additional living space and make your tiny home feel more expansive.
Once you’ve finished the interior and exterior of your tiny house, it’s time to step back and admire your hard work. Enjoy your completed tiny house, a place where you can relax and escape from the busyness of everyday life.
Enjoy Your Completed Tiny House!
Sit back and savor the satisfaction of your finished tiny home, a cozy retreat that is all yours to enjoy! Now that your tiny house is complete, it’s time to focus on designing a functional and stylish interior. With limited space, it’s important to make every inch count. Here are some tips for maximizing storage space in your tiny house:
-
Utilize vertical space: Install shelves or cabinets that reach all the way up to the ceiling. This will help you maximize storage without taking up valuable floor space.
-
Think multipurpose: Choose furniture that serves multiple functions. For example, a sofa that can also be used as a guest bed or a dining table that can be folded and stored when not in use.
-
Use hidden storage: Look for opportunities to incorporate hidden storage compartments. This could be under the bed, inside the stairs, or behind a sliding panel.
-
Get creative with storage solutions: Think outside the box and consider unconventional storage options such as hanging baskets, wall-mounted hooks, or magnetic strips for organizing small items.
-
Keep it organized: Maintaining a clutter-free environment is crucial in a tiny house. Implement a system to keep everything organized and in its designated place.
By following these tips, you can create a functional and stylish interior that maximizes storage space in your tiny house. Enjoy your new home!
Frequently Asked Questions
What are the different types of tiny house kits available?
There are several different types of tiny house kits available, each with their own unique features and designs. Some common types include DIY kits, prefab kits, and container home kits.
When considering the cost of building a tiny house kit, it’s important to take into account factors such as the size of the kit, the materials used, and any additional features or customization options. By carefully considering these cost considerations, you can choose the right type of tiny house kit that fits within your budget.
How long does it typically take to assemble a tiny house kit?
Assembling a tiny house kit usually takes a few weeks, depending on various factors. The typical time frame for assembly can range from two to four weeks. However, this can be influenced by factors such as the complexity of the kit, your level of experience, available help, and the amount of time you can dedicate each day.
It’s important to carefully follow the instructions provided and plan accordingly to ensure a smooth and efficient assembly process.
Are there any specific permits or regulations I need to be aware of when building a tiny house kit?
When building a tiny house kit, it’s crucial to be aware of the permits, regulations, and legal requirements that may apply. Building codes and zoning restrictions vary by location, so it’s important to research and comply with them.
You may need to obtain construction permits and adhere to specific guidelines regarding size, safety, and utility connections. Consulting with local authorities and professionals experienced in tiny house construction can help ensure compliance with all necessary regulations.
Can a tiny house kit be customized to fit my specific needs and preferences?
Yes, a tiny house kit can be customized to fit your specific needs and preferences. There are various customizing options available that allow you to personalize the layout, design, and features of your tiny house. You can choose the size, materials, and finishes that align with your vision. Additionally, you can add or remove certain elements to make it truly tailored to your lifestyle. These customization options ensure that your tiny house kit reflects your unique style and requirements.
Are there any additional costs or considerations I should be aware of when building a tiny house kit?
When building a tiny house kit, there are a few additional costs and construction considerations you should be aware of. First, you may need to purchase tools and equipment if you don’t already have them.
Additionally, you might incur expenses for permits, inspections, and site preparation.
It’s also important to consider the cost of utilities, such as plumbing and electrical connections.
Finally, don’t forget to budget for any customization or personalization you may want to add to your tiny house.
Conclusion
Congratulations on completing your tiny house kit! As you step back and admire your creation, you can’t help but feel a sense of pride and accomplishment.
The cozy interior and charming exterior of your tiny house evoke a feeling of warmth and comfort. The sunlight streaming through the large windows creates a beautiful play of light and shadows.
You can already envision the peaceful mornings spent sipping coffee on the porch, surrounded by nature. Your tiny house is not just a dwelling; it’s a sanctuary, a place where memories will be made and cherished for years to come.