
Occasionally, we come across something truly mesmerizing that leaves us completely speechless. For me, that awe-inspiring wonder lies within the world of tiny houses. These small yet efficient homes demonstrate how simplicity can bring about immense wealth. Yet, as I explored the realm of tiny house living, I discovered that constructing and installing interior walls presents a major obstacle.
Fear not, fellow dreamers, for I have embarked on a journey to unravel this mystery and share my newfound knowledge with you.
In this guide, I will take you through the intricate steps of installing interior tiny house walls. From measuring and cutting the wall panels to adding insulation and wiring, we will leave no stone unturned.
So, grab your toolbox and let’s dive into the world of tiny house construction. Together, we will transform your petite haven into a cozy sanctuary that reflects your unique style and personality.
Let the adventure begin!
Key Takeaways
- Choosing the right materials for interior walls in a tiny house is important for both aesthetic appeal and functionality.
- Accurate measurements and precise cutting of wall panels are crucial for a seamless fit and a professional finish.
- Bottom plates should be installed to align and secure the walls, using screws or nails for attachment.
- Wall anchors and adhesive can be used for stability and reinforcement, while top plates should be securely fastened to the ceiling with screws.

SOG PowerPint Mini Compact Stainless Steel Multi-Tool |18 Lightweight Specialty Tools & SOG Multitool Pliers Pocket Knife, Stone Wash
- Number of Tools: 18 tools in one multi-tool
- Size and Weight: 3.2-inch closed, 4.2 ounces
- Enhanced Pliers Power: Double leverage for easier use
As an affiliate, we earn on qualifying purchases.
Determine the Layout and Design of Your Tiny House Walls
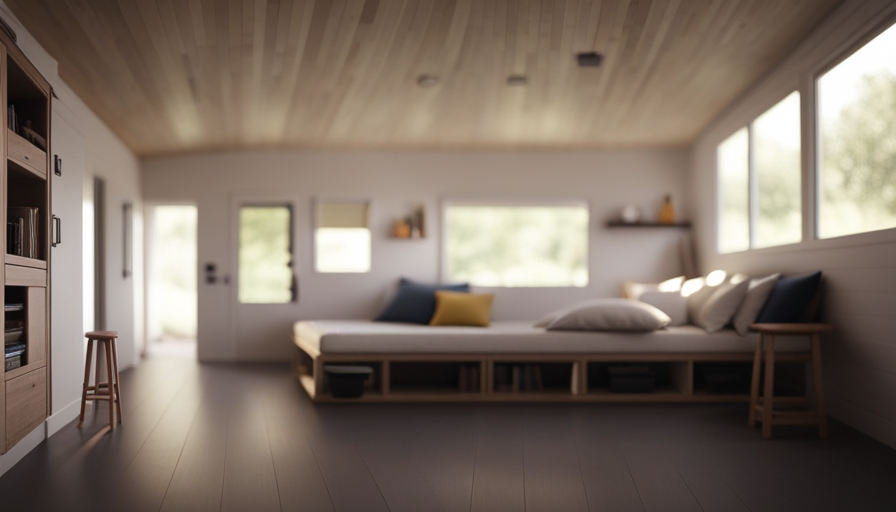
Now that I’ve decided on the layout and design of my tiny house walls, it’s time to bring my vision to life and create a space that truly reflects my unique style and personality.
When it comes to designing the interior walls of a tiny house, there are a few important considerations to keep in mind. First, think about the overall design aesthetic you want to achieve. Do you prefer a modern, minimalist look or a cozy, rustic feel? This will help guide your material options.
For a sleek and modern look, consider using materials like smooth plywood or drywall. If you’re going for a more natural and rustic vibe, reclaimed wood or shiplap could be great choices.
Another design consideration is the functionality of your walls. Are you planning to incorporate built-in storage or hidden compartments? If so, you’ll need to plan for these features in your wall design.
Once you’ve determined the design and material options for your walls, it’s time to move on to the next step: measuring and cutting the wall panels.
Measure and Cut the Wall Panels
When it comes to measuring and cutting wall panels for my tiny house, accuracy is key. I take the time to carefully measure the dimensions of each wall, ensuring that the panels will fit perfectly. Armed with a saw or other cutting tools, I confidently cut the panels to size, paying attention to every detail.
This meticulous approach ensures that my tiny house walls will not only be functional but also visually appealing.
Accurately measure the dimensions of each wall
To accurately measure the dimensions of each wall, grab a tape measure, ensure it’s level, and carefully record the length, width, and height of the walls in your tiny house. Measuring techniques are crucial for ensuring that your interior walls fit perfectly and create a seamless look. By using the right tools for accurate measurements, you can avoid any unnecessary gaps or overlaps. Here is a handy table to help you keep track of your measurements:
| Wall | Length (ft) | Width (ft) | Height (ft) |
|---|---|---|---|
| Wall 1 | 8 | 10 | 7 |
| Wall 2 | 12 | 10 | 7 |
| Wall 3 | 8 | 10 | 7 |
| Wall 4 | 12 | 10 | 7 |
Once you have these measurements, you can move on to the next step of using a saw or other cutting tools to cut the panels to size. This will ensure that your walls fit perfectly and create a polished finish.
Use a saw or other cutting tools to cut the panels to size
Using a saw or other cutting tools, you can effortlessly shape the panels to fit perfectly, creating a seamless and polished look for your space. Before cutting the panels, make sure to measure them accurately to ensure they’re the correct size for each wall.
Once you have the measurements, carefully mark them on the panels using a pencil or marker. Then, using the appropriate cutting tool, like a circular saw or jigsaw, carefully cut along the marked lines. Take your time and make precise cuts to avoid any mistakes.
After cutting the panels to size, you can proceed to prepare them for installation by sanding the edges and ensuring they’re smooth and free of any imperfections. This’ll ensure a professional finish and make the installation process easier.
Prepare the Wall Panels for Installation
First, get ready to transform your tiny house into a cozy haven by prepping the wall panels for installation. Before diving into the installation process, it’s crucial to ensure that your measurements are accurate. Use proper measuring techniques to take precise measurements of the walls where the panels will be installed. This will help you determine the exact size of the panels you need, ensuring a seamless fit.
Once you have your measurements, it’s time to explore the various wall panel options available. Consider factors such as material, insulation, and aesthetics when selecting the perfect panels for your tiny house. Whether you choose wood, drywall, or another material, make sure it aligns with your overall design vision.
To engage you further in this process, here’s a table outlining the pros and cons of different wall panel options:
| Panel Option | Pros | Cons |
|---|---|---|
| Wood | Natural look, easy to install | Can be expensive, requires maintenance |
| Drywall | Affordable, smooth finish | Prone to damage, not moisture-resistant |
| SIPs | Energy-efficient, quick installation | Costly, limited design options |
| Plywood | Durable, versatile | Requires sealing, visible seams |
| PVC | Waterproof, low maintenance | Limited design options, can be expensive |
Now that you have a better understanding of the various wall panel options, it’s time to move on to the next step: installing the bottom plates.
Install the Bottom Plates
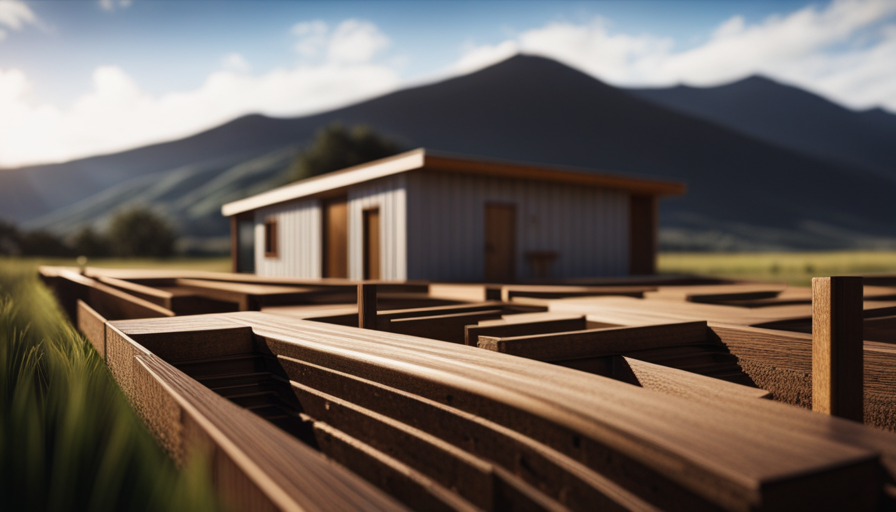
Before installing the interior walls of my tiny house, I need to measure and mark the placement of the bottom plates. This step is crucial to ensure that the walls are properly aligned and fit snugly against the floor.
Once the measurements are done, I’ll secure the bottom plates to the floor using screws or nails, making sure they’re firmly in place. This will provide a solid foundation for the walls and ensure their stability for years to come.
Measure and mark the placement of the bottom plates
To accurately position the bottom plates for the interior walls of your tiny house, envision the layout and mark the designated spots on the floor with precision. Start by gathering your measuring tools, such as a tape measure and a framing square, to ensure accurate measurements.
Once you have determined the desired locations for the walls, select the appropriate materials for the bottom plates. Most commonly, 2×4 or 2×6 lumber is used for this purpose. Cut the bottom plates to the appropriate lengths, accounting for any doorways or corners.
Once the bottom plates are cut, mark their placement on the floor, ensuring they are aligned with the layout you envisioned. Now, you are ready to secure the bottom plates to the floor using screws or nails, providing a sturdy foundation for your interior walls.
Secure the bottom plates to the floor using screws or nails
Now, you’re ready to firmly anchor the bottom plates to the floor using either screws or nails, ensuring a rock-solid foundation for your interior wall framework. Here are the three bottom plate attachment methods to consider:
-
Screws: Using screws provides a stronger and more secure attachment compared to nails. They offer better resistance against movement and have less chance of loosening over time. Additionally, screws allow for easier removal and adjustment if needed.
-
Nails: Nails are a traditional and cost-effective option for securing bottom plates. They’re quick to install and provide sufficient stability for most interior walls. However, nails may loosen over time due to the natural expansion and contraction of the wood.
-
Combination: Some builders prefer using a combination of screws and nails to benefit from the advantages of both options. This approach provides added strength and stability while maintaining cost-effectiveness.
Now that the bottom plates are securely attached, it’s time to move on to the next step of attaching the wall panels to the bottom plates.
Attach the Wall Panels to the Bottom Plates
First, firmly secure the wall panels to the bottom plates, creating a sense of accomplishment as you see your tiny house take shape. To ensure the stability and longevity of your walls, it is important to take a few extra steps during this process. Start by installing wall anchors at regular intervals along the bottom plates. These anchors will provide additional support and prevent any potential shifting or movement of the walls over time. Additionally, consider using adhesive between the wall panels and the bottom plates for extra reinforcement. This will help create a solid bond and further enhance the strength of your interior walls.
To visualize this process, refer to the following table for a step-by-step guide:
| Step | Procedure |
|---|---|
| 1 | Secure bottom plates to the floor using screws or nails |
| 2 | Install wall anchors along the bottom plates |
| 3 | Apply adhesive between the wall panels and the bottom plates |
| 4 | Attach wall panels to the bottom plates using screws or nails |
By following these steps, you will ensure that your interior walls are securely attached to the bottom plates, providing a sturdy foundation for the rest of your tiny house construction. Next, let’s move on to the installation of the top plates, which will further strengthen the structure and complete the framing process.
Install the Top Plates
When it came time to install the top plates in my tiny house, I made sure to measure and mark their placement precisely. This step is crucial to ensure that the walls are properly aligned and sturdy.
Once I had the measurements, I secured the top plates to the ceiling using screws, making sure everything was tightly fastened. It was a meticulous process, but seeing the walls take shape was incredibly rewarding.
Measure and mark the placement of the top plates
To ensure precise placement, carefully measure and mark the location of the top plates, allowing the walls of your tiny house to take shape with meticulous accuracy, like a painter creating a masterpiece on a blank canvas. When it comes to measuring techniques, there are a few methods you can employ. One option is to use a tape measure and measure the distance between the corners of your walls. Another technique involves using a laser level to create a straight line across the walls where the top plates will be installed. This ensures that the top plates are level and aligned properly. As for tools required, you will need a tape measure, a laser level, a pencil, and a straight edge. Once you have marked the placement of the top plates, you can proceed to secure them to the ceiling or roof using screws or nails, ensuring a sturdy foundation for your tiny house walls.
Secure the top plates to the ceiling or roof using screws or nails
Now it’s time to secure those top plates to the ceiling or roof using screws or nails. When it comes to choosing between screws and nails, there are a few factors to consider. While nails may be quicker to install, screws provide a stronger and more secure hold. It’s recommended to use screws, especially if you plan on hanging heavy items on the walls.
When securing the top plates, it’s important to follow best practices. Make sure to position the plates accurately according to your measurements and mark their placement beforehand. Use a level to ensure they’re straight and then start attaching them to the ceiling or roof using screws or nails.
Remember to space the fasteners evenly, approximately every 16 inches. This will provide maximum stability and prevent any potential gaps.
Once the top plates are securely in place, you can move on to the next step of adding insulation or soundproofing, if desired.
Add Insulation or Soundproofing, if Desired
First, you’ll want to consider adding insulation or soundproofing to your interior tiny house walls, so you can create a cozy and quiet oasis that feels like a hibernation den for bears.
Insulation is essential for regulating temperature and reducing energy costs in your tiny home. There are a few insulation options to choose from. Fiberglass insulation is a common choice due to its affordability and availability. It comes in rolls or batts that can be easily cut to fit between the wall studs. Another option is spray foam insulation, which provides excellent thermal resistance and fills gaps and crevices effectively. However, it can be more expensive and requires professional installation.
If soundproofing is a priority, consider incorporating acoustic panels into your wall design. These panels are specifically designed to absorb and dampen sound waves, reducing noise transmission between rooms. They come in various designs and can be installed directly onto the walls. Additionally, adding a layer of soundproofing drywall can further enhance the soundproofing capabilities of your tiny house.
Now that your walls are insulated and soundproofed, it’s time to move on to the next step: installing electrical wiring and outlets.
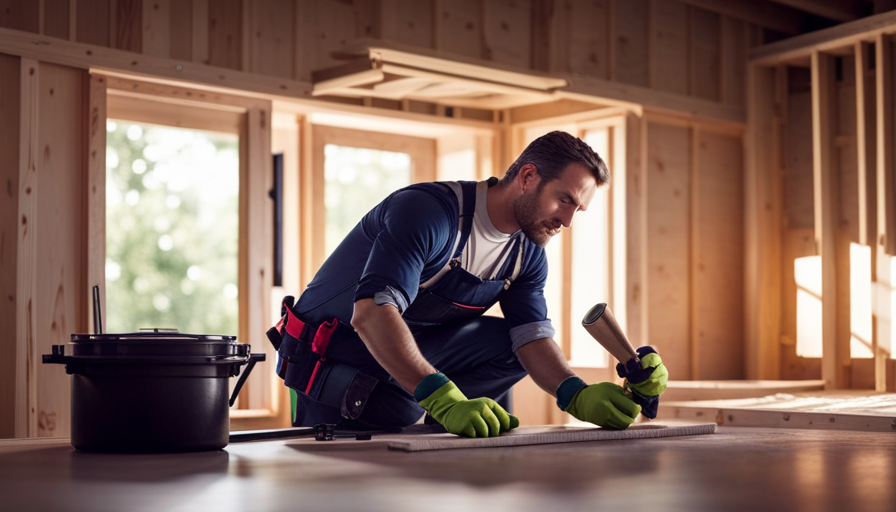
Install Electrical Wiring and Outlets
When it comes to installing the electrical wiring and outlets in my tiny house, I begin by carefully planning the placement of each outlet and switch. This ensures that they’re conveniently located and meet my specific needs.
However, I always consult a professional electrician to ensure a safe and proper installation, as they have the expertise and knowledge to handle the electrical work effectively.
Plan the placement of electrical outlets and switches
Once you’ve decided on the layout of your interior tiny house walls, it’s time to think about where you want to place those essential electrical outlets and switches. Planning the placement of these outlets and switches is crucial for ensuring electrical safety and efficient wiring techniques in your tiny house.
Consider the functionality and convenience of each room when deciding on the locations. For example, in the kitchen, you’ll want outlets near the countertops for appliances. In the living room, think about where you’ll place your entertainment system and ensure there are outlets nearby.
It’s important to carefully plan the placement to avoid any future inconveniences or hazards. Remember, when it comes to electrical work, it’s always best to consult a professional electrician for safe installation, ensuring your tiny house is powered safely and efficiently.
Consult a professional electrician for safe installation
To ensure the safety and efficiency of your electrical system, it’s crucial to consult a professional electrician for the proper installation of outlets and switches in your tiny house. Hiring a professional ensures that the electrical work is done correctly and up to code, reducing the risk of electrical hazards. A licensed electrician will have the expertise and knowledge to assess your electrical needs and determine the best placement for outlets and switches. They will also ensure that the wiring is done safely and securely, preventing any potential fire hazards. Additionally, a professional electrician will be aware of safety precautions, such as using the correct gauge of wire and installing ground fault circuit interrupters (GFCIs) where necessary. By hiring a professional, you can have peace of mind knowing that your electrical system is installed correctly and safely. Now that the electrical work is taken care of, it’s time to move on to finishing the walls in your tiny house.
Finish the Walls
For a cozy and inviting interior, you’ll love adding the finishing touches to your tiny house walls. The final steps of installing interior walls involve finishing techniques and selecting the right materials. These details will enhance the overall look and feel of your space, making it truly your own.
When it comes to finishing techniques, there are several options to consider. One popular choice is to use drywall, which provides a smooth and seamless surface. Another option is tongue and groove paneling, which adds a rustic charm to your interior. You can also opt for shiplap, which creates a timeless and classic look. Whichever technique you choose, make sure to properly measure and cut the materials to fit your walls.
In addition to the finishing techniques, selecting the right wall materials is crucial. You can choose from a variety of options, such as wood, gypsum, or even recycled materials. Consider the aesthetic, durability, and maintenance requirements when making your decision.
Now that the walls are finished, it’s time to paint or wallpaper them to add the final touch. This step will bring your tiny house to life and reflect your personal style. Whether you prefer a bold color or a subtle pattern, the choice is yours.
With the walls completed, your tiny house will be ready for you to move in and enjoy the cozy and inviting space you’ve created.
Paint or Wallpaper the Walls
Now that the walls of my tiny house are finished, it’s time to decide whether I should paint or wallpaper them. Both options have their pros and cons, and it’s important to weigh them carefully before making a decision.
Painting the walls offers a clean and modern look to the interior. I can easily create a personalized and unique atmosphere with a wide range of colors available. Plus, painting is relatively inexpensive and can be done by myself with the right tools.
On the other hand, wallpaper can add texture and patterns that can be difficult to achieve with paint. It can instantly transform a plain wall into a focal point of the room. I can find the perfect wallpaper to match my aesthetic with so many designs and styles to choose from. However, it’s important to consider that wallpaper can be more expensive than paint and may require professional installation to ensure a smooth finish.
Both paint and wallpaper have their advantages and disadvantages. It ultimately comes down to personal preference and the desired look and feel of my tiny house. With the right choice, I can create a beautiful and inviting space that I’ll love for years to come.
-
Paint:
- Wide range of colors
- Inexpensive
- DIY-friendly
-
Wallpaper:
- Adds texture and patterns
- Can transform a wall into a focal point
- Many designs and styles to choose from
Frequently Asked Questions
What tools and materials are needed to install interior tiny house walls?
To install interior walls in a tiny house, you’ll need a few essential tools and materials. Tools like a measuring tape, level, drill, screwdriver, and a saw will come in handy.
For materials, you’ll need drywall sheets, screws, joint compound, and tape.
To efficiently install the walls, make sure to measure accurately, use a level for straightness, and secure the drywall firmly.
Don’t forget to apply joint compound and tape for a smooth finish.
How long does it typically take to complete the installation of interior walls in a tiny house?
Installing interior walls in a tiny house is like putting together a puzzle; it requires time, precision, and patience. On average, it takes about 2 to 3 weeks to complete the installation.
However, several factors can affect the duration. Factors such as the complexity of the design, the number of walls, the availability of materials, and the experience of the installer can all impact the timeline.
It’s crucial to plan accordingly and allow for some flexibility in the project timeline.
Are there any specific building codes or regulations that need to be followed when installing interior walls in a tiny house?
When it comes to installing interior walls in a tiny house, it’s crucial to adhere to building codes and regulations. These codes ensure the safety and structural integrity of the walls.
Additionally, it’s important to consider the pros and cons of different types of wall panels. For instance, drywall is a popular choice due to its affordability and ease of installation, but it may not be as durable as alternatives like wood or metal panels.
Ultimately, following the regulations and choosing the right wall panels will result in a well-built and aesthetically pleasing tiny house interior.
Can the wall panels be easily removed or modified in the future if needed?
Yes, the wall panels in a tiny house can be easily removed or modified in the future if needed. With a little bit of effort and the right tools, you can take down the panels without damaging them or the surrounding structure.
This flexibility allows you to make any necessary changes to the layout or design of your tiny house without major complications. Whether you want to rearrange the interior or update the walls, it’s a straightforward process to remove or modify the panels.
Are there any recommendations for maintaining and cleaning the interior walls of a tiny house?
For cleaning recommendations and maintenance tips for the interior walls of a tiny house, it’s important to keep a few things in mind.
Regularly dusting the walls with a soft cloth or duster can help prevent build-up.
For tougher stains, a gentle cleaning solution made of warm water and mild soap should do the trick.
Avoid using harsh chemicals or abrasive materials that could damage the walls.
Lastly, consider reapplying a protective sealant every few years to keep the walls looking fresh and to prevent any potential damage.
Conclusion
And there you have it, folks! We’ve just completed the installation of our interior tiny house walls.
It may have seemed like a daunting task at first, but with a bit of creativity and attention to detail, we’ve transformed our humble abode into a cozy sanctuary.
The walls now exude a warmth and charm that’s simply unparalleled. So go ahead, give yourself a pat on the back, ’cause you’ve just achieved something truly extraordinary.
Now, sit back, relax, and bask in the glory of your newly adorned walls. They’re a masterpiece, if I do say so myself.