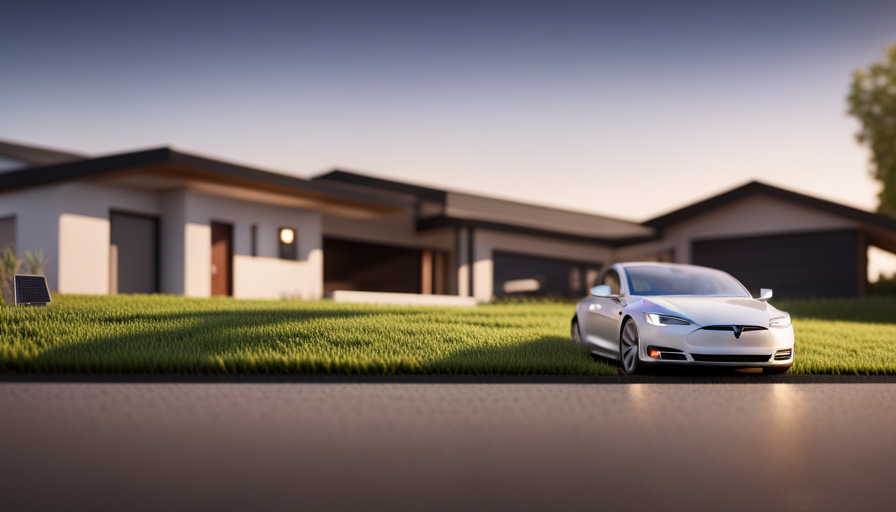
So, you have decided to build a small house on a trailer. It might seem simple at first – a cozy home on wheels, how hard could it be? But let me tell you, it’s not as easy as you may believe. In fact, it can become quite a substantial undertaking. But fear not, my adventurous companions, as I am here to guide you through the entire journey and answer that burning question: how much time does it take to build a tiny house on a trailer?
Now, I’m not going to sugarcoat it. Building a tiny house trailer takes time. It’s not something you can whip up in a weekend. But with proper planning, dedication, and a little bit of elbow grease, you can create your dream home on wheels.
From research and planning, acquiring permits and finding a suitable location, to designing and blueprint creation, gathering materials and equipment, and tackling electrical and plumbing installations, there are several steps involved. And let’s not forget about the interior and exterior finishing touches.
So, if you’re ready to embark on this tiny house adventure, let’s dive in and discover just how long it takes to build a tiny house trailer.
Key Takeaways
- Building a tiny house trailer requires proper planning, dedication, and effort.
- Research and planning are crucial steps in the process, allowing for gathering information, exploring design options, and learning about building codes.
- Acquiring permits and finding a suitable location are necessary to comply with regulations and have a place to park or live in the tiny house trailer.
- The construction process involves various stages, including framing, insulation, electrical and plumbing installations, and interior and exterior finishing touches.
Top picks for "long take build"
Open Amazon search results for this keyword.
As an affiliate, we earn on qualifying purchases.
Research and Planning
Are you wondering how long it’ll take to build a tiny house trailer? Well, let’s start with the crucial step of research and planning!
Research is of utmost importance when embarking on a project like building a tiny house trailer. It allows you to gather information about the materials, tools, and techniques required for construction. You can explore different design options, learn about building codes and regulations, and even find inspiration from other tiny house builders.
Once you’ve completed your research, it’s time to dive into the planning process. This involves creating a detailed blueprint or floor plan of your tiny house trailer. You’ll need to consider the layout, size, and functionality of the space, as well as any specific features you want to incorporate. Planning also involves making a list of the materials and tools you’ll need, estimating costs, and creating a timeline for the construction process.
Now that you have a solid foundation of research and a well-thought-out plan, it’s time to move on to the next step: acquiring permits and finding a suitable location. This will ensure that you comply with local regulations and find a place to park or live in your tiny house trailer.
Acquire Permits and Find a Suitable Location
Finding the right permits and location for your tiny house trailer can be a crucial step in the building process. The permit process is essential to ensure that you’re following all the legal requirements and regulations in your area. It involves researching and understanding the specific permits needed for your tiny house, such as building permits and zoning permits.
Additionally, you may need to obtain permits for utilities like water and electricity connections. It’s important to start this process early, as it can take time to gather all the necessary documents and approvals.
Simultaneously, you’ll need to search for a suitable location for your tiny house trailer. Factors to consider include zoning laws, access to utilities, proximity to amenities, and overall livability. You may choose to place your tiny house on private land, join a tiny house community, or explore other options like renting a space in someone’s backyard.
Take the time to visit potential locations and assess if they meet your needs and preferences.
Once you’ve successfully acquired the permits and found a suitable location, you can move on to the next step of the building process: design and blueprint creation. Remember to carefully plan and visualize your ideal tiny house to ensure a smooth transition into this exciting phase.
Design and Blueprint Creation
Once you’ve obtained the necessary permits and secured a suitable location, it’s time to unleash your creative vision and bring your dream tiny house to life through the artistry of design and blueprint creation.
Designing your tiny house layout is a crucial step in the building process. You want to make sure that every square inch of space is utilized efficiently and that the layout suits your specific needs and lifestyle. From deciding on the number and size of rooms to choosing the ideal furniture placement, the possibilities are endless. Get creative with your design ideas! Consider incorporating multi-purpose furniture, hidden storage solutions, and innovative space-saving techniques to maximize the functionality of your tiny house.
Once you have finalized your layout, it’s time to create the blueprint. This detailed plan will serve as a guide throughout the construction process. It includes precise measurements, electrical and plumbing layouts, and other important technical details. Taking the time to create a thorough blueprint will save you time and prevent costly mistakes during the building phase.
With your design and blueprint in hand, you can now move on to the next step of gathering the materials and equipment needed to bring your tiny house to life.
Gathering Materials and Equipment
Now that I’ve got my design and blueprint ready, it’s time to gather all the materials and equipment I need to bring my tiny house dream to life. Here’s a breakdown of the key steps involved in this process:
-
Sourcing Wood:
- Research local lumber suppliers or online retailers to find high-quality wood for the construction of the tiny house. Look for sustainable options such as reclaimed or certified lumber.
- Determine the quantity and dimensions of the wood needed based on the blueprint. Consider factors like wall framing, flooring, and roofing materials.
- Compare prices and quality to make sure I get the best value for my money.
-
Purchasing Tools:
- Make a list of essential tools needed for the construction process, such as a circular saw, drill, hammer, measuring tape, and safety equipment.
- Research different brands and read customer reviews to find reliable and durable tools.
- Visit local hardware stores or shop online to buy the required tools.
By sourcing wood and purchasing the necessary tools, I’m taking crucial steps towards building my tiny house trailer. The next section will focus on the foundation and trailer preparation, which lays the groundwork for the construction process.
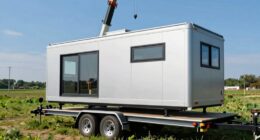
Foundation and Trailer Preparation
To get started on your tiny house dream, the first step is like laying the foundation of a sturdy ship before embarking on a grand voyage. Foundation preparation is crucial for building a tiny house trailer that will stand the test of time. Before constructing the actual trailer, it is important to ensure that the ground is level and stable. This may involve clearing the area, removing any debris or vegetation, and leveling the ground using gravel or concrete pads. Once the foundation is ready, the trailer construction can begin.
Building a tiny house trailer requires attention to detail and precision. It involves assembling the frame, attaching the axles and wheels, and securing the trailer to the foundation. To give you a better idea, here is a table that outlines the main steps involved in trailer preparation:
| Step | Description |
|---|---|
| Step 1 | Clear the area and remove any debris or vegetation |
| Step 2 | Level the ground using gravel or concrete pads |
| Step 3 | Assemble the trailer frame |
| Step 4 | Attach the axles and wheels to the frame |
| Step 5 | Secure the trailer to the foundation |
Once the trailer is prepared, we can move on to the next stage of the construction process, which involves framing and insulation. This step is essential for creating the structure and ensuring energy efficiency.
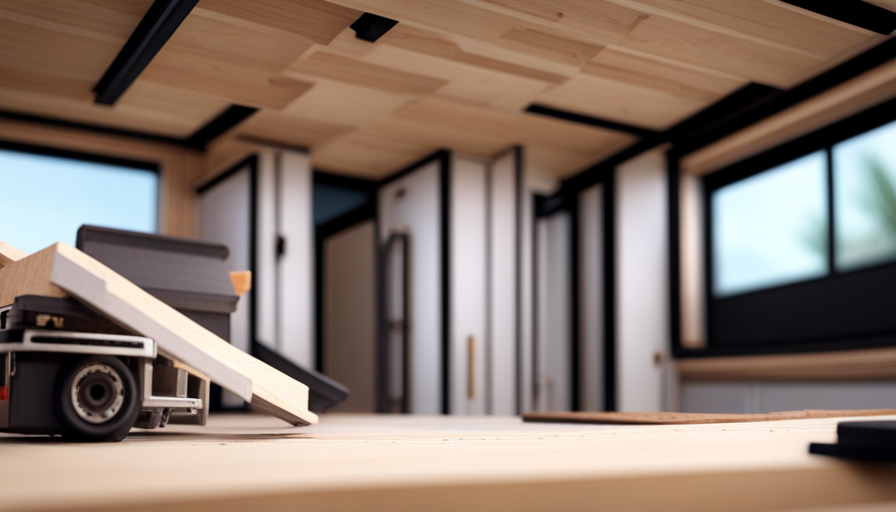
Framing and Insulation
Let’s dive into the exciting process of framing and insulating your dream tiny house on wheels!
When it comes to framing techniques, there are a few options to consider. One popular method is stick framing, which involves building the walls, floors, and roof using individual pieces of lumber. This allows for flexibility in design and can be easily customized to fit your specific needs.
Another technique is panelized framing, where pre-built wall panels are assembled and then attached to the trailer. This method can save time and ensure precise measurements.
Now, let’s talk about insulation materials. Insulating your tiny house is crucial for maintaining a comfortable temperature and reducing energy consumption. There are various options available, such as fiberglass, spray foam, and rigid foam.
Fiberglass insulation is affordable and easy to install, but it may not provide the best thermal resistance. Spray foam insulation, on the other hand, offers excellent insulation properties and can seal any gaps or cracks, but it can be more expensive. Rigid foam insulation is known for its high R-value and durability.
As you finish framing and insulating your tiny house, the next step will be to tackle the electrical and plumbing installations.
Electrical and Plumbing Installations
Once you have finished framing and insulating your dream tiny house, it’s time to tackle the electrical and plumbing installations. Ensuring electrical safety and following plumbing regulations are crucial steps in the construction process. Let’s start with electrical installations. It is important to have a clear understanding of electrical systems and safety protocols before beginning any work. Hiring a licensed electrician is highly recommended to ensure everything is installed correctly. In terms of plumbing, it is essential to comply with local plumbing regulations to ensure the safety and functionality of your tiny house. This includes proper venting and drainage systems and adhering to specific pipe sizing requirements. To give you a visual representation, here is a table outlining some key aspects of electrical and plumbing installations:
| Electrical Installations | Plumbing Installations |
|---|---|
| Wiring | Water supply |
| Outlets | Drainage system |
| Lighting fixtures | Venting |
| Circuit breaker panel | Pipe sizing |
After completing these installations, you will be ready to move on to the next step of interior finishing and customization, transforming your tiny house into a cozy and personalized space.
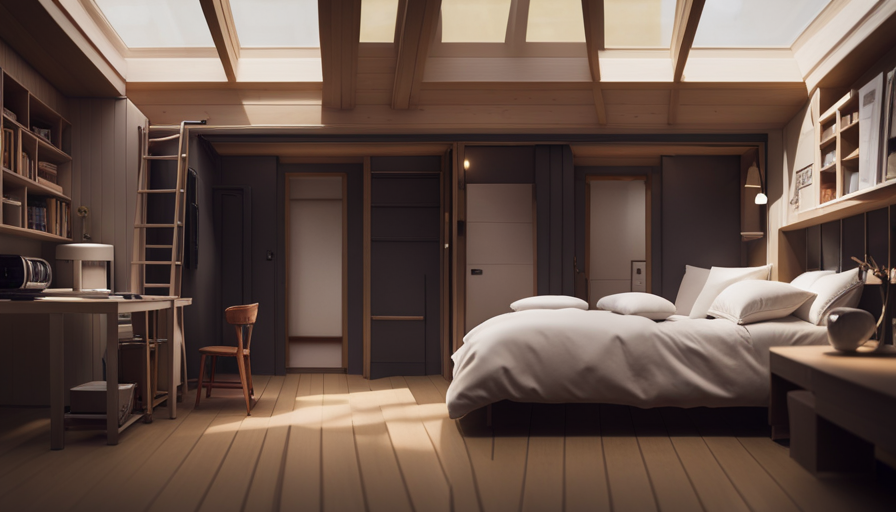
Interior Finishing and Customization
After completing the electrical and plumbing installations in my tiny house trailer, it was time to move on to the next exciting step: interior finishing and customization. This was the stage where I could truly make the space my own, adding furniture and personal touches that would make it feel like home.
One of the challenges of designing a tiny house is finding furniture that fits perfectly into the limited space. I had to carefully measure each area to ensure that every piece of furniture served a purpose and maximized functionality. I opted for multi-functional furniture, such as a sofa that could also be used as a bed and storage compartments built into the stairs.
In addition to furniture, I spent a lot of time considering the color scheme for the interior. Since the space was small, I wanted to create a sense of openness and brightness. I chose light, neutral colors for the walls and added pops of color through accessories like throw pillows and curtains.
As I put the finishing touches on the interior, I couldn’t help but feel a sense of accomplishment and excitement. It was finally starting to look like a real home. With the interior complete, I was ready to move on to the next phase: exterior finishing and weatherproofing.
Exterior Finishing and Weatherproofing
To achieve a durable and weather-resistant exterior for your tiny house, you’ll need to focus on the crucial steps of exterior finishing and weatherproofing. These steps are essential to protect your tiny house trailer from the elements and ensure its longevity.
Here are four key considerations when it comes to exterior finishing and weatherproofing:
-
Exterior painting: Choose a high-quality exterior paint that’s specifically designed for the conditions in your area. Properly prep the surface by cleaning and sanding it before applying the paint. Consider using multiple coats for added protection and durability.
-
Window installation: Properly installing windows is crucial for both aesthetics and weatherproofing. Ensure that the windows are properly sealed and insulated to prevent any air or water leaks. Use weatherstripping and caulk to seal any gaps and ensure a tight and secure fit.
-
Siding and cladding: Select a siding material that’s not only aesthetically pleasing but also weather-resistant. Options like vinyl, fiber cement, or wood can offer durability and protection. Properly install and seal the siding to prevent moisture intrusion and potential damage.
-
Roofing: Choose a roofing material that’s suitable for the climate in your area. Ensure that the roof is properly installed and sealed to prevent leaks. Consider adding additional weatherproofing measures such as a waterproof membrane or a protective coating.
By focusing on these key aspects of exterior finishing and weatherproofing, you can ensure that your tiny house trailer is well-protected from the elements. With the exterior complete, it’s time to move on to the final touches and prepare for move-in day.
Final Touches and Move-In Day
Don’t forget to add the final touches and get ready for the exciting move-in day of your dream home on wheels!
After all the hard work of building your tiny house trailer and ensuring it’s weatherproof and well-insulated, it’s time to make it truly feel like home.
To ensure a smooth transition into your new space, it’s helpful to have a move-in checklist. This checklist can include tasks such as installing window treatments, hanging curtains or blinds for privacy, and adding storage solutions to maximize space.
It’s also important to make sure all the utilities are connected and functioning properly. Double-check that the electrical, plumbing, and heating systems are all in working order.
Once the practical aspects are taken care of, it’s time to have fun with the decorating process. Consider incorporating your personal style into the space by adding artwork, cushions, and rugs that reflect your taste. Don’t be afraid to get creative with storage solutions, such as using floating shelves or under-bed storage.
Finally, make sure to take a step back and appreciate all the hard work that went into creating your tiny house trailer. Moving in is an exciting milestone, so take the time to celebrate and enjoy your new home on wheels!
Frequently Asked Questions
How much does it cost to build a tiny house trailer?
When it comes to building a tiny house trailer, cost considerations and budgeting tips play a crucial role. The cost of building a tiny house trailer can vary depending on factors such as size, materials used, and custom features.
It’s important to carefully plan and budget for expenses such as construction materials, labor, permits, and any additional features you desire. By researching and comparing prices, you can make informed decisions and stay within your budget.
How do I choose the right size for my tiny house trailer?
When choosing the right size for your tiny house trailer, there are several factors you should consider.
Firstly, think about your lifestyle and how much space you actually need. Consider the number of rooms, appliances, and furniture you plan to have.
Additionally, think about transportation limitations and regulations that may affect the size of your trailer.
To optimize space utilization, make use of clever storage solutions and multi-purpose furniture.
By carefully considering these factors, you can ensure that your tiny house trailer meets your needs and maximizes space efficiency.
Can I build a tiny house trailer on my own or do I need professional help?
I can build a tiny house trailer on my own, but it’s important to consider the pros and cons of DIY versus hiring professionals.
DIY allows for more creative control and potentially lower costs, but it requires time, skills, and knowledge.
Hiring professionals ensures expertise and efficiency, but it can be more expensive.
Ultimately, the decision depends on your abilities, resources, and preferences.
Are there any specific building codes or regulations I need to consider when constructing a tiny house trailer?
Building a tiny house trailer requires careful consideration of building codes and regulations. It’s crucial to ensure compliance with all applicable codes and obtain necessary construction permits. These requirements vary by location, so it’s important to research and understand the specific regulations in your area. Adhering to building code requirements will ensure the structural integrity and safety of your tiny house trailer, providing peace of mind as you embark on your DIY project.
Can I legally park and live in my tiny house trailer anywhere I want?
I can’t legally park and live in my tiny house trailer anywhere I want. There are parking restrictions and zoning laws that dictate where I can park and live in my tiny house. These restrictions vary depending on the location and jurisdiction.
It’s important to research and understand the specific regulations in the area where I plan to park my tiny house trailer to avoid any legal issues.
Conclusion
In conclusion, building a tiny house trailer is a whirlwind adventure!
From the initial research and planning to the final move-in day, the process is a rollercoaster of excitement, challenges, and triumphs.
It may seem daunting at first, but with determination and a little exaggeration, you can transform a simple trailer into your dream home in no time.
So grab your tools, put on your hard hat, and get ready for the ride of a lifetime!