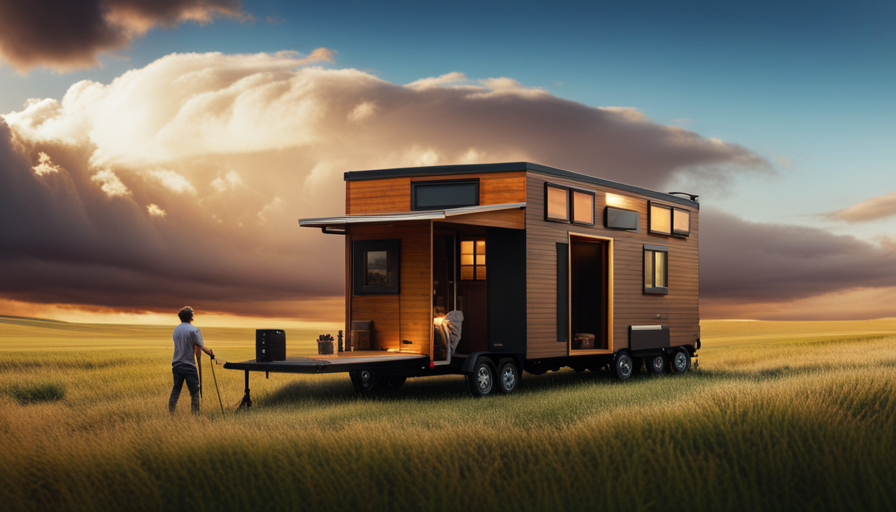
Picture yourself in front of a blank canvas, ready to create your dream home. But this canvas is unique – it’s a tiny house, a cozy space that offers simplicity and freedom. You have the opportunity to personalize it to suit your own style and preferences. However, as you plan out your design, one question remains: how long will it take to build this miniature masterpiece?
In this article, I will guide you through the process of framing a tiny house, step by step. From determining the size and complexity of the design to finalizing the framing process with trim and details, I will provide you with all the necessary information to make your dream a reality.
But before we dive into the details, let’s consider a few factors that can affect the timeframe. The size and complexity of the design, the experience level of the builder, and the availability of tools and materials all play a role in determining how long it will take to frame a tiny house.
So grab your tool belt and let’s get started on this exciting journey of creating your very own tiny haven.
Key Takeaways
- The size, complexity, and builder’s experience level are important factors to consider when framing a tiny house.
- Simple designs take less time to frame than intricate designs.
- Experienced builders work faster and more efficiently.
- Gathering necessary tools and materials, including higher quality options and repurposed materials, is crucial for the construction process.
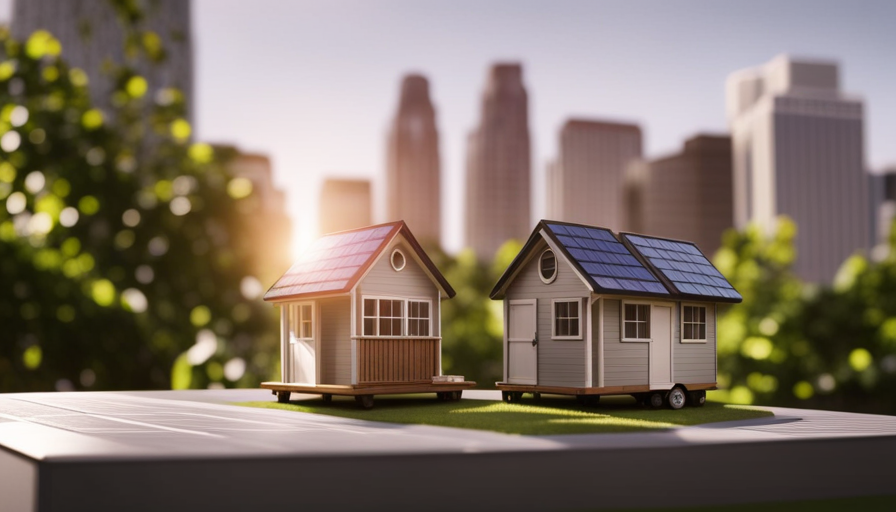
Determine the Size and Complexity of the Design
You’ll need to consider the size and complexity of your design in order to accurately determine how long it will take to frame your tiny house.
Determining the design complexity is an important first step. A simple and straightforward design will generally take less time to frame compared to a more intricate and complex design. If you have experience in construction and framing, you may be able to handle a more complex design with ease. However, if you’re new to building and framing, it’s advisable to choose a simpler design to avoid potential delays and mistakes.
Considering the experience level of the builder is crucial in estimating the framing time. A more experienced builder will likely be able to work faster and more efficiently, resulting in a shorter framing time. On the other hand, if you’re a beginner or have limited construction experience, it may take you longer to frame the tiny house.
Now that we’ve discussed determining the design complexity and considering the builder’s experience level, let’s move on to the next section where we’ll explore other factors that can affect the framing time of a tiny house.
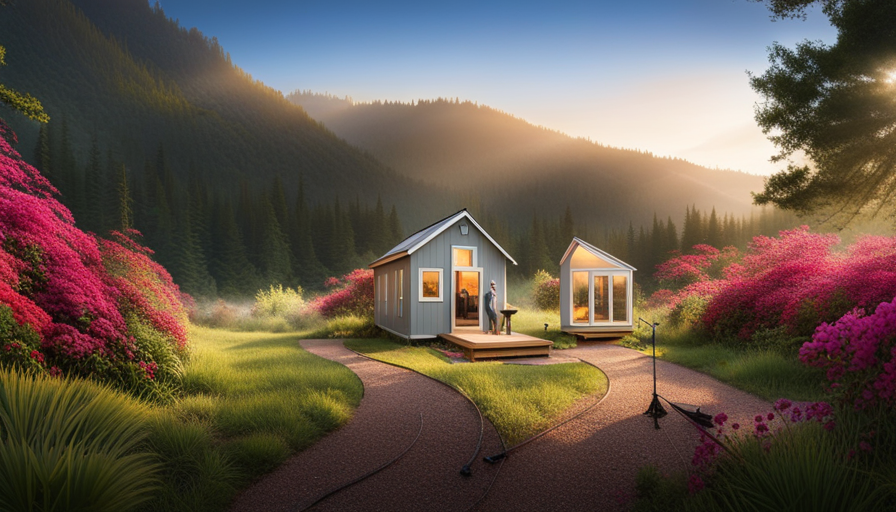
Consider the Experience Level of the Builder
Experienced builders can swiftly construct a cozy abode, with their skill and expertise weaving together a miniature sanctuary. When considering the time frame for constructing a tiny house, it’s crucial to take into account the builder’s level of experience.
Framing a tiny house requires precision and attention to detail, as every inch counts in creating a functional and comfortable living space. An experienced builder will have a deep understanding of the construction process, allowing them to accurately estimate the time needed for each step.
The importance of experience in framing a tiny house can’t be overstated. An experienced builder will have encountered various challenges and obstacles throughout their career, equipping them with the knowledge and problem-solving skills needed to overcome any issues that may arise during construction. They’ll be familiar with the best practices and techniques for framing a tiny house efficiently, minimizing any potential delays.
Transitioning into the next section, gathering the necessary tools and materials is the next crucial step in constructing a tiny house.
Gather the Necessary Tools and Materials
Once you’ve gathered all the essential tools and materials, construction of your cozy abode can begin. Here are some discussion ideas on choosing the right tools and materials for framing a tiny house:
-
Research: Start by researching the specific tools and materials needed for framing a tiny house. Look for resources online, such as tutorials or forums, to get an idea of what others have used successfully.
-
Quality vs. Budget: Consider the quality of the tools and materials you choose. While it can be tempting to go for cheaper options, investing in higher quality tools and materials can ensure a sturdier and more durable structure in the long run.
-
Repurposing: Look for opportunities to repurpose materials. For example, salvaging wood from old buildings or pallets can be a cost-effective way to gather materials. Just make sure the materials are still in good condition and suitable for framing.
-
Borrow or Rent: If you don’t have all the tools you need, consider borrowing or renting them. This can help you save money and avoid cluttering your space with tools you might only use once.
By carefully selecting the right tools and materials, you can ensure a successful framing process for your tiny house. With everything gathered, it’s time to move on to creating a detailed floor plan and blueprint for your dream home.
Create a Detailed Floor Plan and Blueprint
To begin designing your ideal living space, start by creating a detailed floor plan and blueprint that’ll serve as the foundation for your dream home. This step is crucial as it allows you to determine the cost of your tiny house project and create a timeline for completion.
When creating a floor plan, consider the layout and functionality of each space. Think about how you want to utilize each area and make sure it meets your needs and preferences. Take measurements and accurately depict the dimensions of each room, including windows and doors. This’ll help you visualize the flow of your home and make sure everything fits together seamlessly.
Next, create a detailed blueprint that includes all the necessary construction details. This’ll guide you and any contractors or builders involved in the process. Include specifications for the materials to be used, such as the type of lumber, insulation, and roofing materials. Also, consider any electrical or plumbing requirements that need to be incorporated into the design.
With a detailed floor plan and blueprint in hand, you can move on to the next step of starting with the foundation and framing the walls. This’ll bring your tiny house project to life and set the stage for the rest of the construction process.
Start with the Foundation and Framing the Walls
Now that you have a detailed floor plan and blueprint, it’s time to lay the foundation and start framing the walls of your dream home. Imagine the excitement of seeing the sturdy foundation being poured and the walls taking shape, bringing your vision to life.
When it comes to framing techniques for a tiny house, there are a few options to consider. One popular method is using traditional stick framing, where individual pieces of lumber are cut and assembled on-site. This allows for flexibility in design and customization. Another option is using steel framing, which provides strength and durability while also being lightweight. Additionally, some builders opt for advanced framing techniques that minimize the amount of lumber needed, reducing waste and increasing energy efficiency.
In terms of foundation options, you have a few choices depending on your needs and budget. One common option is a concrete slab foundation, which provides a solid base for your tiny house. Another option is a pier foundation, where concrete piers are used to support the structure. This is a good choice if you need to elevate your tiny house or if you want to minimize site disturbance. Finally, you could consider a trailer foundation, which allows for mobility and flexibility in where you place your tiny house.
As you finish framing the walls and laying the foundation, you’ll be ready to move on to the next exciting step: installing the roof and windows.
Install the Roof and Windows
Imagine the thrill of watching your dream home come together as the roof is expertly installed and the windows are carefully placed, allowing natural light to flood your new space. Here’s a step-by-step guide to help you understand the process of installing the roof and windows in your tiny house:
-
Roof Installation: Start by preparing the roof framing, ensuring it’s structurally sound. Then, lay down the roofing materials, such as shingles or metal panels, making sure to secure them properly. This will protect your tiny house from the elements and provide insulation.
-
Window Installation: Measure and mark the locations where you want your windows to be installed. Cut out the openings in the wall framing, ensuring they’re the right size and shape. Install the windows using appropriate sealants and fasteners, ensuring they’re secure and properly aligned.
-
Sealing and Insulation: Once the roof and windows are installed, it’s essential to seal any gaps or cracks to prevent water leakage and air infiltration. Apply weatherstripping around the windows and use caulking to seal any openings in the roof.
-
Transition to Electrical and Plumbing: With the roof and windows completed, it’s time to move on to the next step of the construction process, which involves completing the electrical and plumbing systems.
As you can see, the installation of the roof and windows is a crucial step in creating your tiny house. Now, let’s delve into how to complete the electrical and plumbing systems.
Complete the Electrical and Plumbing Systems
Once the roof and windows are in place, you’ll be ready to tackle the important task of completing the electrical and plumbing systems, ensuring your new home is fully functional and efficient. Planning and budgeting are crucial at this stage, as you need to determine the specific requirements for your tiny house and allocate funds accordingly. It’s essential to consider the power needs of your appliances and lighting fixtures, as well as the plumbing fixtures and water supply. This will help you determine the size of the electrical panel and the type of plumbing system that will best suit your needs.
While some tiny house builders choose to handle the electrical and plumbing systems themselves, it is advisable to hire professional help. DIY attempts can lead to costly mistakes and safety hazards. Professionals have the expertise and knowledge to ensure that everything is installed correctly and up to code. They can also provide valuable advice on energy-efficient options and help you avoid common pitfalls.
Incorporating a table into this section can provide a visual representation of the planning and budgeting process. Here is an example:
| Electrical System | Plumbing System | Budget |
|---|---|---|
| Determine power needs for appliances and lighting fixtures | Determine plumbing fixture requirements and water supply | Allocate funds accordingly |
| Size electrical panel accordingly | Choose the appropriate plumbing system | Consider energy-efficient options |
| Hire professional help for installation | Hire professional help for installation | Avoid costly mistakes and safety hazards |
Completing the electrical and plumbing systems is a crucial step in transforming your tiny house into a comfortable and functional living space. Once these systems are in place and functioning properly, you can move on to the next step of insulating the walls and installing the interior finishes.
Insulate the Walls and Install the Interior Finishes
To make your living space cozy and comfortable, it’s time to insulate the walls and add those final interior finishes.
Insulating the walls of your tiny house not only helps regulate temperature but also provides soundproofing and energy efficiency. When choosing insulation materials, consider using eco-friendly options such as recycled denim or cellulose insulation made from recycled paper. These materials aren’t only sustainable but also provide excellent insulation properties.
Once the walls are insulated, it’s time to install the interior finishes. When working with a tiny space, it’s important to choose finishes that maximize functionality while still reflecting your personal style. Opt for light-colored paints or wallpapers to create an illusion of space and brightness. Using mirrors strategically can also help create the illusion of a larger area.
Consider installing multi-purpose furniture to optimize storage and save space. Built-in shelves and cabinets can be both practical and aesthetically pleasing. Additionally, choose furniture and accessories that are proportionate to the size of the tiny house to prevent overcrowding.
Insulating the walls and installing the interior finishes are crucial steps in making your tiny house a comfortable and inviting home. By using eco-friendly insulation materials and carefully selecting the right finishes, you can create a cozy living space that reflects your personal style and maximizes functionality.
Next, let’s move on to adding the exterior siding and paint, which will give your tiny house its final touch of charm and protection.
Add the Exterior Siding and Paint
Get ready to give your tiny home its final touch of charm and protection by adding the exterior siding and a fresh coat of paint. Here’s how to successfully install the siding and paint your home:
-
Choose the right siding material: Whether you go for wood, vinyl, or cement board, make sure it suits your style, budget, and climate conditions. Research different siding installation techniques for a durable and visually appealing result.
-
Prepare the walls: Before installing the siding, make sure the walls are clean, dry, and free from debris. Repair any damaged or rotten areas and apply a weather-resistant barrier to protect against moisture.
-
Install the siding: Follow the manufacturer’s instructions to install the siding correctly. Start from the bottom and work your way up, overlapping each piece to create a tight seal. Use the recommended nails or screws and ensure proper spacing.
-
Choose the right paint color: Select a color that complements your design aesthetic. Consider factors like the surrounding landscape and the style you want to achieve. Use high-quality exterior paint specifically formulated for the material you’re painting.
Once the exterior siding is installed and painted, you can move on to finalize the framing process with trim and details. This will add the finishing touches and complete your tiny home’s exterior aesthetics.
Finalize the Framing Process with Trim and Details
Now that you’ve added the charming exterior siding and paint to your tiny home, it’s time to put the finishing touches on the framing process with trim and details, creating a truly exquisite and inviting space. The trim techniques used in a tiny house are crucial in enhancing the overall aesthetic appeal and ensuring a polished look. Let’s explore some of the key trim techniques that can be incorporated to achieve a beautiful finish.
| Trim Technique | Description |
|---|---|
| Crown Molding | Crown molding adds elegance and sophistication to your tiny home. It is usually installed along the top edge of walls, where they meet the ceiling. The intricate details and smooth curves of crown molding can instantly transform a plain space into a stylish one. |
| Baseboards | Baseboards are installed along the bottom edge of walls, where they meet the floor. They not only provide a finished look but also protect the walls from damage. Baseboards come in various styles and sizes, allowing you to choose the one that complements your tiny home’s overall design. |
| Window Casings | Window casings are trim pieces that surround windows, enhancing their appearance and creating a cohesive look with the rest of the house. They come in different profiles and can be customized to match your desired style. Window casings not only add visual appeal but also help seal and insulate the windows effectively. |
By incorporating these trim techniques, you can add the perfect finishing touches to your tiny home’s framing process. Each detail contributes to creating a space that feels complete, cozy, and visually pleasing.
Frequently Asked Questions
How much does it cost to frame a tiny house?
Framing a tiny house can vary in cost depending on whether you choose to DIY or hire professionals. Let me give you a cost breakdown.
If you decide to hire professionals, it could cost around $8,000 to $15,000 for framing alone. However, if you’re up for the challenge and choose to DIY, you can save a significant amount of money. Remember, though, that DIY requires time, patience, and some handy skills.
Can I frame a tiny house by myself, or do I need professional help?
I can frame a tiny house by myself, but it requires some DIY framing tips. It’s important to have some construction experience and knowledge of building codes.
Hiring a contractor is another option if you’re not comfortable doing it alone. They have the expertise and tools to ensure a professional and efficient framing job.
Consider your skills, time availability, and budget before making a decision.
Are there any specific building codes or regulations I need to follow when framing a tiny house?
There are specific building code requirements for framing a tiny house that you need to follow. These codes ensure the structural integrity and safety of your home. While it may seem daunting, with careful planning and research, you can navigate these regulations successfully.
Common mistakes to avoid when framing a tiny house include improper spacing of studs, inadequate insulation, and neglecting to secure the structure properly. By understanding and adhering to the building codes, you can frame your tiny house with confidence.
What type of insulation is best for tiny house framing?
When it comes to insulating a tiny house, there are several options to consider. The best insulation materials for tiny house framing include spray foam, fiberglass batts, and rigid foam boards.
Spray foam provides excellent insulation and seals gaps, but it can be expensive.
Fiberglass batts are affordable and easy to install, but they may not be as effective at sealing air leaks.
Rigid foam boards offer good insulation and are moisture-resistant, but they can be more costly.
Consider the pros and cons of each option before making your decision.
How long does it typically take to frame a tiny house?
Framing a tiny house can be quite time-consuming, but with the right techniques, it can be done efficiently. Hiring a professional for framing can save you a lot of time and ensure the job is done correctly. They have the expertise and tools needed to complete the job quickly and efficiently.
However, if you choose to tackle the framing yourself, it may take longer as you navigate through the learning process and potential mistakes.
Conclusion
In conclusion, framing a tiny house is no small feat. It requires careful planning, precise execution, and a keen eye for detail.
From the foundation to the finishing touches, each step must be approached with precision and expertise. Like pieces of a puzzle, the walls come together, creating a cozy and functional space. It’s a labor of love, a dance of hammers and nails.
And when the final trim is added, the tiny house becomes a work of art, a sanctuary of simplicity and beauty.

Hi, I’m Emma. I’m the Editor in Chief of Tiny House 43, a blog all about tiny houses. While tree houses are often associated with childhood, they can be the perfect adult retreat. They offer a cozy space to relax and unwind, surrounded by nature. And since they’re typically built on stilts or raised platforms, they offer stunning views that traditional homes simply can’t match. If you’re looking for a unique and romantic getaway, a tree house tiny house might just be the perfect option.