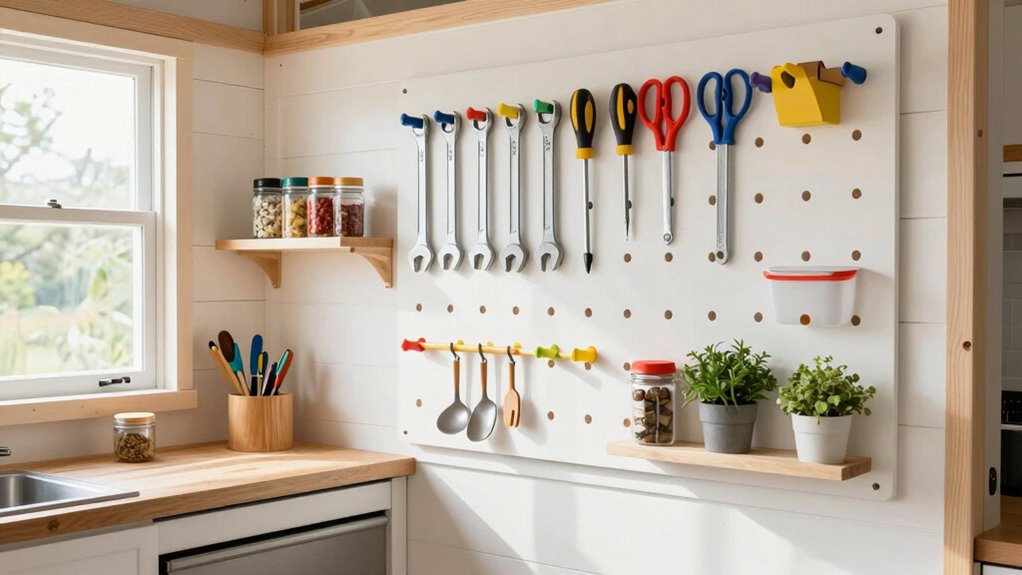

Creating a DIY pegboard wall in your tiny house workshop or kitchen helps you organize tools and supplies efficiently while adding a personal touch. Choose durable materials like plywood or metal, and securely fasten the pegboard to wall studs for stability. Customizing with paint or decorations enhances your space’s look. Properly installed, it maximizes small areas and adapts to your changing needs. Keep going to discover tips on making your pegboard both functional and stylish.
Key Takeaways
- Choose durable, moisture-resistant materials like sealed plywood or perforated metal for longevity in small, moisture-prone spaces.
- Secure the pegboard to wall studs or solid backing to ensure stability and safety for tool and supply storage.
- Customize with paint, decals, or color coding to match and enhance your tiny house’s interior design.
- Use heavy-duty hooks, brackets, and reinforcement to support varying tool sizes and prevent wobbling.
- Plan flexible layouts with adjustable hooks and shelves to accommodate evolving storage needs and projects.
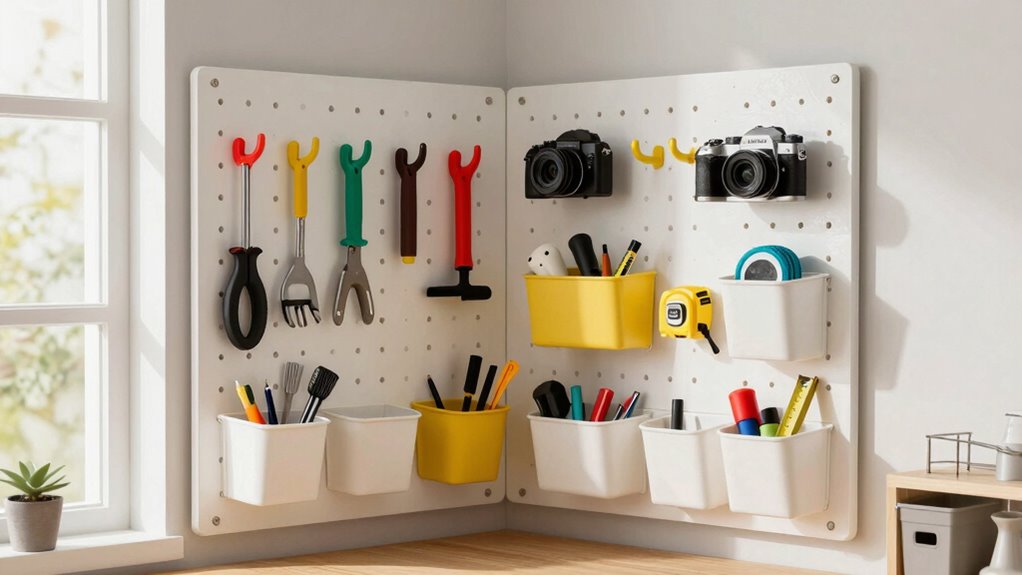
Creating a DIY pegboard wall is a practical way to organize your tools and supplies while adding a customizable touch to your space. Whether you’re working in a tiny house workshop or kitchen, a pegboard allows you to maximize your limited space efficiently. One of the best things about building your own is that you can tailor it to your specific needs, choosing from a variety of customization options. You can decide where to place hooks, shelves, or baskets, guaranteeing everything has a designated spot. This flexibility means your pegboard can evolve alongside your projects or cooking habits, making it a truly personalized feature in your tiny space.
When selecting materials for your DIY pegboard, durability should be a top priority. Tiny houses are often mobile or subject to vibrations, so you need a sturdy material that can withstand daily wear and tear. Plywood or medium-density fiberboard (MDF) are common choices because they’re affordable and strong enough for most tools and kitchen utensils. For added durability, you might consider using a sealed or painted surface, which protects against moisture, stains, and scratches—especially important in a kitchen setting. Metal or perforated metal panels are also options if you want a more industrial look and increased resilience. Whichever material you pick, verify it’s thick enough to support the weight of your items without sagging or breaking over time. Proper material selection is essential for ensuring your pegboard remains functional and safe. Additionally, understanding material properties can help you choose the best option for your environment and needs. Being aware of material sustainability can also influence your choice, especially if eco-friendliness is a priority. Incorporating water-resistant materials can be beneficial in a kitchen environment where moisture exposure is common. Considering installation methods can also make your project easier and more secure in the long run.
Installation is straightforward, but paying attention to placement and reinforcement makes a big difference. Secure your pegboard to the wall studs or a solid backing to prevent wobbling or falling. Using appropriate hardware, like heavy-duty hooks and brackets, guarantees your supplies stay safely in place. The beauty of creating your own is that you can paint or decorate the pegboard to match your interior style, further enhancing the customization options. This is especially handy in tiny houses where every detail counts, and a cohesive look can make your space feel more open and inviting.
In the end, building a DIY pegboard wall gives you both function and style. It keeps your tools easily accessible while freeing up countertop or floor space, which is vital in small environments. With thoughtful material choices and a bit of creativity, you’ll end up with a durable, personalized system that helps your tiny house workshop or kitchen stay organized and efficient. Plus, the satisfaction of creating something yourself adds a layer of pride and customization that store-bought solutions simply can’t match.

12 * 12in X4PCS Pegboard Set, DIY Pegboard Combo Kit, Wall-Mounted Storage Organizer, Includes 18 Accessories, Suitable for Office, Gaming Room and Decorative Display (Black)
- Versatile Usage Scenarios: Wall, craft, decor, gaming, office, bathroom
- Easy, Tool-Free Installation: Nail-free, drill-free, removable clips
- Strong Load Capacity: Supports up to 33 lbs per panel
As an affiliate, we earn on qualifying purchases.
As an affiliate, we earn on qualifying purchases.
Frequently Asked Questions
What Are the Best Materials for a Durable Pegboard Wall?
You should choose high-quality, moisture-resistant materials like fiberboard or metal for a durable pegboard wall. These materials withstand wear and tear, especially in busy workshops or kitchens. Make certain to use sturdy pegboard accessories and mounting brackets to support your tools securely. Metal pegboards are particularly tough, preventing warping or damage over time. Properly installed, these materials ensure your pegboard wall remains strong and reliable for everyday use.
How Do I Prevent Pegboard From Warping Over Time?
To prevent your pegboard from warping, you need to control pegboard moisture and incorporate warping prevention techniques. Start by choosing moisture-resistant materials or sealing your pegboard with a water-proof coating. Guarantee proper ventilation to reduce humidity, and avoid direct water contact. When installing, leave small gaps for expansion. These steps keep your pegboard stable over time, safeguarding against warping and ensuring it remains sturdy and functional for years.
Can Pegboards Be Painted or Customized in Design?
Yes, you can definitely paint and customize your pegboard. Use decorative paint techniques like stenciling, sponging, or dry brushing to add textures and patterns. Custom stencil designs work great for creating unique, personalized looks. Just make sure to prime the surface first, then seal it with a clear finish to protect your artwork. This way, your pegboard becomes both functional and visually appealing for your tiny house workspace.
What Is the Maximum Weight a Standard Pegboard Can Hold?
A standard pegboard can usually handle around 50 pounds per square foot, but this depends on the quality of your pegboard and how well you maintain it. When you explore pegboard customization, just keep in mind that overloading can strain the material. Regular pegboard maintenance, like checking for loose hooks or damaged spots, guarantees it stays reliable. So, be mindful, and your walls will support your needs beautifully.
How Do I Securely Anchor the Pegboard to Walls?
To securely anchor your pegboard, start with proper wall preparation by cleaning and smoothing the surface. Use strong mounting hardware like heavy-duty screws and wall anchors suitable for your wall type. Drill pilot holes through the pegboard into the wall, then insert the anchors and screws, ensuring they’re tight. This method provides a sturdy hold, preventing the pegboard from shifting or falling, even when holding heavier tools or items.
Conclusion
By installing DIY pegboard walls, you transform clutter into organized efficiency, making your tiny house workshop or kitchen much more functional. Did you know that pegboards can increase storage space by up to 50%? With simple tools and some creativity, you can customize your space to fit your needs perfectly. So go ahead, get started on your project—an organized, clutter-free environment is just a few hooks away!