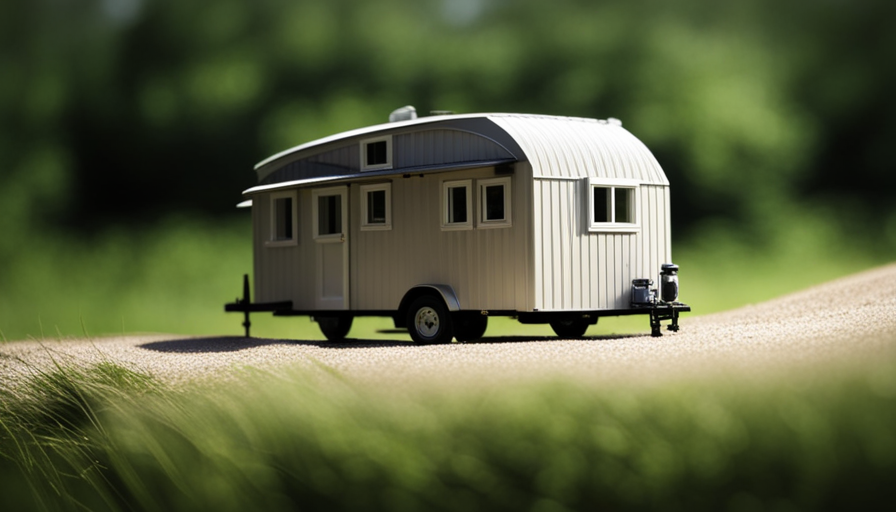
You have decided to take on the challenge of building a Bigz Die Tiny House? Get ready for a thrilling experience that requires precision, focus on details, and lots of fun! This guide will lead you through each necessary step to assemble your tiny home.
But let’s be honest here, assembling a tiny house is no small feat. It requires a keen eye for detail, a steady hand, and a whole lot of patience. Luckily for you, I’m here to guide you through every twist and turn of this intricate process.
From gathering the necessary tools and materials to putting on the finishing touches, we’ll cover it all.
We’ll show you how to:
- Prepare the foundation
- Assemble the floor and wall panels
- Install the roof and windows
- Connect the plumbing and electrical systems
And don’t worry, we won’t leave out the crucial step of designing and decorating the interior.
So buckle up and get ready to embark on this tiny house adventure. By the end, you’ll have a beautiful, fully functional tiny house that you can proudly call your own.
Let’s dive in!
Key Takeaways
- Proper preparation of the foundation is essential for the assembly process.
- Gathering all the necessary tools and materials beforehand is important for a streamlined assembly.
- Following the manufacturer’s instructions for assembling the floor and wall panels is crucial.
- Paying attention to proper installation of windows and maximizing natural light and ventilation is important for the overall functionality and comfort of the tiny house.
Top picks for "bigz tiny house"
Open Amazon search results for this keyword.
As an affiliate, we earn on qualifying purchases.
Gather the Necessary Tools and Materials
Now, it’s time for you to gather all the tools and materials you’ll need to bring your bigz die tiny house to life!
Tiny house construction requires careful planning and preparation, so it’s essential to have the right tools and materials on hand. For the DIY tiny home project, you’ll need a variety of tools such as a hammer, screwdriver, drill, level, measuring tape, and a saw. These tools will help you with the assembly process and ensure everything is sturdy and secure.
In addition to the tools, you’ll also need to gather the necessary materials. This includes lumber for framing, plywood for the walls and floors, insulation for temperature control, roofing materials, and windows and doors. It’s important to select high-quality materials that are durable and suitable for your specific tiny house design.
By gathering all the tools and materials beforehand, you can streamline the assembly process and avoid any unnecessary delays. Once you have everything you need, you can move on to the next step: preparing the foundation for the tiny house. This involves selecting a suitable location, clearing the area, and ensuring a stable and level foundation for your tiny house.
Prepare the Foundation for the Tiny House
First, you’ll need to get everything ready for the foundation of your new home on wheels. Foundation preparation is a crucial step in ensuring the stability and durability of your tiny house. To begin, gather the necessary tools and materials, including a shovel, level, gravel, and concrete blocks.
-
Clear the area: Start by clearing the designated area of any debris, vegetation, or obstacles. This will provide a clean and level surface for your foundation.
-
Level the ground: Use a shovel to remove any high spots and fill in any low spots in the ground. Ensure that the area is completely level before proceeding.
-
Lay the gravel and concrete blocks: Place a layer of gravel on the leveled ground to improve drainage and stability. Then, position the concrete blocks at the corners and along the perimeter of the foundation. Make sure they’re level and aligned.
Next, you’ll be ready to assemble the floor and wall panels, creating the framework for your tiny house. By following these foundation preparation and leveling techniques, you’ll ensure a solid base for your future home.
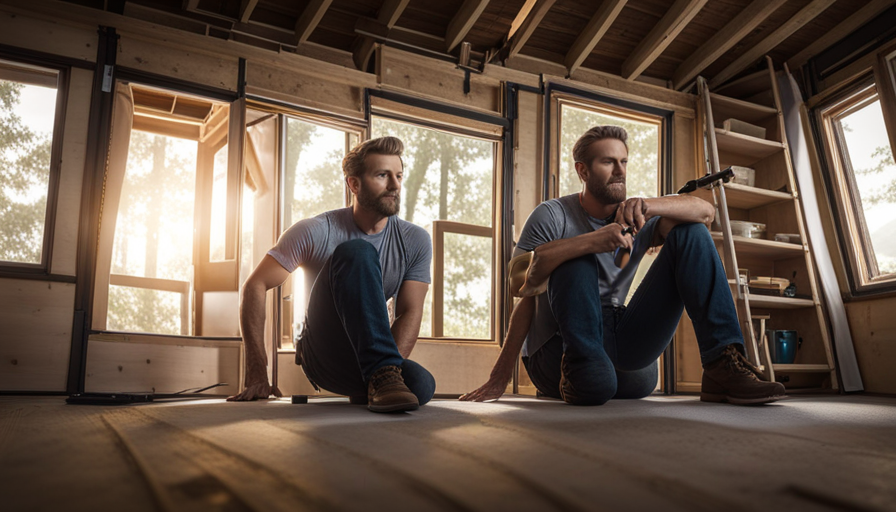
Assemble the Floor and Wall Panels
Once you’ve prepared the foundation, it’s time to put together the floor and wall panels, creating the structure for your cozy abode on wheels. Begin by carefully laying out the floor panels according to the manufacturer’s instructions. Ensure that the panels are aligned correctly and securely fastened together using the provided hardware. Take care to follow the recommended spacing and ensure that all joints are flush.
Next, move on to the wall panel assembly. Start by positioning the bottom plate and attaching it securely to the floor panels. Then, carefully align and attach the vertical studs to the bottom plate, ensuring that they’re plumb and evenly spaced. Once the studs are in place, attach the top plate, making sure it’s level and securely fastened.
After completing the floor and wall panel assembly, you’ll be ready to install the roof and windows. This next step involves carefully positioning and securing the roof panels, followed by the installation of windows according to the manufacturer’s instructions. By following these steps, you’ll be one step closer to completing your BigZ Die tiny house and creating a cozy living space on wheels.
Install the Roof and Windows
To complete your cozy abode on wheels, you’ll need to attach the roof panels and carefully install the windows, following the manufacturer’s instructions. The roof panels are an essential part of the tiny house assembly as they provide protection against the elements. When selecting roofing materials, it is crucial to choose ones that are lightweight yet durable. Popular options include metal roofing, which is known for its longevity and resistance to fire and pests. Alternatively, you may opt for asphalt shingles, which offer a more traditional look.
Before installing the roof panels, ensure that the floor and wall panels are securely in place. Begin by attaching the roof panels using the recommended fasteners and following the specified layout. The manufacturer’s instructions will provide detailed guidance on the proper installation technique.
Once the roof is secure, it’s time to install the windows. Window installation techniques may vary depending on the type of windows you have chosen. Whether you opt for traditional sliding windows or contemporary casement windows, proper installation is critical to ensure energy efficiency and proper ventilation. Follow the manufacturer’s instructions carefully, ensuring a tight seal and proper alignment.
To transition into the subsequent section about connecting plumbing and electrical systems, it is important to consider the placement of windows. Proper window installation will ensure sufficient natural light and ventilation, creating a comfortable living space. Now that the roof is in place and the windows are installed, we can move on to connecting the plumbing and electrical systems.
Connect Plumbing and Electrical Systems
Now you can bring your cozy abode to life by connecting the plumbing and electrical systems, ensuring a comfortable and functional living space.
To begin the process, follow these steps:
- Plumbing system installation: Start by installing the main water supply line, which will provide water to your tiny house. Connect the pipes using appropriate fittings and ensure that they’re properly sealed to prevent any leaks.
Next, install the drain lines for sinks, showers, and toilets, ensuring proper slope for effective drainage. Finally, connect the water heater and test the entire plumbing system for any potential leaks.
- Electrical system wiring: Begin by mapping out the locations of electrical outlets, switches, and light fixtures. Install the main electrical panel and feed the cables to the desired locations. Connect the wires to the outlets and switches, following the appropriate color-coding and safety guidelines.
Remember to install ground fault circuit interrupters (GFCIs) in areas where water may be present, such as the kitchen and bathroom. Test the electrical system by turning on the power and checking each outlet and switch for functionality.
With the plumbing and electrical systems successfully connected, you can now move on to the next step of finishing the interior design and decoration, creating a personalized and inviting space for you to enjoy.
Finish the Interior Design and Decoration
Creating a cozy and inviting living space is all about adding those final touches to the interior design and decoration. When it comes to tiny houses, every inch of space counts, so it’s important to make thoughtful choices that maximize functionality and style. Here are some interior design tips to help you create a beautiful tiny house on a budget.
Firstly, consider using multipurpose furniture to save space. Opt for a sofa that can convert into a bed or a table that can double as a desk. This way, you can maximize the functionality of each piece without sacrificing style or comfort.
Next, focus on clever storage solutions. Utilize vertical space by installing wall-mounted shelves or hanging organizers. You can also incorporate storage ottomans or under-bed drawers to make the most of every nook and cranny.
When it comes to decorating on a budget, consider DIY projects. Repurpose old furniture by giving it a fresh coat of paint or reupholstering it with new fabric. Get creative with inexpensive accessories like throw pillows, rugs, and curtains to add pops of color and personality to your space.
By implementing these interior design tips and decorating on a budget, you can transform your tiny house into a cozy and stylish home.
Now, let’s move on to the next step and install the flooring and insulation.
Install the Flooring and Insulation
Once you’ve chosen your flooring and insulation materials, lay down the flooring and insulate the walls and ceiling to create a comfortable and energy-efficient living space.
Here are some flooring options to consider for your tiny house:
- Hardwood: Provides a timeless and elegant look, but may require more maintenance.
- Laminate: Offers a cost-effective and durable solution that mimics the appearance of hardwood.
- Vinyl: Easy to clean and resistant to moisture, making it suitable for bathrooms and kitchens.
- Tile: Provides a wide variety of design options and is highly durable.
- Bamboo: A sustainable choice that’s harder than most hardwoods and offers a unique aesthetic.
When it comes to insulation techniques, there are several options to consider:
- Spray foam insulation: Provides excellent insulation and air sealing properties, but can be more expensive.
- Fiberglass insulation: A cost-effective option that’s easy to install and provides good thermal performance.
- Cellulose insulation: Made from recycled materials, it’s eco-friendly and offers good thermal and sound insulation.
By carefully selecting and installing the right flooring and insulation materials, you can create a cozy and energy-efficient living space in your tiny house.
Now that the flooring and insulation are in place, it’s time to add the finishing touches to your tiny house.
Add the Finishing Touches
With the flooring and insulation in place, it’s time to put the final touches on your cozy living space. Adding personal touches to your tiny house will make it feel like home.
Consider incorporating storage solutions that are both functional and stylish. Utilize vertical space by installing shelves or hanging organizers. Optimize under-bed storage by using rolling drawers or containers. Make use of wall space by adding hooks or pegboards for hanging items such as coats, hats, and keys.
To maximize storage in the kitchen, install a magnetic knife strip or a hanging pot rack. In the bathroom, consider adding a medicine cabinet or a wall-mounted shelf for toiletries.
Don’t forget about the importance of lighting and decor. Install task lighting in the kitchen and bathroom, and add ambient lighting throughout the living area. Hang curtains or blinds for privacy and to control natural light.
Finally, decorate with personal items such as artwork, photographs, and plants to create a warm and inviting atmosphere. With the finishing touches complete, it’s time to enjoy your new tiny house and embrace the minimalist lifestyle it offers.
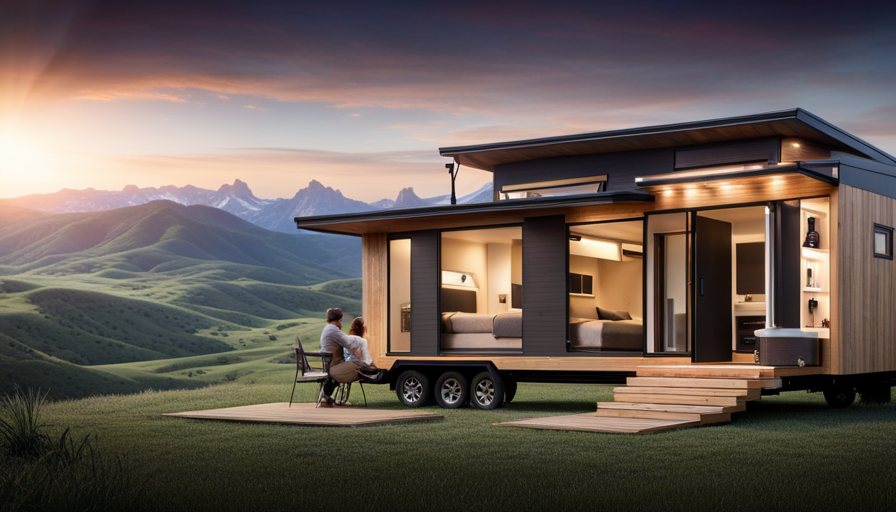
Enjoy Your New Tiny House!
Now that you’ve added the finishing touches to your cozy living space, it’s time to step inside and bask in the joy of your new tiny haven. Tiny house living offers numerous benefits, including reduced environmental impact, lower utility costs, and the ability to live a more minimalist lifestyle. But perhaps one of the most impressive aspects of tiny house living is the clever storage solutions that are incorporated into these compact spaces.
To fully appreciate the efficiency of a tiny house, let’s take a look at a table that highlights some of the innovative storage solutions commonly found in these homes:
| Storage Solution | Benefits |
|---|---|
| Lofted Bedroom | Maximizes vertical space and provides a private sleeping area. |
| Built-in Shelving | Utilizes wall space for storing books, decorations, and other items. |
| Underbed Storage | Utilizes the space beneath the bed for storing clothing, shoes, or seasonal items. |
| Multi-functional Furniture | Converts to different uses, such as a sofa that transforms into a bed or a dining table that doubles as a workspace. |
These storage solutions are designed to make the most out of every square inch, allowing you to live comfortably in a tiny house without sacrificing functionality. So, as you step inside your new tiny house, take a moment to appreciate the thoughtful design and ingenuity that went into creating a space that offers both practicality and tranquility. Enjoy your new tiny house!
Frequently Asked Questions
How long does it typically take to assemble a Bigz Die Tiny House?
On average, it takes about 3-4 days to assemble a Bigz Die Tiny House. To ensure efficient assembly, I recommend organizing and labeling all components, following the provided instructions step-by-step, and having a team of at least two people.
Can the Bigz Die Tiny House be customized to fit specific needs or preferences?
The Bigz Die Tiny House offers extensive customization options, allowing you to personalize it to fit your specific needs and preferences. From layout modifications to material choices, the possibilities are virtually endless.
What kind of maintenance does a Bigz Die Tiny House require?
Maintenance requirements for the Bigz Die Tiny House include regular cleaning, inspection of electrical and plumbing systems, and checking for any signs of wear and tear. Cost considerations should include budgeting for replacement parts and professional repairs if needed.
Are there any specific building codes or regulations that need to be followed when assembling a Bigz Die Tiny House?
Yes, there are specific building codes and regulations that need to be followed during the assembly process of a Bigz Die Tiny House. These regulations ensure safety and compliance. Additionally, there are customization options available to suit individual preferences.
Can the Bigz Die Tiny House be easily relocated or moved to a different location once assembled?
Relocating the Bigz Die Tiny House can be challenging and costly. Are there any special considerations for transporting it? Moving a fully assembled structure requires careful planning, transportation arrangements, and potentially professional assistance.
Conclusion
So there you have it, the step-by-step guide on how to assemble your bigz die tiny house.
With the right tools and materials, a solid foundation, and careful installation of the floor, walls, roof, and windows, you can create a cozy and functional home.
Don’t forget to connect the plumbing and electrical systems, and add your personal touch to the interior design and decoration.
Finally, add the flooring and insulation, and voila! Your new tiny house is ready to be enjoyed.
Get ready to experience the most incredible, mind-blowing, awe-inspiring living space you’ve ever imagined!