Building a small house can be an exciting journey, but it requires careful planning and execution for a successful outcome. From the initial design and gathering materials to the finishing touches and moving in, every step is crucial in creating a comfortable and functional living space.
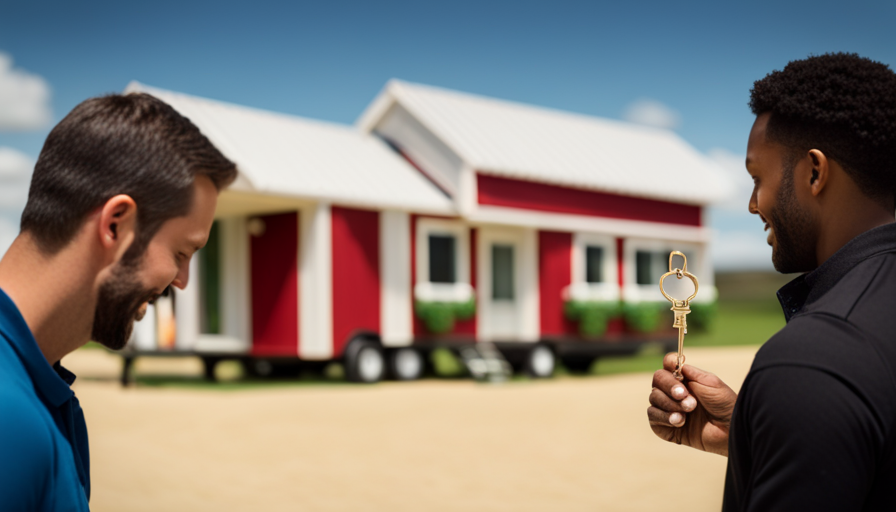
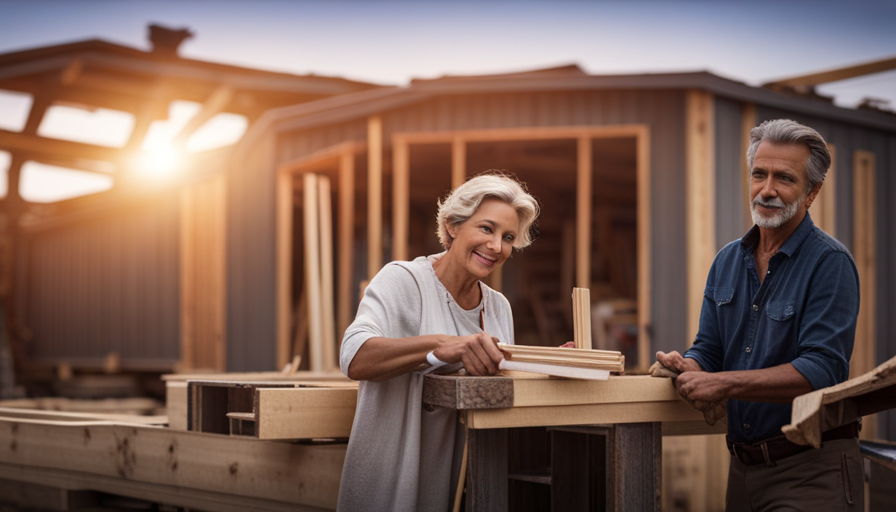
Take, for example, the case of Sarah, a young professional looking to downsize and live a more sustainable lifestyle. She decided to build a tiny house on wheels to have the flexibility to travel and explore different locations.
Sarah began by meticulously designing her dream tiny house, taking into account her specific needs and preferences. Once the design was finalized, she started acquiring the necessary materials and supplies, carefully selecting each item to ensure quality and durability.
The next step was the foundation and framing, where Sarah enlisted the help of experienced builders to ensure structural integrity. Electrical and plumbing installation followed, ensuring that her tiny house had all the necessary amenities.
With insulation and interior finishes completed, Sarah then installed fixtures and appliances, giving her tiny house the functionality of a larger home. Final touches and decor added a personal touch, making her living space truly her own.
After inspections and certifications were obtained, Sarah was finally able to move into her tiny house, achieving her goal of a simpler, more sustainable lifestyle.
Throughout this article, we will delve into each step of the building process, providing valuable insights and timelines on how long it typically takes to build a tiny house. So, if you’re considering embarking on your own tiny house journey, read on to discover the timeline and intricacies of this captivating endeavor.
Key Takeaways
- Building a tiny house requires careful planning and execution.
- Sarah meticulously designed her dream tiny house and acquired materials and supplies within budget and sustainability.
- Experienced builders helped with the foundation and framing, while Sarah handled electrical and plumbing installation.
- Insulation and interior finishes, as well as exterior finishes and roofing, were completed before installing fixtures and appliances.
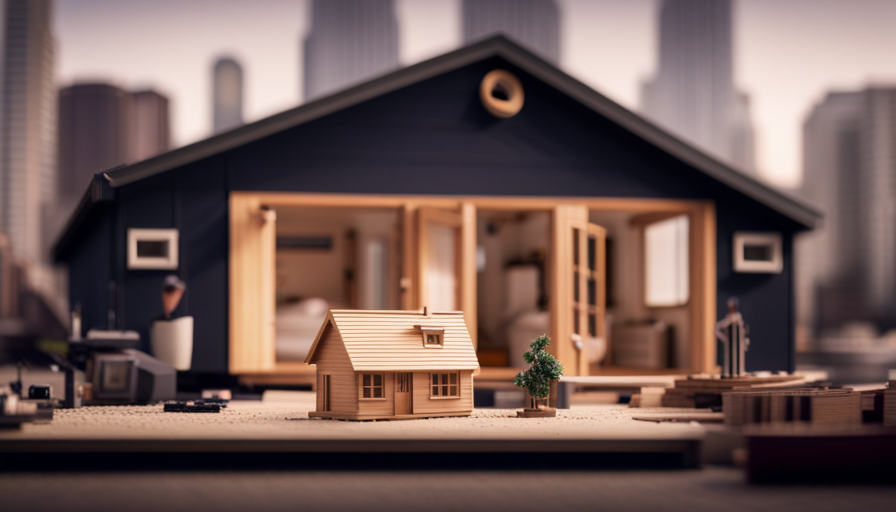
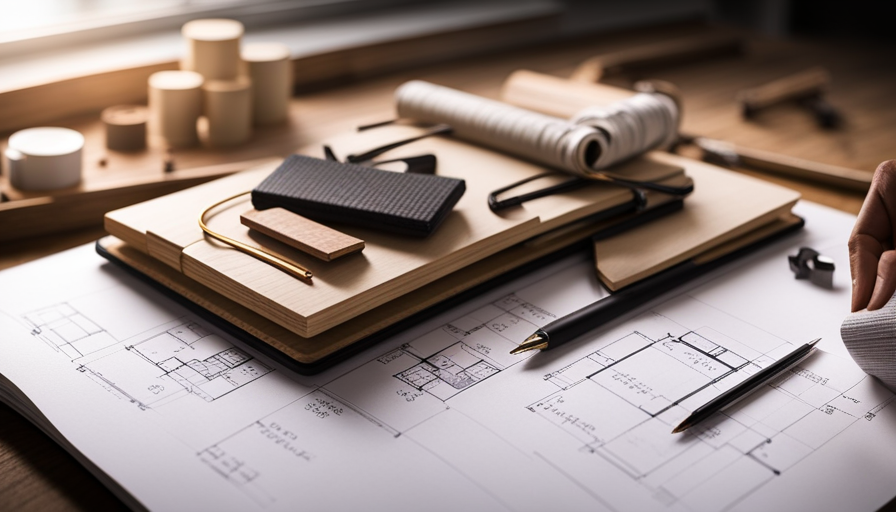
Designing and Planning Your Tiny House
You can start designing and planning your tiny house right now and let your imagination run wild!
When it comes to tiny house design trends, there are various styles and concepts to choose from. From modern and minimalist to rustic and cozy, the possibilities are endless.
The key is to maximize space in tiny houses, as every square inch counts. Consider utilizing multifunctional furniture, such as foldable tables or built-in storage compartments. Additionally, think about incorporating clever storage solutions like hidden cabinets or overhead shelves.
Another popular trend is the use of vertical space, where you can install loft areas or suspended beds to create more room below.
Don’t forget about the importance of natural light and ventilation in your design. Large windows, skylights, and strategically placed openings can make your tiny house feel more spacious and airy.
Once you have your design plan in place, it’s time to move on to acquiring materials and supplies, ensuring you have everything you need to bring your tiny house to life.
Acquiring Materials and Supplies
When it comes to acquiring materials and supplies for my tiny house project, the first step is to make a comprehensive list of all the required materials. This includes everything from lumber and insulation to plumbing and electrical components.
Once the list is complete, I’ll need to source and purchase these materials, making sure to compare prices and quality to ensure I get the best value for my money.
Additionally, I’ll need to gather all the necessary tools and equipment, such as saws, drills, and measuring tools, to ensure I have everything I need to complete the construction efficiently.
Make a List of Required Materials
Using various vibrant and versatile materials is vital when making a marvelous list for constructing a tiny house. When creating the list of required materials, it’s crucial to consider the budgeting and financing for the project. Careful planning is necessary to ensure that all necessary items are included while staying within the allotted budget.
The list should encompass everything from the foundation materials to the finishing touches, such as paint and hardware. It’s important to research and select materials that aren’t only affordable but also durable and sustainable. By considering these factors, the list can be tailored to meet individual needs and preferences.
Moving forward, the next step is to source and purchase the building materials, ensuring that they align with the predetermined budget and specifications.
Source and Purchase Building Materials
After carefully planning and budgeting for the project, the next step is to find and buy the necessary materials for constructing your dream tiny home. Sourcing materials is a crucial part of the process, as it ensures that you have everything you need to build your tiny house efficiently.
When budgeting for supplies, it’s important to consider the quantity and quality of materials required. Here is a list of essential items to purchase:
- Lumber and plywood for framing
- Insulation for walls and roof
- Roofing materials such as shingles or metal panels
- Windows and doors for ventilation and access
By sourcing these materials, you can ensure that your tiny house project stays on track and within budget.
Once you’ve acquired all the necessary materials, the next section will focus on gathering the tools and equipment needed for the construction process.
Gather Tools and Equipment
First, gather all the necessary tools and equipment for constructing your dream tiny home to make sure you have everything you need to bring your vision to life. Choosing the right tools is crucial to ensure efficiency and accuracy throughout the building process. Some essential tools include a circular saw for cutting materials, a power drill for fastening screws, a tape measure for precise measurements, and a level to ensure everything is straight and aligned. Additionally, it is important to prioritize safety precautions while using tools. Always wear protective gear such as goggles and gloves, and follow the manufacturer’s instructions for each tool. With the proper tools and safety measures in place, you can proceed to the next section about foundation and framing, where you will lay the groundwork for your tiny house.
Foundation and Framing
To begin building a tiny house, I first prepare the building site by clearing the area of any debris or obstacles.
Next, I lay the foundation or trailer, ensuring it’s level and secure.
Finally, I construct the frame of the tiny house, carefully following the blueprints and ensuring all joints are securely fastened.
These initial steps are crucial in setting a solid foundation for the rest of the construction process.
Prepare the Building Site
Before starting the construction process, it’s crucial to ensure that the building site for the tiny house is properly prepared.
Preparing the site involves several important steps. First, clear any vegetation or debris from the area and level the ground. This ensures a stable foundation and minimizes the risk of future structural issues.
Next, assess the site’s drainage and make any necessary adjustments to prevent water accumulation around the house.
Additionally, utilities such as electricity, water, and sewage should be considered, and their connections planned accordingly.
Once the site is properly prepared, the next step is to lay the foundation or trailer. This provides a solid base for the tiny house, ensuring stability and durability throughout the construction process and beyond.
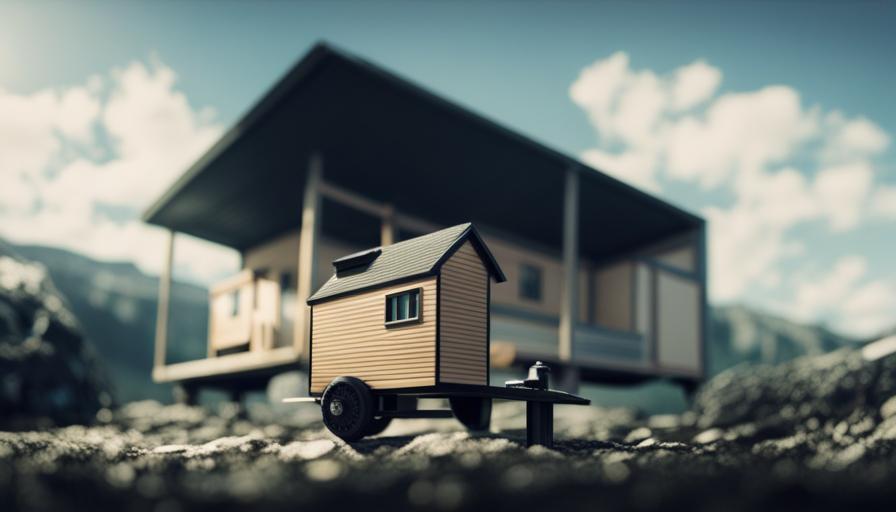
Lay the Foundation or Trailer
In the previous subtopic, we discussed how to prepare the building site for your tiny house. Now, let’s move on to the current subtopic: laying the foundation or trailer. This step is crucial as it sets the groundwork for your tiny house and determines its stability and durability.
Choosing the right foundation for your tiny house is essential. There are different options available, such as a concrete slab, pier foundation, or even using a trailer as the foundation. Each option has its own pros and cons, so it’s important to consider factors like cost, mobility, and long-term maintenance before making a decision.
Building your tiny house on a trailer has become increasingly popular due to its flexibility and mobility. However, it also has some drawbacks, such as limited space and potential issues with zoning regulations.
Once you have chosen the appropriate foundation, you can then proceed to the next step of constructing the frame of the tiny house. This will form the skeleton of your future home, providing structural integrity and support.
Construct the Frame of the Tiny House
Get ready to experience the exhilarating process of constructing your tiny house’s frame – it’s where the magic of your dream home truly starts to take shape! Framing techniques play a crucial role in ensuring the structural integrity of your tiny house. Building permits are also essential at this stage to ensure compliance with local regulations.
Here are four key aspects to consider during the frame construction process:
-
Plan and measure: Accurate measurements and a well-thought-out plan are essential to ensure the frame fits together seamlessly.
-
Choose the right materials: Selecting high-quality lumber and other materials is vital for a sturdy and durable frame.
-
Assemble the walls: Using framing techniques like platform, balloon, or post-and-beam, construct the walls of your tiny house.
-
Install the roof: Whether you opt for a flat or pitched roof, proper installation is crucial to protect your tiny house from the elements.
Once the frame is complete, it’s time to move on to the next exciting phase of electrical and plumbing installation.
Electrical and Plumbing Installation
The electrical and plumbing installation in a tiny house can be completed in a matter of weeks, providing the essential infrastructure for comfortable living. During this phase, the electrical wiring and plumbing fixtures are meticulously installed to ensure functionality and safety.
In terms of electrical wiring, the tiny house requires a well-designed system to power all the necessary appliances and electronics. This involves strategically routing the electrical wires throughout the house, connecting them to outlets, switches, and the main electrical panel. A carefully planned electrical layout is crucial to avoid any potential hazards and to ensure that power is distributed efficiently.
Similarly, the plumbing fixtures in a tiny house need to be installed with precision. This includes connecting the water supply lines, drainage pipes, and fixtures such as sinks, toilets, and showers. The correct installation of plumbing fixtures is essential to prevent leaks, ensure proper water flow, and maintain sanitation.
To provide a more engaging experience, here is a table summarizing the key aspects of the electrical and plumbing installation process:
| Aspect | Electrical Installation | Plumbing Installation |
|---|---|---|
| Timeframe | Weeks | Weeks |
| Complexity | Moderate | Moderate |
| Technical Skills | Required | Required |
Now that the electrical and plumbing infrastructure is in place, the next step is to focus on insulation and interior finishes, which will further enhance the comfort and aesthetics of the tiny house.
Insulation and Interior Finishes
Now that you’ve got the essential electrical and plumbing infrastructure in place, it’s time to focus on adding insulation and interior finishes to make your tiny house cozy and visually appealing.
Insulation is crucial for maintaining a comfortable temperature inside your tiny house, regardless of the weather outside. There are various insulation techniques you can choose from, such as spray foam, rigid foam boards, or fiberglass batts. Each type has its own advantages and considerations, so it’s important to research and select the most suitable one for your needs.
Once the insulation is installed, you can move on to the exciting part – interior finishes. Interior design styles can greatly influence the overall ambiance of your tiny house. Whether you prefer a rustic, minimalist, or modern look, there are countless options to explore. Consider factors such as the size of your tiny house, the natural lighting available, and your personal preferences when selecting materials, colors, and furniture.
Creating a cohesive and functional interior space is essential in a tiny house. Maximizing storage solutions, utilizing multipurpose furniture, and optimizing every inch of space are key considerations. With careful planning and attention to detail, you can create a comfortable and stylish living area within the limited square footage of your tiny house.
Now, let’s move on to the next section about exterior finishes and roofing, where we’ll discuss how to protect and beautify the exterior of your tiny house.
Exterior Finishes and Roofing
Once the insulation and interior finishes are complete, what kind of exterior finishes and roofing will give your tiny house the perfect combination of protection and aesthetic appeal? The choice of roofing materials is crucial in ensuring the durability and longevity of your tiny house. Here are three options to consider:
-
Metal Roofing: Metal roofs are known for their durability and low maintenance. They offer excellent protection against harsh weather conditions and can last up to 50 years. Additionally, they’re lightweight and fire-resistant, making them a popular choice for tiny houses.
-
Asphalt Shingles: Asphalt shingles are a cost-effective option that come in a variety of colors and styles. They provide good protection against the elements and can last up to 30 years with proper maintenance. However, they may not be as eco-friendly as other options.
-
Cedar Shakes: If you prefer a more natural and rustic look, cedar shakes are a great choice. They’re made from renewable resources and offer good insulation. However, they require regular maintenance to prevent rot and insect infestation.
When it comes to the exterior design, you have endless possibilities. You can choose from various siding materials such as wood, vinyl, or fiber cement. Consider the overall aesthetic you want to achieve and select materials that complement each other. With the right combination of roofing materials and exterior finishes, your tiny house won’t only be protected but also visually appealing.
In the next section, we’ll discuss how to install fixtures and appliances to make your tiny house functional and comfortable.
Install Fixtures and Appliances
Get ready to transform your tiny space into a functional and cozy home by installing fixtures and appliances!
When it comes to choosing fixtures and appliances for your tiny house, it’s important to consider energy efficiency and budgeting. Opting for energy efficient appliances not only helps reduce your environmental footprint but also saves you money in the long run. Look for appliances with the ENERGY STAR label, as they meet strict efficiency standards set by the Environmental Protection Agency.
Budgeting for fixtures and appliances is crucial to ensure that you stay within your financial means. Prioritize the essentials such as a compact refrigerator, a space-saving cooktop, and a microwave oven. These appliances will provide you with the necessary functionality without taking up excessive space. Additionally, consider the size and weight of the fixtures you choose, as you want to ensure they are compatible with the dimensions and weight capacity of your tiny house.
Once you have chosen the fixtures and appliances, it’s time to install them in your tiny house. Follow the manufacturer’s instructions carefully and make sure to connect them to the appropriate power sources. After installation, test each fixture and appliance to ensure they are functioning properly.
With fixtures and appliances in place, you’re one step closer to completing your tiny house. In the next section, we’ll discuss the final touches and decor that will truly make your tiny house feel like home.
Final Touches and Decor
When it comes to final touches and decorations for a tiny house, there are three key points to consider.
First, it’s important to install trim and molding to give the house a finished and polished look.
Second, adding personal touches and decorations can help to make the space feel like home and reflect your individual style.
Lastly, it’s crucial to thoroughly clean and prepare the tiny house for use, ensuring that it’s ready for you to move in and enjoy.
Install Trim and Molding
Installing trim and molding is a crucial step in the construction process of a tiny house. It adds a touch of elegance and refinement to the overall design. It involves carefully measuring and cutting the trim pieces to fit seamlessly around doors, windows, and corners.
Trim not only covers gaps and uneven edges but also enhances the aesthetic appeal of the interior. By installing trim, the tiny house achieves a polished and finished look.
Molding, on the other hand, adds depth and character to the walls and ceilings. It can be installed as crown molding or baseboards, giving the space a more sophisticated and cohesive appearance.
Once the trim and molding are in place, it sets the stage for adding personal touches and decorations, making the tiny house truly feel like a home.
Add Personal Touches and Decorations
After the arduous task of installing trim and molding, it’s finally time to add the personal touches and decorations that will make this tiny house feel like home. This is where your creativity can truly shine as you customize every corner of your new space.
Here are four essential items to consider when adding those final touches:
-
Statement artwork: Choose a bold piece that reflects your personality and becomes the focal point of the room.
-
Cozy textiles: Add plush throw blankets, decorative pillows, and soft rugs to create a warm and inviting atmosphere.
-
Plants: Bring life into your tiny house with potted plants that not only look beautiful but also purify the air.
-
Sentimental mementos: Display cherished items that hold special meaning, such as family photos or heirlooms.
Now that the interior is complete, it’s time to move on to the next step: cleaning and preparing the tiny house for use.
Clean and Prepare the Tiny House for Use
Now that the interior is all set, it’s time to give the tiny house a thorough cleaning and get it ready for use, ensuring it’s fresh and sparkling like a polished gem.
Cleaning and maintenance are essential to keep your tiny house in top shape. Start by sweeping or vacuuming the floors, wiping down all surfaces with a non-toxic cleaner, and cleaning the windows inside and out. Don’t forget to dust the nooks and crannies, and sanitize the bathroom and kitchen areas.
Once everything is clean, it’s time to focus on organizing and storage. Utilize clever storage solutions like wall-mounted shelves, under-bed storage, and multi-functional furniture to maximize the limited space. Properly store your belongings and keep everything neat and tidy.
With the cleaning and organizing complete, the next step is to ensure your tiny house passes all necessary inspections and certifications.
Inspections and Certifications
During the construction process, tiny houses undergo inspections and certifications to ensure compliance with building codes and regulations. The inspections process involves a thorough examination of the tiny house’s structure and systems to ensure they meet safety standards. This includes checking the foundation, framing, electrical wiring, plumbing, and HVAC systems. Inspectors also verify that the tiny house is properly insulated and ventilated to maintain a comfortable living environment.
Certification requirements vary depending on the location and intended use of the tiny house. In some areas, the tiny house may need to be certified as a recreational vehicle (RV) if it’s intended for temporary or seasonal use. This involves meeting specific size, weight, and safety criteria. Other certifications may be required if the tiny house is intended for permanent or long-term living.
Once the inspections and certifications are complete, you can move into your tiny house and start enjoying the benefits of small living. Transitioning into your tiny house allows you to experience a simpler and more sustainable lifestyle, with less maintenance and lower expenses.
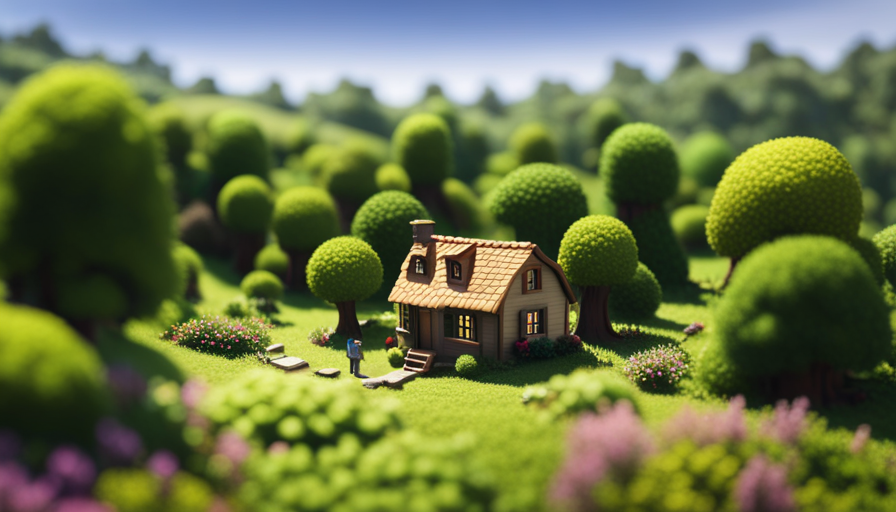
Moving into Your Tiny House
Settling into your cozy new abode feels like stepping into a tranquil sanctuary, where simplicity and sustainability intertwine seamlessly. As you embark on this exciting journey of tiny living, it’s essential to plan and prepare for the moving logistics and adjust to the unique aspects of tiny house living.
Here are three key considerations to help you navigate the process smoothly:
-
Downsizing: Moving into a tiny house requires a significant downsizing effort. Evaluate your belongings and prioritize what’s essential to bring along. Consider donating or selling items that won’t fit in your new space.
-
Space Optimization: Embrace the challenge of maximizing every inch of your tiny house. Explore creative storage solutions like foldable furniture, wall-mounted shelves, and multifunctional pieces to make the most of your limited space.
-
Lifestyle Adjustment: Adjusting to tiny living may take some time. Embrace the simplicity and freedom that comes with minimalism. Be prepared for a change in daily routines and a more intentional approach to your lifestyle.
By carefully considering these moving logistics and adjusting to the tiny living experience, you can fully embrace the joys and benefits of living in a tiny house. Enjoy the journey as you settle into your new sanctuary!
Frequently Asked Questions
How much does it cost to build a tiny house?
The cost of building a tiny house can vary depending on factors such as materials, size, and location. Cost estimation is crucial in determining the overall expenses involved. Financing options, such as loans or personal savings, can help cover the costs. It’s important to research and plan accordingly to ensure a realistic budget.
What are the legal regulations surrounding tiny house construction?
Legal requirements and zoning restrictions play a crucial role in the construction of tiny houses. One interesting statistic is that as of 2021, only 10% of US cities have specific regulations for tiny houses. However, it’s important to note that these regulations vary widely, with some areas allowing tiny houses as permanent dwellings while others only permit them as accessory dwelling units.
It’s crucial to research and comply with local building codes, permits, and zoning restrictions to ensure a smooth construction process.
Is it possible to build a tiny house on wheels?
Yes, it’s possible to build a tiny house on wheels. This type of tiny house is designed to be mobile and can be moved to different locations. Tiny house mobility allows for flexibility and the ability to explore different environments. When it comes to parking options, tiny houses on wheels can be parked on private property, in designated tiny house communities, or even on campgrounds, depending on local regulations.
Are there any disadvantages to living in a tiny house?
Are there any disadvantages to living in a tiny house?
While there are numerous advantages to tiny house living, such as reduced costs and a simplified lifestyle, it is important to consider the challenges as well. Limited space can make it difficult to accommodate guests or store belongings, and zoning regulations may restrict where you can park your tiny house.
However, with thoughtful planning and creative solutions, these disadvantages can be overcome, making tiny house living a rewarding and fulfilling experience.
Can a tiny house be customized to suit personal preferences and needs?
Yes, a tiny house can be customized to suit personal preferences and needs. There are various customization options available, allowing for design flexibility. From choosing the layout and finishes to adding specific features, the design of a tiny house can be tailored to individual tastes.
Whether it’s maximizing storage space, incorporating eco-friendly elements, or creating a unique aesthetic, customization options provide the opportunity to create a personalized and functional living space.
Conclusion
After months of meticulous planning, sourcing materials, and constructing every inch, my tiny house stands tall and proud. It’s been a journey filled with sweat, determination, and countless cups of coffee.
Like a symphony conductor, I’ve orchestrated each step, ensuring every electrical wire and plumbing pipe found its perfect place. From the cozy insulation to the polished interior finishes, my tiny abode is now ready to embrace its new life.
With inspections complete and certifications in hand, I’m finally ready to call this masterpiece my home sweet home.

Hi, I’m Emma. I’m the Editor in Chief of Tiny House 43, a blog all about tiny houses. While tree houses are often associated with childhood, they can be the perfect adult retreat. They offer a cozy space to relax and unwind, surrounded by nature. And since they’re typically built on stilts or raised platforms, they offer stunning views that traditional homes simply can’t match. If you’re looking for a unique and romantic getaway, a tree house tiny house might just be the perfect option.