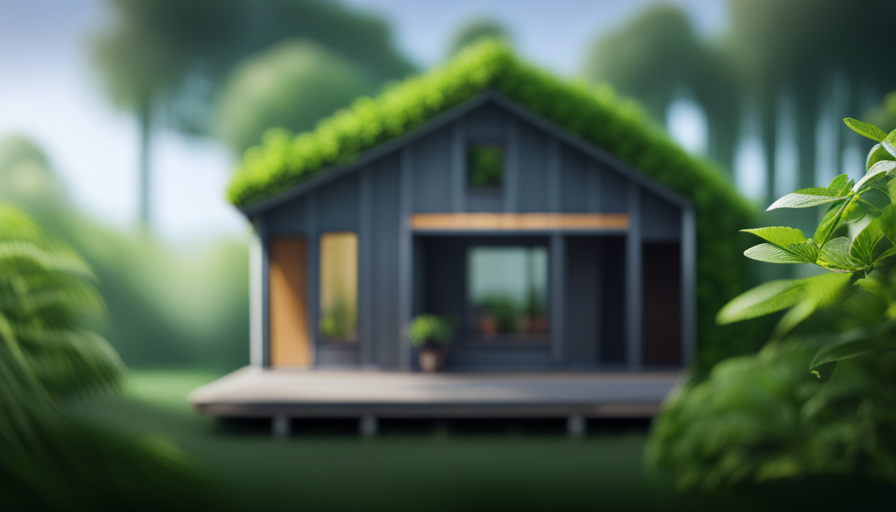
Are you prepared to start your minimalist living adventure? Imagine a tranquil retreat surrounded by nature, where every bit of space is optimized for convenience and coziness. Welcome to the realm of tiny houses.
But, before you can start enjoying the benefits of tiny living, you need to know how to frame your very own tiny house. In this article, I will guide you through the process step by step, ensuring that you have all the knowledge and tools necessary to bring your tiny house dreams to life. From determining the size and layout to finishing those exterior touches, we will cover it all.
So, grab your hammer and let’s get started on the exciting journey of framing a tiny house!
Key Takeaways
- Framing a tiny house is crucial for achieving functionality and comfort in a limited space.
- Careful consideration of the size and layout is necessary to meet individual lifestyle and needs.
- Sketching out different floor plans helps in finding the perfect arrangement before starting the framing process.
- Safety precautions, permits, and compliance with building codes are essential during the framing process.

Frylr Small Folding Computer Desk – Portable 35.8 Inch Foldable Laptop Table, No-Assembly, Collapsible and Compact for Easy Storage, Lightweight for Small Spaces, Craft and Study Use, Dark Walnut
- Quick Assembly: Unfolds in 10 seconds without tools
- Spacious Surface: 35.8 x 15.7 inch tabletop for laptops and books
- Sturdy Construction: Heavy-duty metal frame with thick tabletop
As an affiliate, we earn on qualifying purchases.
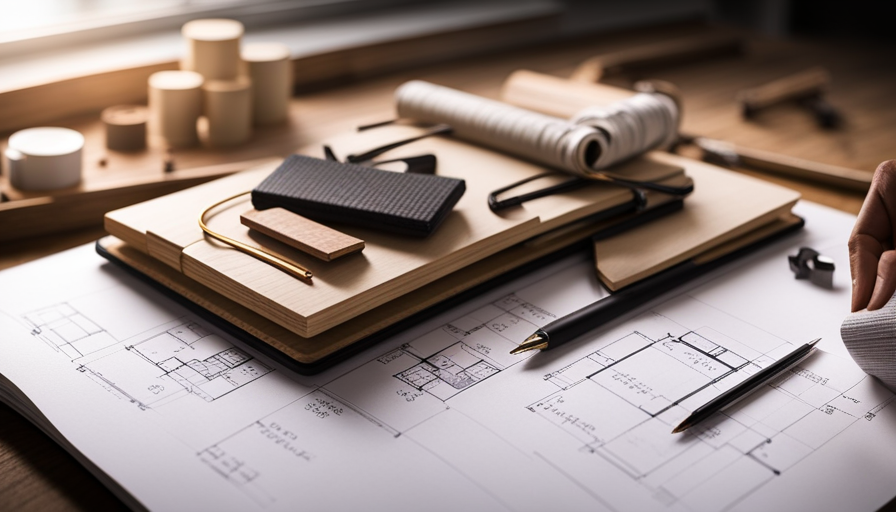
Determine the Size and Layout of Your Tiny House
So, you’re ready to start building your dream tiny house, but first, let’s figure out just how big and how it’s going to be laid out!
Determining the size and layout of your tiny house is crucial for maximizing space and incorporating multi-functional furniture. Begin by considering your lifestyle and needs. Think about how many rooms you’ll require and how you want them arranged.
Take into account the dimensions of your furniture and appliances to ensure they fit comfortably. Sketch out different floor plans, experimenting with various layouts until you find the perfect arrangement.
Once you have a clear vision, gather the necessary tools and materials to bring your dream tiny house to life. Transitioning into the next section, having the right tools will enable you to tackle the framing process with ease.
Gather the Necessary Tools and Materials
First, you’ll need to gather all the essential tools and materials, because let’s face it, building a mini abode without them would be like trying to catch a fish with a toothpick – completely pointless.
When it comes to framing a tiny house, choosing the right framing techniques is crucial. You’ll need a reliable circular saw to make precise cuts on the lumber, a framing square to ensure accurate angles, and a level to keep everything plumb and square. Additionally, a nail gun with appropriate nails will save you time and effort when securing the framing members together.
Safety precautions are of utmost importance during the framing process. Always wear protective eyewear, gloves, and a hard hat. Use sturdy ladders and scaffolding, and secure them properly.
Finally, remember to gather all necessary permits and consult local building codes before proceeding with the framing.
Now that you have all the tools and materials, let’s move on to preparing the foundation for framing.
Prepare the Foundation for Framing
To adequately prepare the foundation for framing, you must ensure that all necessary permits are obtained and local building codes are consulted.
Before starting the construction process, it’s crucial to prepare the ground by removing any vegetation, rocks, or debris that may interfere with the foundation.
Next, you need to level the foundation area using a laser level or a string level to ensure a flat and even surface. This step is vital as it’ll determine the stability and durability of your tiny house.
Once the ground is prepared, you can proceed to frame the walls and install window and door openings.
By following these steps, you’ll create a solid foundation that’ll provide a sturdy base for the rest of your tiny house construction.
Frame the Walls and Install Window and Door Openings
Once you’ve prepared the foundation, it’s time to roll up your sleeves and start building those walls. Add in the windows and door openings for a touch of character and functionality. Begin by framing the walls using 2×4 lumber, ensuring they’re plumb and square.
Install the window openings by measuring and cutting out the appropriate size in each wall, leaving room for headers and sills. Secure the windows in place using screws or nails, making sure they’re level and properly sealed to prevent any drafts or water leaks.
Next, frame the door openings, accounting for the door size and necessary clearance. Install the door frames, ensuring they’re level and securely attached to the surrounding wall framing.
Finally, transition into the subsequent section about framing the roof and installing roof trusses by ensuring the walls are sturdy and ready to support the next phase of construction.
Frame the Roof and Install Roof Trusses
Now that you’ve built the sturdy walls and installed the windows and door openings, it’s time to take your construction to new heights by framing the roof and installing the roof trusses.
Roof truss installation techniques are crucial to ensure the stability and durability of your tiny house. When choosing the right roofing materials, consider factors such as weight, weather resistance, and aesthetic appeal. Common options include asphalt shingles, metal roofing, and cedar shakes. Additionally, make sure to select a roofing material that complements the overall design of your tiny house.
Once you have the materials ready, begin by attaching the roof trusses to the top plates of the walls. Ensure proper alignment and secure them using nails or screws. This step is essential as it forms the foundation for installing insulation and vapor barrier, which will be covered in the next section about installing insulation and vapor barrier.
Install Insulation and Vapor Barrier
As you work on creating a cozy and well-insulated sanctuary, imagine wrapping your tiny haven in a protective cocoon with insulation and vapor barrier materials.
Proper insulation is crucial to maintaining a comfortable temperature inside your tiny house and preventing energy loss. Start by choosing insulation materials that are suitable for your climate and provide maximum thermal resistance. Common options include fiberglass, spray foam, and rigid foam boards.
Install the insulation between the wall studs, roof trusses, and floor joists, ensuring a tight fit to minimize air leakage.
Next, add a vapor barrier to prevent moisture buildup. This can be a plastic sheet or a special vapor barrier paint. Secure the barrier to the interior side of the insulation, ensuring a continuous seal.
By following these insulation tips and moisture prevention techniques, you can create a well-insulated and protected tiny house.
Moving on to the next step of the process, let’s now discuss how to install electrical and plumbing systems.
Install Electrical and Plumbing Systems
To create a fully functional and comfortable living space, you’ll need to install electrical and plumbing systems, ensuring that your tiny sanctuary is equipped with essential amenities.
When it comes to electrical wiring, it’s crucial to plan the layout carefully and adhere to local building codes. Begin by installing the electrical service panel and running the main power supply. From there, you can route the wiring to outlets, switches, and light fixtures throughout the tiny house. Make sure to follow proper safety precautions, such as grounding and using GFCI outlets in wet areas.
In addition to electrical wiring, plumbing installation is another vital aspect. Start by connecting the main water supply line and installing a water heater if desired. Proceed to install the plumbing for sinks, showers, toilets, and any other necessary fixtures. Use PEX or PVC pipes, ensuring proper ventilation and drainage. Don’t forget to insulate any exposed pipes to prevent freezing during colder months.
By completing the installation of electrical and plumbing systems, you’ll be one step closer to enjoying a fully functional tiny house. Next, we’ll delve into how to finish the interior walls and ceiling seamlessly.
Finish the Interior Walls and Ceiling
Once the electrical and plumbing systems are in place, it’s time to tackle the interior walls and ceiling. This involves finishing the interior walls and ceiling to create a cozy and inviting space. Did you know that the average homeowner spends about 20% of their renovation budget on this step?
When it comes to choosing the right paint color, it’s important to consider the overall aesthetic you want to achieve. Lighter colors can make a small space feel larger and more open, while darker colors can add depth and warmth.
Additionally, selecting the best lighting fixtures is crucial for both functionality and style. You should consider the type of lighting you need in each area of the tiny house and choose fixtures that complement the overall design.
Next, we will delve into the next step of the process, which involves installing the flooring and cabinets to complete the interior transformation.
Install Flooring and Cabinets
After completing the interior walls and ceiling, it’s time to focus on installing the flooring and cabinets to truly bring the space to life. When it comes to flooring, there are various options to consider for a tiny house. You can choose from hardwood, laminate, vinyl, or tile, depending on your personal preference and budget. It’s important to ensure that the flooring is durable and easy to clean, as space is limited.
In terms of cabinets, selecting the right ones can make a huge difference in maximizing storage and functionality. Consider choosing cabinets that are compact and space-saving, with built-in organizers for better organization. Additionally, installing countertops is an essential step in completing the kitchen area. Choose a countertop material that is both aesthetically pleasing and durable, such as quartz or granite.
Once the flooring and cabinets are installed, it’s time to move on to the next phase of the project: the complete exterior finishing touches.
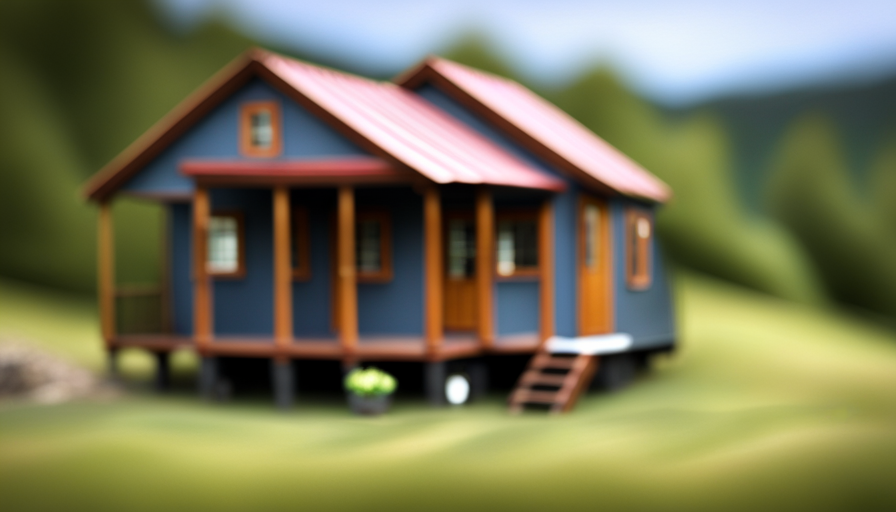
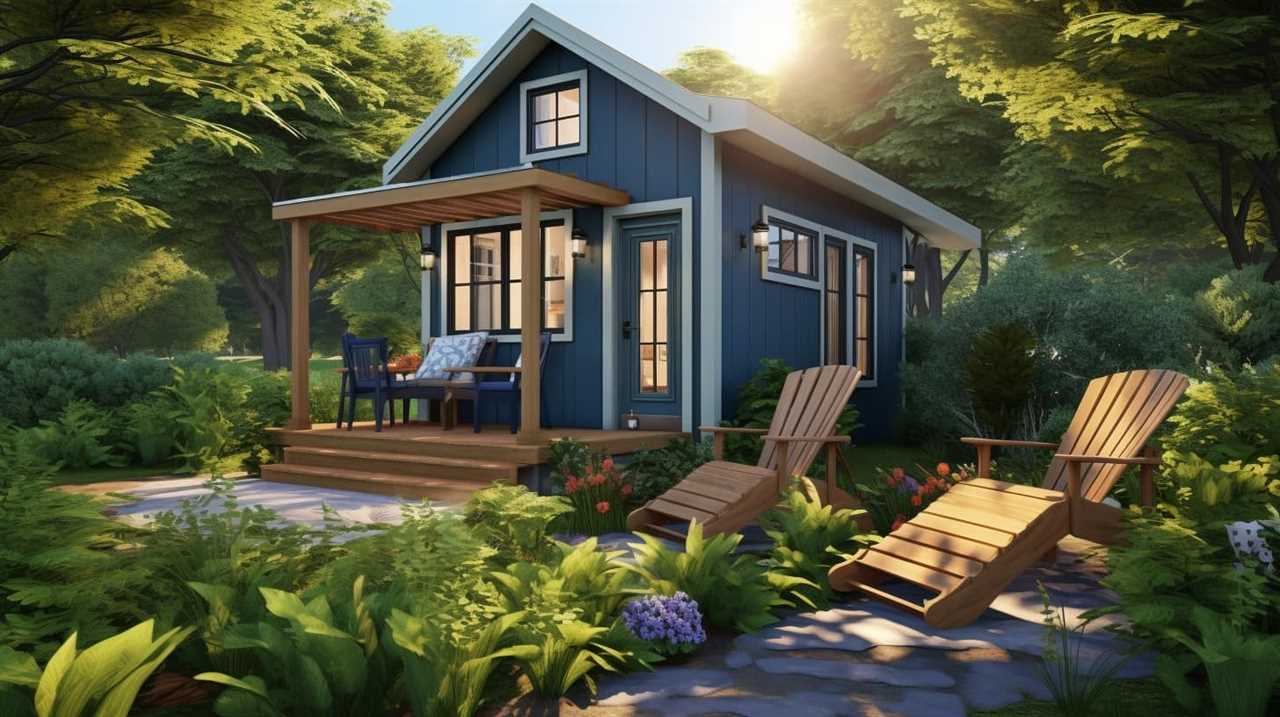
Complete Exterior Finishing Touches
Don’t forget the final touches on the exterior – the details that’ll truly make your tiny house shine! When it comes to exterior finishing touches, there are a few key elements to consider.
Here are some ideas to enhance the overall look and feel of your tiny house:
-
Exterior paint options: Choose a color scheme that complements the surroundings and reflects your personal style. Consider using durable, weather-resistant paints that’ll protect your tiny house from the elements.
-
Landscaping ideas: Enhance the curb appeal by incorporating landscaping elements such as flower beds, shrubs, or even a small garden. Select low-maintenance plants that can thrive in the local climate and require minimal watering and upkeep.
-
Lighting fixtures: Install outdoor lighting fixtures strategically to illuminate pathways, highlight architectural features, and create a warm ambiance. Opt for energy-efficient LED lights to minimize electricity consumption.
By paying attention to these exterior finishing touches, you can transform your tiny house into a visually appealing and inviting space.
Frequently Asked Questions
How much does it cost to frame a tiny house?
The cost breakdown for framing a tiny house can vary depending on several factors. On average, it can cost between $5,000 and $15,000 to frame a tiny house. However, there are cost-saving options available.
Utilizing salvaged or recycled materials can significantly reduce costs. Additionally, opting for a simple design with fewer corners and angles can minimize the amount of framing required. It’s important to consider these factors when budgeting for framing a tiny house.
Can I use recycled materials for framing my tiny house?
Yes, I can use recycled materials for framing my tiny house. This offers several benefits. By using recycled materials, I can reduce the environmental impact and save costs. Alternatives to traditional framing methods include reclaimed lumber, salvaged steel, and repurposed shipping containers. These materials are sturdy, durable, and readily available. Incorporating recycled materials in the framing process not only supports sustainability but also adds character and uniqueness to the overall design of the tiny house.
What are the common mistakes to avoid when framing a tiny house?
Common framing mistakes to avoid when constructing a tiny house include improper measuring and cutting of materials, inadequate bracing and support, and neglecting to properly secure the frame to the trailer or foundation.
To ensure efficient framing, it’s important to plan and layout the frame accurately, use quality materials, and follow building codes and regulations.
Additionally, using appropriate tools, techniques, and fasteners will help create a sturdy and durable structure for your tiny house.
How long does it typically take to frame a tiny house?
To speed up the framing process of a tiny house, there are a few tips for efficient construction.
Firstly, organizing and labeling all materials beforehand will save time and reduce confusion.
Secondly, using prefabricated wall panels can significantly reduce framing time.
Additionally, employing a team of experienced framers can expedite the process.
Lastly, having a well-designed and detailed framing plan will ensure smooth execution.
By implementing these strategies, the average time to frame a tiny house can be significantly reduced.
Are there any specific building codes or regulations I need to be aware of when framing a tiny house?
When it comes to framing a tiny house, there are specific building codes and regulations that need to be followed. These codes ensure the structural integrity and safety of the house. Building codes for tiny house framing outline requirements for materials, dimensions, and construction techniques.
Regulations for framing a tiny house may include guidelines for wall framing, roof framing, and floor framing.
It is important to research and comply with these codes and regulations to ensure a well-built and legally compliant tiny house.
Conclusion
In conclusion, framing a tiny house requires careful planning, precise measurements, and a variety of tools and materials. By following the steps outlined in this article, you can successfully construct the frame of your tiny house and create a sturdy and functional living space.
For example, Sarah, a DIY enthusiast, used this framing technique to build her own tiny house on wheels. With determination and attention to detail, she was able to create a cozy and customized home that perfectly suited her needs.
So, whether you’re looking to downsize, live off-grid, or have a portable vacation home, framing a tiny house is a rewarding and fulfilling project that can turn your dreams into reality.