To install tiny house flooring, start by measuring thoroughly and purchasing some extra to cover mistakes. Prepare the subfloor by cleaning, leveling, and repairing any loose or damaged areas. Lay down an underlayment if needed, then begin installing your chosen material from the longest wall, ensuring tight connections and leaving small gaps along the edges with spacers. Finish by adding baseboards or trim, and you’ll have a sturdy, attractive floor. Keep exploring each step for detailed tips to perfect your project.
Key Takeaways
- Measure the tiny house thoroughly and purchase extra flooring to account for cuts and mistakes.
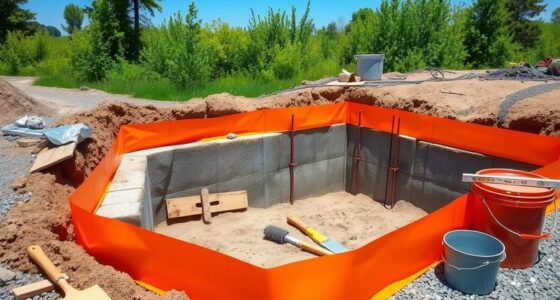
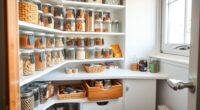
- Prepare a clean, dry, level subfloor, repairing or replacing damaged sections as needed.
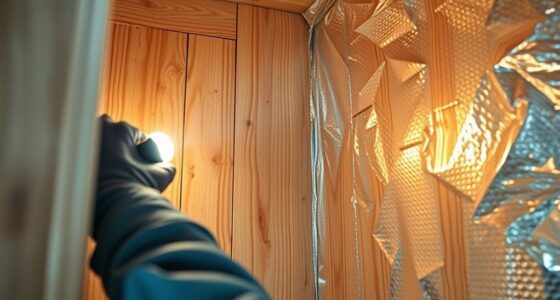
- Lay a vapor barrier or underlayment to protect against moisture and provide cushioning.
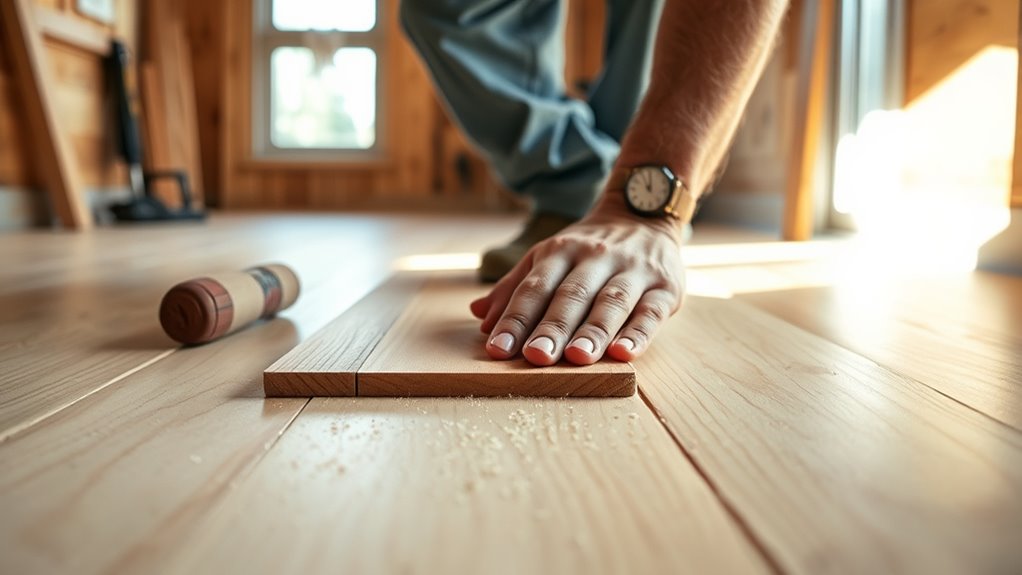
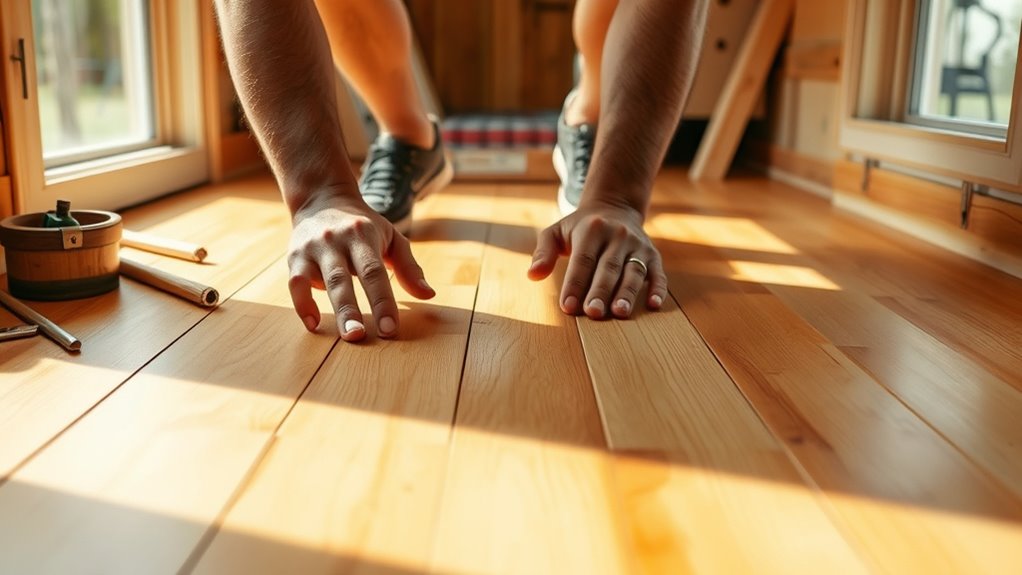
- Start installation along the longest wall, connecting planks tightly and maintaining small expansion gaps with spacers.
- Finish by installing baseboards or molding to conceal gaps and ensure a polished, durable floor.
Installing the flooring in your tiny house is a crucial step that sets the foundation for your overall interior. When choosing your flooring, consider budget options that won’t break the bank but still deliver durability and style. There are several affordable materials, such as vinyl planks, laminate flooring, and peel-and-stick tiles. These options are easy to install, making them ideal for DIY projects, and they come in a variety of designs to match your aesthetic. If you want to make an eco-friendly choice, look for sustainable materials like bamboo, cork, or reclaimed wood. These options not only reduce your environmental impact but also add warmth and character to your small space.
Choose affordable, durable flooring options like vinyl, laminate, or eco-friendly bamboo and cork for your tiny house.
Before you begin, measure your tiny house thoroughly to determine how much flooring you’ll need. Purchase a little extra to account for cuts and mistakes. Prepare the subfloor by ensuring it’s clean, dry, and level. Any bumps or debris can cause uneven flooring and lead to gaps or damage down the line. If you’re working with a plywood subfloor, check for any loose or damaged sections and reinforce or replace them. Once the subfloor is ready, lay down a vapor barrier or underlayment if necessary, especially for materials like laminate or vinyl, to add cushioning and protect against moisture. Proper subfloor preparation is essential to ensure long-lasting results and prevent future issues.
When it’s time to start laying your flooring, begin along the longest wall or the most prominent area, working your way across the space. For click-lock vinyl or laminate, connect the planks or tiles tightly, ensuring each piece snaps securely into place. Use spacers along the walls to maintain a small expansion gap, which allows for natural expansion and contraction of the material with temperature changes. Cut your pieces carefully with a utility knife or saw, following your measurements precisely to fit around corners, vents, or irregular spaces.
As you proceed, double-check that each row stays straight and aligned. Use a level or straightedge to keep everything even. For added stability, consider applying adhesive or fasteners if your chosen flooring requires it, especially for reclaimed or thicker materials. Finish by installing baseboards or molding to hide the expansion gaps and give your tiny house a polished look. With patience and attention to detail, you’ll create a sturdy, attractive floor that enhances your tiny home’s charm and functionality.

TOYANDONA 40pcs Miniature Dollhouse Flooring, Mini Floor Boards Self Adhesive Dollhouse Wood Flooring Peel and Stick for Dollhouse Accessories (Light Brown)
Miniature dollhouse floorboard is lifelike and realistic, suitable for decorating your dollhouse; Our geometric dollhouse wood floor, it…
As an affiliate, we earn on qualifying purchases.
As an affiliate, we earn on qualifying purchases.
Frequently Asked Questions
What Tools Are Essential for Installing Tiny House Flooring?
You’ll need essential tools like a tape measure, utility knife, and saw to cut underlayment options and decorative finishes accurately. A straightedge or T-square helps guarantee straight cuts, while a pry bar can assist with adjustments. Don’t forget a level for even installation. These tools make it easier to lay down underlayment options smoothly and finish with decorative touches seamlessly, giving your tiny house flooring a polished, professional look.
How Do I Prepare the Subfloor Before Installation?
Before installing your tiny house flooring, you need to prepare the subfloor thoroughly. First, check for any moisture issues and address subfloor moisture by sealing or drying it out. Make sure to take into account insulation considerations, so add a moisture barrier or insulation if needed. Clean the surface to remove dust and debris, then verify it’s level and solid. Proper preparation guarantees a smooth, durable flooring installation.
Which Flooring Materials Are Most Durable for Tiny Houses?
You should choose durable flooring materials like luxury vinyl planks, laminate, or engineered hardwood to guarantee longevity in your tiny house. These options are popular in current interior design and align with trending flooring styles, offering both resistance to wear and aesthetic appeal. By selecting these materials, you’ll create a resilient, stylish space that withstands daily use and complements modern flooring trends, keeping your tiny house both functional and fashionable.
How Do I Handle Uneven or Irregular Subfloor Surfaces?
Think of your tiny house’s subfloor as a canvas awaiting your touch. To handle uneven surfaces, start with subfloor leveling—use a self-leveling compound or shims to correct irregularities. Focus on even surface correction, ensuring your foundation is solid and smooth. This process transforms a flawed base into a stable platform, giving your flooring a graceful, unwavering beauty. Your tiny house will stand firm, built on a balanced, resilient foundation.
What Are Common Mistakes to Avoid During Installation?
Avoid rushing the installation process, as it can lead to uneven flooring or gaps. Make sure to properly install area insulation and moisture barriers first; skipping these steps causes future issues. Measure your space accurately and cut materials precisely to prevent gaps or overlaps. Also, don’t forget to leave expansion gaps where needed. Proper preparation and attention to detail help guarantee a smooth, durable flooring installation without costly mistakes.

JEEDESON Solid Bamboo Hardwood Flooring Planks, Light Honey, 37.8" x 3.78" x 0.6" Tongue and Groove Flooring, Easy Floating Floor for Living Room Bedroom& Study Room (20 pcs Covers 20.6 Sq Ft)
Jeedeson Natural Carbonized Bamboo Flooring Jeedeson bamboo flooring is crafted from 100% natural bamboo,Each plank features slight variations…
As an affiliate, we earn on qualifying purchases.
As an affiliate, we earn on qualifying purchases.
Conclusion
Now that you’ve conquered the flooring process, your tiny house is practically unstoppable! With your new flooring in place, you’ll feel like you’ve built a fortress of comfort and style that could withstand anything—even a tornado or a parade of elephants. So go ahead, step inside, and marvel at your masterpiece. Your tiny house is now a fortress of fabulousness, ready to stand the test of time—and maybe even a few curious critters!

Milisten 5sets 4pcs Miniature Dollhouse Flooring Realistic Grain Floorboards for Tiny House Decoration Lightweight Miniature for Playtime and Creative Projects 4pcs*5
Mini floor for crafts–doll house ornaments, add more cuteness to your mini scene decoration on living room, bedroom,…
As an affiliate, we earn on qualifying purchases.
As an affiliate, we earn on qualifying purchases.

Upgraded 40 Pack Flooring Spacers Laminate Flooring Installation Kit with 1/4” & 1/2” Gap, Wood Floor Install Tool for Laminate, Vinyl Plank, Hardwood, LVT, Bamboo and Floating Floor Installation
【UPGRADED DESIGN】 Providing a 1/4 inch & 1/2 inch gap of the floor from the wall. Only one…
As an affiliate, we earn on qualifying purchases.
As an affiliate, we earn on qualifying purchases.