
To set up a DIY rainwater harvesting system for your tiny home, position a rain barrel beneath your downspouts on a sturdy, level surface close to your foundation. Regularly clean gutters and install guards to keep debris out; use proper fittings to connect your downspouts securely. Elevate the barrel for better water flow and add screens to improve water quality. Maintaining the system guarantees it works efficiently—keep exploring for detailed steps to create your eco-friendly water solution.
Key Takeaways
- Select a suitable location near the tiny home for rain barrel placement, ensuring level ground and access to roof runoff.
- Install proper gutter systems with guards and regular cleaning to maximize water flow and prevent debris contamination.
- Connect rain barrels to downspouts using secure fittings, and elevate on stands for better water pressure and easy access.
- Incorporate screens and covers to prevent mosquitoes and debris, maintaining water quality and system longevity.
- Perform routine maintenance like cleaning filters, inspecting fittings, and clearing gutters to ensure efficient and safe rainwater harvesting.

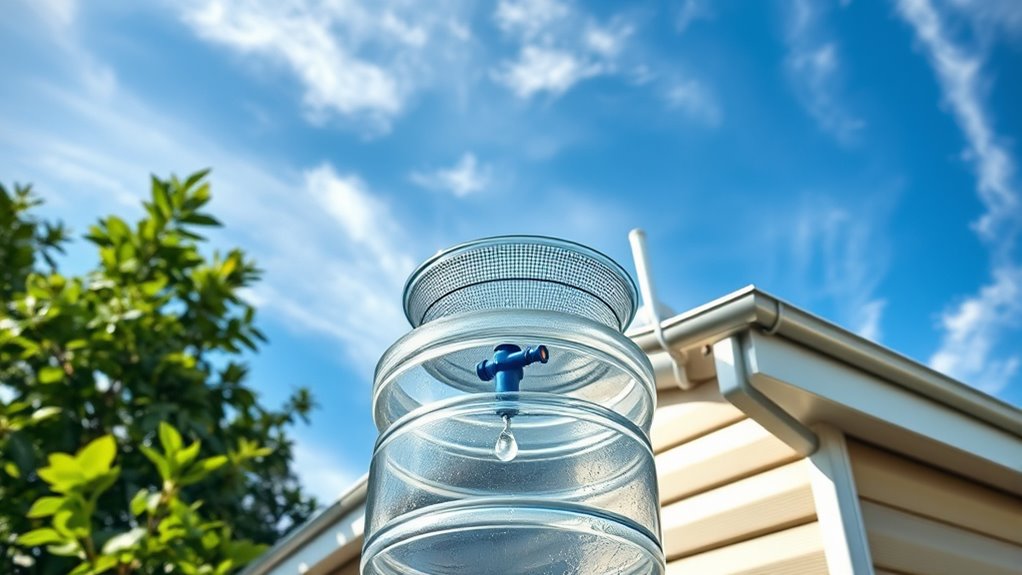
Setting up a DIY rainwater harvesting system is an effective way to save water and reduce your utility bills. If you’re living in a tiny home, maximizing every resource matters, and collecting rainwater is a simple, eco-friendly solution. The first step involves planning your rain barrel placement carefully. You want to position your rain barrels where they can efficiently catch runoff from your roof. The ideal spot is directly beneath a downspout, ensuring the water flows straight into your barrel without unnecessary spillage. Make sure the surface underneath is level and sturdy—concrete or compacted gravel works well—to support the weight of a filled barrel. Placing your rain barrel close to your home’s foundation not only simplifies installation but also minimizes hose lengths needed for watering plants or filling containers.
Position rain barrels beneath downspouts on level, sturdy surfaces close to your home for efficient rainwater collection.
Before installing, it’s vital to focus on gutter cleaning. Your gutters serve as the primary channel for directing rainwater into your barrels, so keeping them clean ensures maximum water flow and prevents debris from contaminating your harvest. Remove leaves, twigs, and dirt regularly, especially before the rainy season, to keep the gutters clear. Consider installing gutter guards to prevent clogging in the future, which will save you time and effort. Clean gutters allow unobstructed water flow, which means your rain barrels will fill faster and more efficiently, giving you a reliable water source for your tiny home’s needs. Incorporating protective measures like screens or filters can further improve water quality and system longevity.
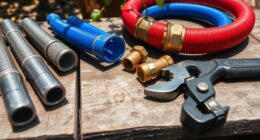
Once your gutters are clean and your rain barrel is placed correctly, connect the downspout to the barrel using appropriate fittings or a diverter kit. Ensure the connection is secure to avoid leaks and that the outlet at the bottom of the barrel allows for easy drainage or water use. Elevating the barrel slightly on cinder blocks or a sturdy stand can improve water pressure, making it easier to use when watering plants or filling containers. Be sure to install a lid or cover on your barrel to prevent mosquito breeding and debris from contaminating your water supply.
Maintaining your system is straightforward. Regularly check your gutters for blockages, especially after storms or heavy winds, and clean the barrel’s screen or filter to keep debris out of your stored water. This simple routine guarantees your rainwater harvesting setup stays functional and safe. With a little planning and effort, you can create an efficient, cost-effective system that supplies your tiny home with sustainable water, reducing dependence on municipal sources and embracing a greener lifestyle.
Frequently Asked Questions
What Permits Are Required for Rainwater Harvesting?
You need to check local laws to determine the permits required for rainwater harvesting. Some areas have specific legal regulations and rainwater rights that dictate how you can collect and use rainwater. Typically, you’ll need to obtain permits if your system exceeds a certain size or if local rules restrict rainwater collection. Contact your city or county government to guarantee you comply with all legal regulations and avoid potential fines.
How Do I Prevent Mosquito Breeding in My System?
To prevent mosquito breeding in your rainwater harvesting system, you need to take proactive steps. Cover all openings with fine mesh screens, make certain water is moving or regularly drained, and install mosquito dunks or larvicides for water treatment. These measures help stop mosquitoes from laying eggs, keep your water clean, and maintain a healthy system. Consistent maintenance and vigilant monitoring are key for effective mosquito prevention and water treatment.
What Is the Cost Range for a Basic Setup?
A basic rainwater harvesting system typically costs between $200 and $1,000, depending on your materials and size. You’ll want to do a cost analysis early to understand expenses for gutters, storage tanks, filters, and pumps. Budget planning helps you allocate funds efficiently, ensuring you cover essentials without overspending. Keep in mind that higher-quality components may cost more but can save you money long-term through durability and efficiency.
How Often Should I Clean the System Components?
Think of your system as a garden that needs regular tending. You should clean the components and check filter maintenance at least every six months to keep water flowing smoothly. Look out for debris or algae buildup, and replace components if they show signs of wear. Staying proactive prevents clogs and guarantees your rainwater harvesting stays efficient, like a well-oiled machine ready to serve your tiny home needs.
Can I Use Collected Rainwater for Drinking?
You can use collected rainwater for drinking, but you must first guarantee proper water treatment. Implement filtration methods like activated carbon filters and UV purifiers to remove contaminants. It’s essential to regularly maintain and clean your filtration system to keep the water safe. Always test the water quality before consumption, especially if the collection system is exposed to environmental pollutants or debris, to prevent health issues.
Conclusion
Think of your rainwater harvesting system as a tiny, reliable river flowing just for you. When you build it yourself, you become the captain guiding this miniature stream, ensuring it sustains your home smoothly. With each droplet you catch, you’re nurturing a self-sufficient oasis amid a busy world. Embrace this DIY journey, and watch your tiny home thrive like a lush garden fed by your own personal rainmaker. Your effort turns rain into a gift that keeps giving.