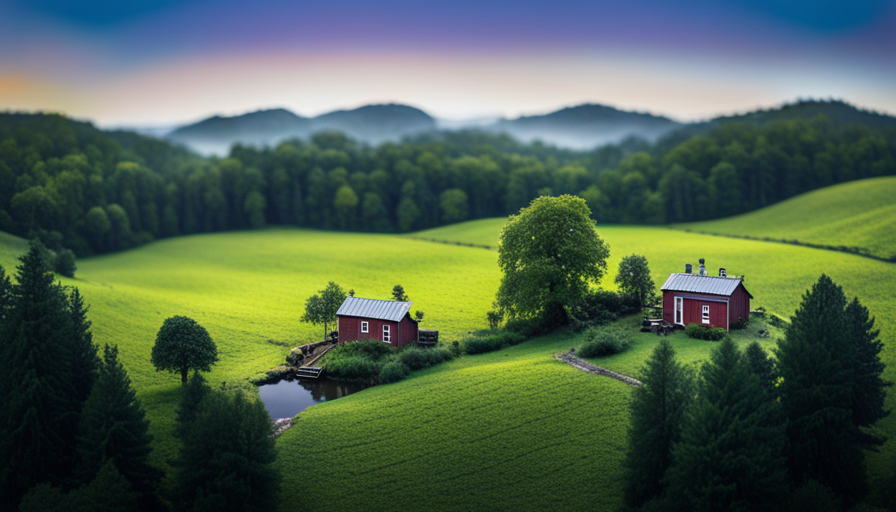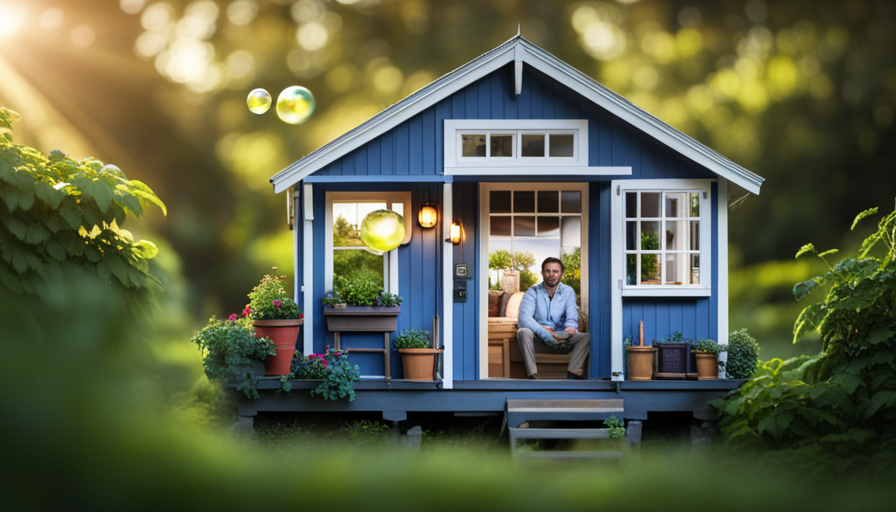

In a place dominated by lavish estates and sprawling properties, I discovered the allure and simplicity of a small home made from a shed. Tucked away in a secluded corner of a garden, this hidden gem offers a unique blend of uncomplicated charm and usefulness.
Intrigued by its charm, I embarked on a DIY adventure to create my very own tiny house shed.
In this article, I will share with you the step-by-step process of building your own DIY tiny house shed. From choosing the right design to adding the finishing touches, I will guide you through each stage of the construction process.
We will begin by selecting the perfect shed design that suits your needs and preferences.
Next, we will delve into the planning and preparation of the site, ensuring a solid foundation for your tiny abode.
Gathering the necessary materials and tools, we will then embark on framing the structure, insulating and weatherproofing, and considering important wiring and plumbing aspects.
Finally, we will explore interior design techniques and space optimization strategies to make the most of your compact living space.
So, grab your tools and let’s embark on this DIY journey together, creating a cozy and functional tiny house shed that will be the envy of all who see it.
Key Takeaways
- DIY tiny house sheds are a beautiful and simple housing option that can be built step-by-step.
- There are options for selecting the right shed design, whether it be modern minimalist or rustic.
- Budget-friendly options include using pre-made shed kits or repurposing materials.
- Proper planning and preparation of the site, including leveling the ground and gathering necessary materials and tools, is essential for a successful build.
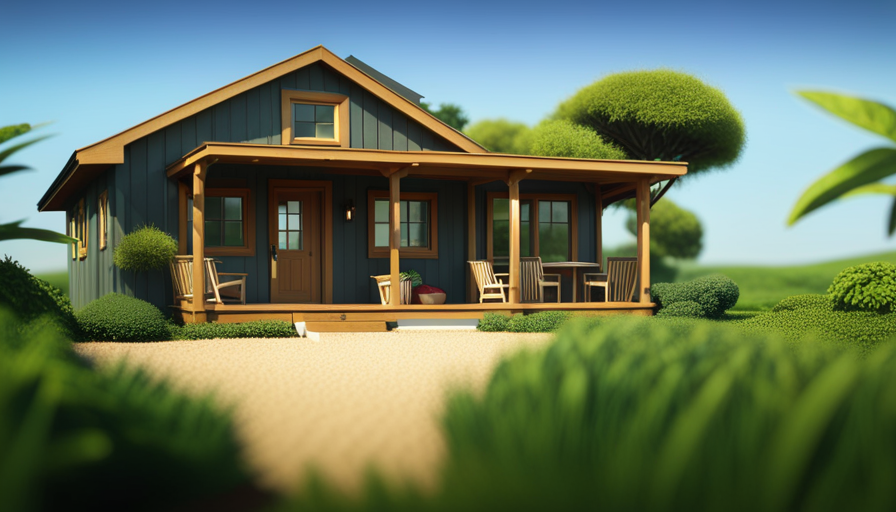
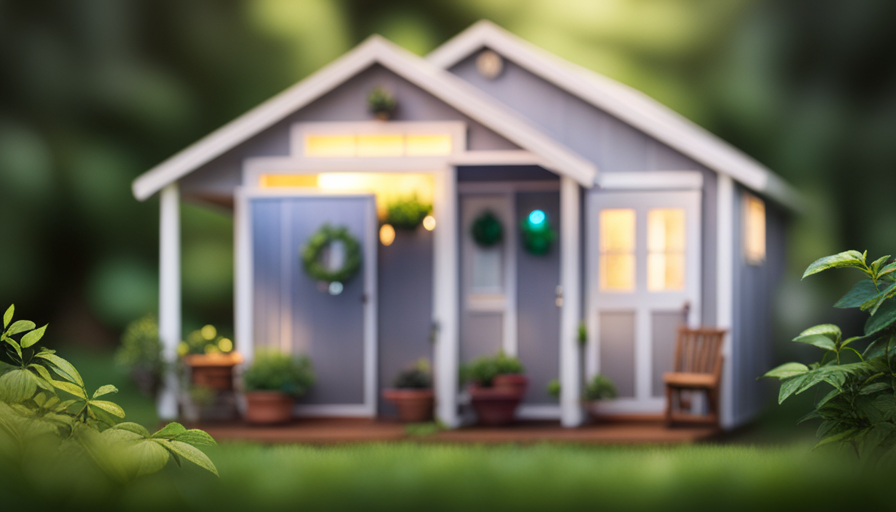
Choosing the Right Shed Design
Now that you’ve got the perfect location for your tiny house shed, let’s dive into choosing the right design that suits your needs!
When it comes to shed design trends, there are a few key options to consider. One popular trend is the modern minimalist design, with clean lines and a sleek aesthetic.
Another option is the rustic style, which adds a cozy and charming touch to your shed.
If you’re on a budget, don’t worry! There are plenty of budget-friendly options available. You can opt for a pre-made shed kit, which comes with all the materials and instructions you need to assemble it yourself.
Additionally, consider repurposing an old shipping container or using salvaged materials for a unique and eco-friendly option.
Now, let’s move on to planning and preparing the site for your tiny house shed.
Planning and Preparing the Site
To ensure a successful project, it’s crucial to carefully consider and prepare the site where your dream structure will be built.
First, choose the ideal site location for your tiny house shed. Look for an area that has good drainage and is accessible for construction.
Once you have selected the site, it’s time to level the ground. Start by removing any vegetation or debris from the area. Next, use a shovel or a rake to smooth out the surface and create a level base. This step is important to ensure stability and prevent any future issues with the structure.
With the site location determined and the ground leveled, you are now ready to move on to the next step of gathering materials and tools for your DIY project.
Gathering Materials and Tools
Once you’ve chosen the perfect spot for your adorable little haven, it’s time to gather up all the necessary supplies and tools for your exciting project.
Sourcing supplies is a crucial step in ensuring that you have everything you need to construct your DIY tiny house shed. Start by making a list of materials such as lumber, insulation, roofing materials, and siding. Consider visiting local hardware stores or searching online for the best deals and quality.
Additionally, don’t forget to gather the essential tools for the job, including a circular saw, hammer, drill, level, and measuring tape. Organization is key when it comes to tool management, so invest in a sturdy toolbox or tool belt to keep everything easily accessible.
With all your supplies and tools ready, you’re now prepared to move onto the next step: building the foundation for your tiny house shed.
Building the Foundation
Ready to create the solid base for your dream retreat? When building the foundation for your DIY tiny house shed, it’s important to consider different foundation types and leveling techniques.
One common option is a concrete slab, which provides a sturdy and durable base. To ensure the foundation is level, use a laser level or a string level and adjust the ground as needed.
Another option is to use concrete piers, which are placed strategically to support the weight of the structure. These piers can be adjusted to achieve a level foundation.
Whichever method you choose, it’s crucial to take the time to properly level the foundation to avoid future structural issues.
With the foundation complete, it’s time to move on to framing the structure seamlessly.
Framing the Structure
Now that you’ve laid the foundation, it’s time to start framing your dream retreat, creating a space that will ignite your imagination and inspire endless possibilities. Framing is a critical step in the construction process, as it provides the structure and support for your tiny house shed. When it comes to framing techniques, there are a few options to consider. Traditional stick framing involves building the frame with individual pieces of lumber, while advanced techniques like steel framing offer durability and flexibility. Whichever method you choose, construction tips such as ensuring proper alignment, using sturdy fasteners, and reinforcing corners will result in a sturdy and long-lasting structure. As you frame your tiny house shed, think about how each piece fits together, creating a harmonious and solid structure. With the framing complete, it’s time to move on to the exciting step of installing windows and doors, bringing light and access to your retreat.
Installing Windows and Doors
Get ready to bring in the natural light and create easy access to your cozy haven by installing beautiful windows and doors.
When it comes to window placement, it’s important to consider both aesthetics and functionality. Choose strategic locations that maximize views while maintaining privacy. Install windows that are energy-efficient and easy to clean, ensuring they fit snugly in their frames to prevent air leaks.
As for the doors, select hardware that complements the overall style of your tiny house shed. Opt for sturdy locks and handles that provide security without compromising convenience.
Once the windows and doors are in place, it’s time to move on to the next step of insulating and weatherproofing, ensuring your tiny house shed is cozy and protected from the elements.
Insulating and Weatherproofing
Once you’ve installed your windows and doors, it’s time to ensure your cozy haven stays protected from the elements by insulating and weatherproofing.
Proper insulation and weatherproofing are crucial for maintaining moisture control and energy efficiency in your DIY tiny house shed. Start by insulating the walls, floor, and ceiling using materials like fiberglass, foam board, or spray foam insulation.
Seal any gaps or cracks with caulk or weatherstripping to prevent air leakage. Installing a vapor barrier will further prevent moisture buildup and potential damage.
Next, focus on weatherproofing the windows and doors by adding weatherstripping or using window film to improve insulation. Consider using insulated or double-glazed windows for better energy efficiency.
Finally, ensure proper ventilation to maintain a healthy indoor environment. With these insulation and weatherproofing measures in place, your tiny house shed will be a comfortable and efficient space.
Moving on to wiring and plumbing considerations, it’s important to plan these systems carefully to ensure functionality and safety.
Wiring and Plumbing Considerations
To ensure functionality and safety, it’s crucial to carefully plan the wiring and plumbing systems in your cozy haven. Here are some important considerations to keep in mind:
- Electrical Safety: Prioritize the safety of your tiny house by installing a circuit breaker panel and grounding all electrical outlets. Use high-quality wiring and ensure proper insulation to prevent any electrical hazards.
- Plumbing Fixtures: Choose efficient and space-saving plumbing fixtures, such as compact toilets and shower units. Consider installing a water heater that meets your needs while conserving energy. Plan the layout to minimize the length of plumbing runs, reducing the risk of leaks and saving on materials.
- Waterproofing: Properly seal all plumbing connections to prevent leaks that can damage your tiny house. Use waterproofing membranes in wet areas, such as the bathroom, to protect the structure from moisture.
- Accessibility: Make sure your wiring and plumbing systems are easily accessible for future maintenance and repairs.
With the electrical and plumbing considerations in place, you can now move on to designing the interior and optimizing the space in your tiny house.
Interior Design and Space Optimization
Now that you’ve taken care of the practical considerations, it’s time to create a cozy haven that reflects your personal style and maximizes every inch of space. When designing the interior of your DIY tiny house shed, it’s important to focus on storage solutions and furniture arrangement to make the most of the limited space available.
Consider utilizing multi-functional furniture pieces, such as a sofa that can also be used as a guest bed or storage ottomans that provide extra seating and a place to stow away items.
Wall-mounted shelving and hooks can help maximize vertical space and keep your belongings organized. Additionally, think about the flow of the space and arrange furniture in a way that allows for easy movement and access to all areas.
By incorporating these design principles, you can create a functional and visually appealing interior for your tiny house shed. As you begin adding the finishing touches, such as decor and personal touches, the space will truly feel like your own cozy retreat.
Adding the Finishing Touches
With a few final touches, your cozy haven will come alive, reflecting your personal style and creating a space that truly feels like a retreat.
When it comes to decorating ideas for your DIY tiny house shed, the possibilities are endless. Consider incorporating a mix of textures and colors to add visual interest and warmth to your space. Hang artwork or photographs that inspire you and make you feel at home.
Utilize storage solutions such as wall-mounted shelves or built-in cabinets to maximize your space and keep everything organized. Additionally, consider adding cozy textiles like throw pillows and blankets to create a warm and inviting atmosphere.
With these finishing touches, your DIY tiny house shed will be transformed into a stylish and functional space that you can truly call your own.
Frequently Asked Questions
Can I legally live in a tiny house shed?
Living in a shed presents several legal implications. Zoning laws and building codes vary by location, so it’s crucial to consult local authorities to determine if it’s permitted.
Additionally, challenges arise when living in a small space. Limited storage, privacy concerns, and lack of amenities can be difficult to navigate. It’s essential to carefully consider these factors before making the decision to live in a shed and ensure compliance with legal requirements.
How much does it cost to build a DIY tiny house shed?
Building a DIY tiny house shed can be an exciting and cost-effective project. Let’s break down the costs involved.
Materials like lumber, insulation, windows, and roofing will vary in price, but budget around $20,000-$30,000.
Additional expenses may include plumbing, electrical work, and interior finishes.
While the cost may seem high, the benefits like lower utility bills, simplified living, and the satisfaction of creating your own space make it worth considering.
What are the minimum dimensions required for a livable tiny house shed?
When creating a livable space, the minimum dimensions required for a tiny house shed depend on the interior layout and your personal needs. Typically, a livable tiny house shed should have enough space for essential areas such as a sleeping area, a small kitchenette, and a bathroom.
To ensure comfort, consider a layout that maximizes functionality and allows for adequate storage. Remember to prioritize your specific requirements when determining the minimum dimensions for your tiny house shed.
Are there any specific building codes or permits required for constructing a tiny house shed?
Building codes for tiny house sheds vary depending on whether they’re located in rural or urban areas. In rural areas, there may be more flexibility and fewer restrictions. However, in urban areas, stricter codes are typically enforced to ensure safety and compliance with zoning regulations.
As for permits, adding plumbing or electricity to a tiny house shed generally requires obtaining the necessary permits from the local building department. This ensures that the installation meets safety standards and is properly inspected.
Can I modify the shed design to include a loft or additional storage space?
Sure! You can definitely modify the shed design to include a loft or additional storage space. By utilizing vertical space, you can maximize the interior of your shed. Adding a loft provides an extra area for sleeping or storage, while incorporating shelves and hooks allows for efficient organization. By customizing the shed’s interior to your specific needs, you can create a functional and practical space that suits your lifestyle.
Conclusion
In conclusion, embarking on the journey of building a DIY tiny house shed is a fulfilling and rewarding experience. With careful planning, preparation, and attention to detail, you can create a space that’s not only functional but also aesthetically pleasing.
Just like a master craftsman, you’ve got the power to transform a simple shed into a cozy sanctuary, where dreams come to life. So grab your tools, unleash your creativity, and let your imagination soar as you bring your tiny house shed to life.
Happy building!

I’m Theodore, and I love tiny houses. In fact, I’m the author of Tiny House 43, a book about tiny houses that are also tree houses. I think they’re magical places where imaginations can run wild and adventures are just waiting to happen.
While tree houses are often associated with childhood, they can be the perfect adult retreat. They offer a cozy space to relax and unwind, surrounded by nature. And since they’re typically built on stilts or raised platforms, they offer stunning views that traditional homes simply can’t match.
If you’re looking for a unique and romantic getaway, a tree house tiny house might just be the perfect option.