Building a small house involves a carefully planned and executed process from beginning to end. From the initial planning and design stages to the final touches and inspections, each step is crucial in creating a functional and visually appealing living space.
In this article, I will guide you through each stage of building a tiny house, providing you with a detailed timeline and an understanding of the tasks involved. We will start with the foundation and framing, move on to plumbing and electrical installation, and then focus on insulation and ventilation.
Next, we will explore the interior finishes, including furniture and storage options. After that, we will discuss the plumbing and electrical connections, followed by the exterior finishes. Finally, we will cover the last few steps, including the final touches and inspections, before unveiling your completed tiny house.
So, let’s dive in and discover just how long it takes to build a tiny house.
Key Takeaways
- Building a tiny house involves a meticulously planned and executed process.
- The foundation and framing are the first steps in building a tiny house.
- Plumbing and electrical installation can take a few weeks and may require hiring professionals.
- Insulation and ventilation are important for maintaining a comfortable temperature.

SOG PowerPint Mini Compact Stainless Steel Multi-Tool |18 Lightweight Specialty Tools & SOG Multitool Pliers Pocket Knife, Stone Wash
- Number of Tools: 18 tools in one multi-tool
- Size and Weight: 3.2-inch closed, 4.2 ounces
- Enhanced Pliers Power: Double leverage for easier use
As an affiliate, we earn on qualifying purchases.
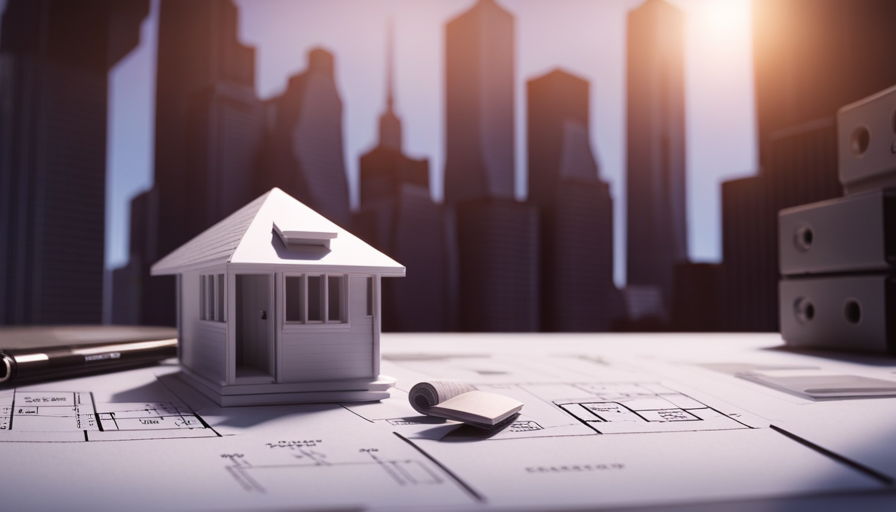
Planning and Design Phase
You’ll start by sketching out your dream tiny house on a notepad, carefully mapping out each nook and cranny to create a cozy and efficient living space.
During the planning and design phase, several important factors need to be considered. Design considerations play a crucial role in determining the overall layout and functionality of your tiny house. You’ll need to think about the number of rooms, their sizes, and how they will flow together. It’s also essential to consider the materials and finishes you want to use, as they can affect the cost and durability of your home.
Budgeting and financing are other critical aspects to address during this phase. You’ll need to determine how much you’re willing to spend and research different financing options if needed. Creating a detailed budget will help you stay on track and avoid any unexpected expenses along the way.
Once the design considerations and budgeting are finalized, it’s time to move on to the foundation and framing of your tiny house. This stage lays the groundwork for the rest of the construction process, providing a solid structure for your home.
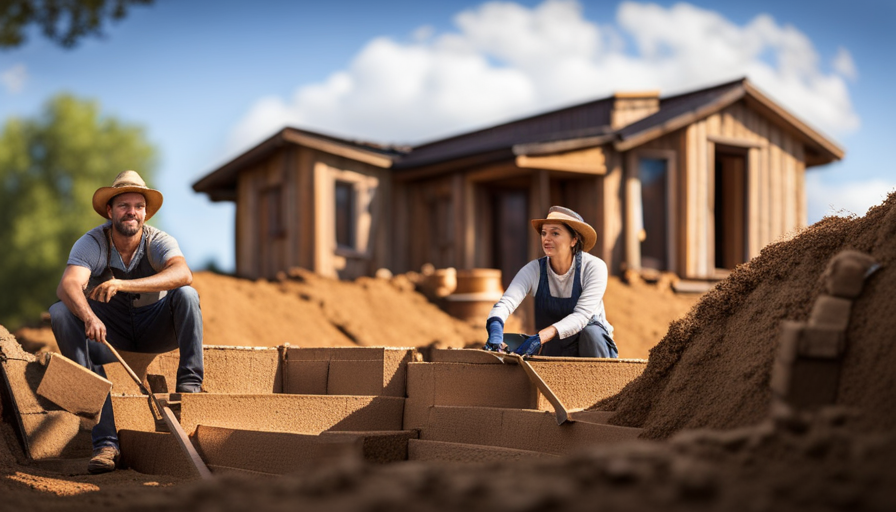
Foundation and Framing
When it comes to building a tiny house, the first step is to construct the foundation or trailer. This provides a sturdy and secure base for the rest of the structure.
Once the foundation is in place, it’s time to focus on the framing and walls. This involves building the structural skeleton of the tiny house, including the walls, roof, and floor joists.
By following these steps, I can ensure a solid and well-built tiny house.
Build the foundation or trailer for your tiny house
First, firmly fix the foundation or trailer for your tiny house to ensure stability and security. When it comes to tiny house foundations, there are various types to consider, such as concrete slab, crawl space, or pier and beam. Each has its own advantages and it’s important to choose the one that best suits your needs and location.
On the other hand, if you opt for a trailer as the foundation, you have different options available, including gooseneck, flatbed, or utility trailers. Consider factors such as weight capacity, size, and maneuverability when selecting the trailer for your tiny house.
Once the foundation or trailer is in place, you can move on to constructing the frame and walls of your tiny house, which will be discussed in the subsequent section.
Construct the frame and walls of your tiny house
To construct the frame and walls of your tiny house, start by carefully assembling the wooden beams and securing them together with nails and screws, creating a sturdy skeletal structure that’ll serve as the foundation for your living space.
-
Frame construction:
- Measure and cut the beams to the desired lengths.
- Use a level to ensure the beams are straight and level.
- Attach the beams together using nails or screws.
-
Wall installation:
- Measure and cut the plywood sheets to fit the frame.
- Attach the plywood to the frame using nails or screws.
- Install insulation between the studs for better energy efficiency.
Once the frame and walls are constructed, you can move on to plumbing and electrical installation. This crucial step will ensure that your tiny house is fully functional and ready for comfortable living.
Plumbing and Electrical Installation
If you want to install plumbing and electrical systems in your tiny house, you can expect it to take a few weeks, depending on the complexity of the design and your level of experience. Safety precautions should be a top priority when dealing with electrical and plumbing installations. It is important to ensure that you have a good understanding of the local building codes and regulations to avoid any potential hazards. If you are not confident in your abilities, it may be wise to hire professionals to handle the installation for you.
When it comes to plumbing, you will need to consider the placement of fixtures such as sinks, toilets, and showers. You will also need to install water supply lines, drain lines, and a water heater. It is important to make sure that all connections are properly sealed to prevent leaks. In terms of electrical installation, you will need to plan the placement of outlets, switches, and lighting fixtures. It is crucial to follow proper wiring techniques and ensure that everything is up to code.
The plumbing and electrical installation process for a tiny house can take a few weeks. Safety precautions should be taken into consideration, and hiring professionals may be a good option if you are unsure of your abilities. Up next, we will discuss insulation and ventilation.
Insulation and Ventilation
When it comes to insulation and ventilation in my tiny house, I prioritize maintaining a comfortable temperature. Insulating the walls, floors, and roof helps to regulate the indoor temperature and reduce energy consumption.
Additionally, I make sure to install ventilation systems to ensure proper airflow and prevent moisture buildup, which can lead to mold and other issues.
Insulate your tiny house to maintain a comfortable temperature
Properly insulating your tiny house will ensure that you can enjoy a comfortable temperature year-round, allowing you to fully appreciate the cozy and inviting atmosphere you’ve created.
When it comes to insulation techniques, there are several options to consider. One popular choice is using spray foam insulation, which provides excellent energy efficiency by sealing any gaps or cracks in the walls.
Another option is using rigid foam insulation, which can be cut to fit snugly between the studs and offers great thermal resistance.
Additionally, insulating the floor and ceiling of your tiny house will further enhance its energy efficiency.
By insulating your tiny house effectively, you can reduce heat loss during winter and minimize heat gain during summer.
To ensure proper airflow, it’s also important to install ventilation systems that can effectively circulate fresh air throughout your tiny house.
Install ventilation systems to ensure proper airflow
Now that we’ve discussed the importance of insulating your tiny house, let’s move on to the next crucial step: installing ventilation systems to ensure proper airflow.
Ventilation system maintenance is essential for maintaining a comfortable and healthy living environment inside your tiny house. Proper airflow helps to regulate the temperature, remove excess moisture, and eliminate odors. It also prevents the buildup of harmful pollutants and allergens, promoting better indoor air quality.
By installing efficient ventilation systems, such as exhaust fans and air vents, you can create a continuous flow of fresh air throughout your tiny house. This not only improves comfort but also reduces the risk of mold, mildew, and other moisture-related issues.
Now that we have ensured proper airflow, let’s move on to the next section: interior finishes.
Interior Finishes
When it comes to the interior finishes of my tiny house, there are a few key points I need to consider.
Firstly, I need to install flooring, walls, and ceilings to create a finished and comfortable space.
Secondly, I have the option to paint or wallpaper the interior to add my personal touch and create a cozy atmosphere.
Lastly, I need to ensure that all the finishes are done properly and efficiently to make the most of the limited space in my tiny house.
Install flooring, walls, and ceilings
First, you’ll need to lay down the flooring. Then, you can start putting up the walls and ceilings in your tiny house. Here are the steps to install flooring, walls, and ceilings in your tiny house:
-
Choose your flooring options: Consider durable materials like hardwood or vinyl that are suitable for small spaces and easy to clean.
-
Prepare the subfloor: Make sure it’s level and free from any debris or moisture.
-
Install the flooring: Follow the manufacturer’s instructions to lay down the flooring of your choice.
-
Insulate the walls: Use wall insulation to improve energy efficiency and regulate temperature inside your tiny house.
Once you have finished installing the flooring, walls, and ceilings, you can move on to the next step of painting or wallpapering the interior of your tiny house.
Paint or wallpaper the interior of your tiny house
To add a touch of personal style and make your tiny house feel like home, why not consider painting or wallpapering the interior? This is a great opportunity to showcase your creativity and customize the space to your liking. When it comes to painting techniques, there are various options you can choose from, such as using a roller or a paint sprayer for a smooth finish. Additionally, you can experiment with different colors and patterns to create the desired ambiance. If painting is not your preference, wallpaper can be a fantastic alternative. When choosing the right wallpaper, consider factors like durability, ease of installation, and design compatibility with the overall theme of your tiny house. By adding your personal touch through painting or wallpapering, you can transform your tiny house into a cozy and inviting space. Next, we will move on to the kitchen and bathroom installation, where functionality meets style.
Kitchen and Bathroom Installation
When it comes to the installation of kitchen cabinets, countertops, and appliances in a tiny house, it’s important to plan and execute the process efficiently.
First, I’d measure the available space and select cabinets and countertops that fit perfectly.
Then, I’d carefully install them, ensuring that they’re level and secure.
Lastly, I’d connect and test the appliances to make sure they’re functioning properly.
As for setting up the bathroom, I’d start by installing a toilet, shower, and sink.
This would involve connecting the plumbing and ensuring that everything is properly sealed.
Overall, careful planning and attention to detail are crucial in successfully installing the kitchen and bathroom in a tiny house.
Install kitchen cabinets, countertops, and appliances
Once the kitchen cabinets, countertops, and appliances are in place, the tiny house starts to feel like a cozy and fully functional home. The kitchen design and material selection play a crucial role in creating a space that’s both practical and visually appealing.
The cabinets are installed first, providing ample storage for dishes, utensils, and pantry items.
Next, the countertops are carefully measured and fitted, using a durable and easy-to-maintain material such as quartz or laminate.
Finally, the appliances are installed, including a compact refrigerator, a stove or cooktop, and a microwave or oven. These additions bring the kitchen to life, allowing for meal preparation and cooking in a space-efficient manner.
With the kitchen complete, it’s time to set up your bathroom with a toilet, shower, and sink, ensuring that all essential amenities are readily available.
Set up your bathroom with a toilet, shower, and sink
Creating a bathroom oasis with a toilet, shower, and sink is an essential step in transforming your tiny house into a comfortable and functional living space. When it comes to toilet options, there are various choices available for tiny houses. Composting toilets are a popular eco-friendly option, while compact flush toilets with built-in macerating systems can also be considered.
As for the shower design, a space-saving option is to install a corner shower with sliding doors, which maximizes the available space.
Additionally, incorporating a sink with storage underneath is a great way to maximize functionality in a tiny bathroom.
Once the bathroom fixtures are in place, it’s time to move on to the next section about furniture and storage, where creativity and smart design can make a big difference in a small space.
Furniture and Storage
To maximize space in your tiny house, you can utilize multifunctional furniture such as a sofa that can transform into a bed, helping you save both space and money.
When it comes to furniture arrangement in a tiny house, it’s important to prioritize functionality and versatility. Look for pieces that can serve multiple purposes, like a coffee table that can also be used as a desk or a storage ottoman that can double as seating.
Storage is a crucial aspect of tiny house living, and there are numerous storage solutions available to help you make the most of your limited space. Consider incorporating built-in storage options, like bookshelves that can be installed under staircases or cabinets that can be mounted on walls. Optimize vertical space by using tall bookcases or shelving units to store items. Additionally, invest in furniture pieces that offer hidden storage compartments, such as beds with drawers underneath or ottomans with removable tops.
As you plan your furniture and storage arrangements, keep in mind the need for easy access to plumbing and electrical connections. It’s essential to design your space in a way that allows for convenient maintenance and repairs.
With proper planning and organization, you can create a functional and efficient tiny house that meets all your needs.
Plumbing and Electrical Connections
When setting up your plumbing and electrical connections, you’ll want to ensure that your tiny house is equipped with the necessary infrastructure to meet your daily needs. Plumbing maintenance is an essential aspect of maintaining a functional tiny house. Regularly inspecting and cleaning your plumbing system will help prevent clogs and leaks.
It’s also important to consider the type of plumbing fixtures you install, such as low-flow toilets and faucets, to conserve water and reduce your environmental impact.
In terms of electrical safety, it’s crucial to hire a licensed electrician to handle the installation. They’ll ensure that the wiring is done correctly and up to code. Additionally, it’s important to have a circuit breaker panel that can handle the electrical load of your appliances and devices. This will prevent overloads and potential electrical hazards.
By paying attention to plumbing maintenance and electrical safety, you can have a fully functional and safe tiny house.
In the next section about exterior finishes, we’ll explore how to choose the right materials and finishes to protect your tiny house from the elements.
Exterior Finishes
To protect your tiny house from the elements, you’ll want to choose the right materials and finishes for its exterior. The exterior design of your tiny house is not only important for aesthetic appeal but also for weather resistance. When it comes to selecting the right materials, consider factors such as durability, maintenance, and cost. Here is a comparison of some popular exterior finishes:
| Finish Type | Material Options |
|---|---|
| Siding | Wood, metal, vinyl |
| Roofing | Asphalt shingles, metal, rubber |
| Windows | Wood, vinyl, aluminum |
Each material option has its own pros and cons, so it’s essential to weigh them against your specific needs and budget. Additionally, think about the climate in your area and choose materials that can withstand the local weather conditions.
Once you have chosen the materials, it’s time to think about the overall design of your tiny house’s exterior. Consider elements such as color, texture, and architectural details that can enhance the visual appeal of your tiny house.
In the subsequent section about final touches and inspections, we will discuss the last steps of the construction process to ensure your tiny house is ready for occupancy.
Final Touches and Inspections
Now it’s time to add the finishing touches and schedule inspections to ensure your tiny house is ready for occupancy. These final touches are what will bring your tiny house to life and make it feel like home. This includes things like installing the last few pieces of trim, hanging curtains or blinds, and adding any additional decor or personal touches that you desire.
It’s important to take the time to carefully and thoughtfully complete these final touches, as they’ll greatly contribute to the overall aesthetic and functionality of your tiny house.
Once the final touches are complete, it’s time to schedule the necessary inspections. These inspections are crucial to ensure that your tiny house meets all safety and building code requirements. This may include inspections for electrical, plumbing, and structural components, among others.
The inspections will be carried out by professionals who’ll thoroughly examine your tiny house to ensure that it’s safe and up to code.
By completing the final touches and scheduling the necessary inspections, you’re taking the final steps towards making your tiny house a home. It’s an exciting time as you see all your hard work come together and prepare to move into your new space.
So take the time to add those personal touches and ensure that your tiny house is safe and ready for occupancy.
Frequently Asked Questions
Can I build a tiny house on wheels?
Sure, building a tiny house on wheels is a great option. It allows for mobility and flexibility.
However, it’s important to consider building codes and parking regulations in your area. These regulations may dictate the size, weight, and design elements of your tiny house on wheels. It’s crucial to research and comply with these regulations to ensure a smooth process.
What are the legal requirements for living in a tiny house?
To live in a tiny house, it’s important to understand the legal requirements. Zoning regulations vary by location, so it’s crucial to check the specific rules for your area. Some areas may have restrictions on where you can park or build a tiny house.
Additionally, minimum square footage requirements may exist, dictating the smallest size a house can be. It’s essential to research and comply with these regulations to ensure a legal and comfortable living situation.
How much does it cost to build a tiny house?
When it comes to the cost of building a tiny house, there are several cost considerations to keep in mind. This includes the materials needed, labor costs, and any additional features or upgrades you may want. Financing options such as personal loans or RV loans can help make your tiny house dream a reality.
By carefully considering these factors, you can create a budget that fits your needs and build your tiny house within your means.
Can I customize the design of my tiny house?
Yes, you can definitely customize the design of your tiny house. There are numerous customization options and design flexibility available to suit your preferences and needs. You can choose the layout, materials, colors, and finishes that best reflect your personal style. From choosing the furniture to adding unique architectural features, the possibilities for customization are endless.
With the right planning and collaboration with professionals, you can create a tiny house that’s truly one-of-a-kind.
What are the considerations for off-grid living in a tiny house?
Living off-grid in a tiny house requires careful consideration of sustainability and alternative energy sources. It’s a breeze! Just imagine the thrill of relying solely on renewable energy, like solar panels or wind turbines.
You’ll be free from the shackles of utility bills and contribute to a greener planet. But don’t forget about water conservation, waste management, and efficient insulation.
Off-grid living in a tiny house is a small step for you, but a giant leap for sustainable living.
Conclusion
After months of hard work and dedication, my tiny house is finally complete. From the initial planning and design phase to the final touches and inspections, every step of the process was meticulous and rewarding.
The foundation and framing laid the groundwork for my dream home, while the plumbing and electrical installation brought it to life. Insulation and ventilation ensured a comfortable and energy-efficient space, and the interior finishes added a touch of warmth and personality.
With furniture and storage in place, the plumbing and electrical connections seamlessly integrated into the design. The exterior finishes gave my tiny house a charming and inviting appearance.
Now, as I stand back and admire the finished product, I can’t help but feel a sense of pride and accomplishment. Building a tiny house is no small feat, but the end result is truly worth it.