Time is critical when constructing a tiny house frame. The adage “Time is money” holds especially true in construction. So, what’s the timeframe for building a tiny house frame? It varies based on your preparation, abilities, and resources at hand.
In this article, I will guide you through the step-by-step process of constructing a tiny house frame, from the initial planning and design phase to the final touches and decoration.
During the planning and design phase, it is crucial to carefully consider the layout and measurements of your tiny house. This will ensure that the construction process flows smoothly and efficiently.
Once you have a solid plan in place, it’s time to gather the necessary materials and tools. This includes everything from lumber and nails to power tools and safety equipment.
With the foundation and floor construction underway, you can start building the walls. This involves framing the structure and ensuring it is sturdy and secure. Next, it’s time to install windows and doors, allowing natural light to flood your tiny abode.
As you move forward, electrical and plumbing installation is a crucial step. Ensuring that your tiny house is equipped with the necessary utilities will make it livable and functional.
Once the basic structure is in place, it’s time to focus on insulation and weatherproofing. This will help regulate the temperature inside your tiny house and protect it from the elements.
With the interior finishing touches, you can transform your tiny house into a cozy and comfortable living space. This includes everything from drywall and flooring to cabinets and countertops.
Finally, it’s time for the final touches and decoration. This is where you can let your creativity shine and make your tiny house truly feel like home. Whether it’s painting the walls, hanging artwork, or adding personal touches, this is the stage where you can make your tiny house uniquely yours.
In conclusion, building a tiny house frame requires careful planning, attention to detail, and a lot of hard work. While the time it takes to complete the project will vary depending on various factors, by following these steps, you can ensure a successful and efficient construction process. So, roll up your sleeves, grab your tools, and let’s get started on building your dream tiny house frame!
Key Takeaways
- Time to build a tiny house frame depends on planning, skills, and available resources
- The step-by-step process includes planning, gathering materials, foundation and floor construction, building walls, electrical and plumbing installation, insulation, interior finishing, and final decoration
- Careful consideration of layout and measurements is important during the planning and design phase
- Necessary materials and tools include lumber, nails, power tools, and safety equipment

FiveWillowise Sofa Bed, 4 in 1 Multi-Function Fold Ottoman Couch Bed, Blue
- Adjustable Backrest Levels: 18 adjustable positions for comfort
- No Assembly Needed: Ready to use upon delivery
- Multi-Function Convertible: Transforms into ottoman, sofa, recliner, bed
As an affiliate, we earn on qualifying purchases.
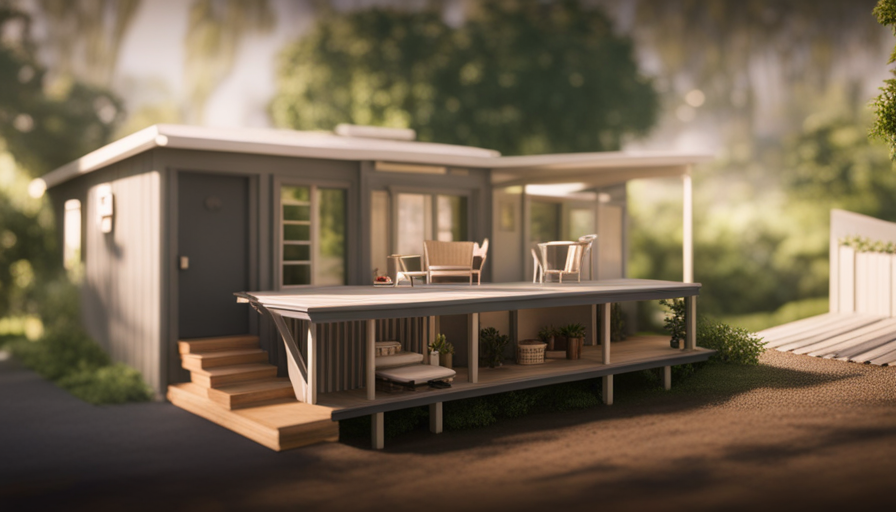
Planning and Design Phase
During the planning and design phase, you’ll be sketching and brainstorming ideas for your tiny house frame, envisioning the cozy space you’ll soon call home. Design considerations are crucial at this stage, as they will determine the overall layout and functionality of your tiny house.
You need to think about the number of rooms, their sizes, and how they will connect to create a harmonious living space. Additionally, you should consider the height and width dimensions to ensure your tiny house meets your specific requirements.
Budgeting and cost estimation are also important aspects of the planning and design phase. You need to determine the amount of money you’re willing to invest in your tiny house frame. This includes considering the cost of materials, labor, and any additional features or upgrades you might want to include. By creating a detailed budget, you can ensure that you stay within your financial limits and avoid any unexpected expenses.
Once you have completed the planning and design phase, you can move on to gathering materials and tools. This next step will require careful organization and research to ensure you have everything you need to start building your tiny house frame.
Gathering Materials and Tools
Before you can start, you’ll need to gather all the necessary materials and tools for the construction. Sourcing supplies is a crucial step in building a tiny house frame. Here are the items you’ll need:
-
Lumber: Purchase high-quality framing lumber, such as 2x4s, for the walls, floor joists, and roof rafters.
-
Fasteners: Stock up on nails, screws, and bolts of various sizes to secure the wood pieces together.
-
Insulation: Choose the appropriate insulation material to ensure energy efficiency and comfort in your tiny house.
-
Tools: Make sure you have the right tools for the job, including a circular saw, miter saw, framing square, tape measure, and a level.
Once you have gathered all the necessary materials and tools, you can move on to the foundation and floor construction. This stage involves preparing the ground, installing the foundation supports, and building the floor frame. By carefully following the building plans and using the appropriate tools, you can ensure a sturdy and level foundation for your tiny house.
Foundation and Floor Construction
Once you’ve gathered all the necessary materials and tools, it’s time to lay the foundation and construct the floor.
The first step in this process is to choose the flooring option that best suits your needs. There are several options available for tiny house floors, including hardwood, laminate, vinyl, and tile. Consider factors such as durability, maintenance, and cost when making your decision.
Once you have decided on the flooring, it’s time to level the foundation. This is a crucial step in ensuring that your tiny house is stable and secure.
Start by clearing the area where you will be building your tiny house. Remove any debris, rocks, or vegetation that may interfere with the foundation.
Next, use a level to check the ground for any slopes or unevenness. If you find any, you will need to make adjustments to ensure a level foundation. This may involve adding or removing soil, or using concrete blocks to create a level surface.
After the foundation is level, it’s time to construct the floor. Start by laying down a layer of insulation to help regulate temperature and provide a barrier against moisture. Then, install the subfloor, making sure to secure it properly to the foundation.
With the foundation and floor construction complete, it’s time to move on to building the walls.
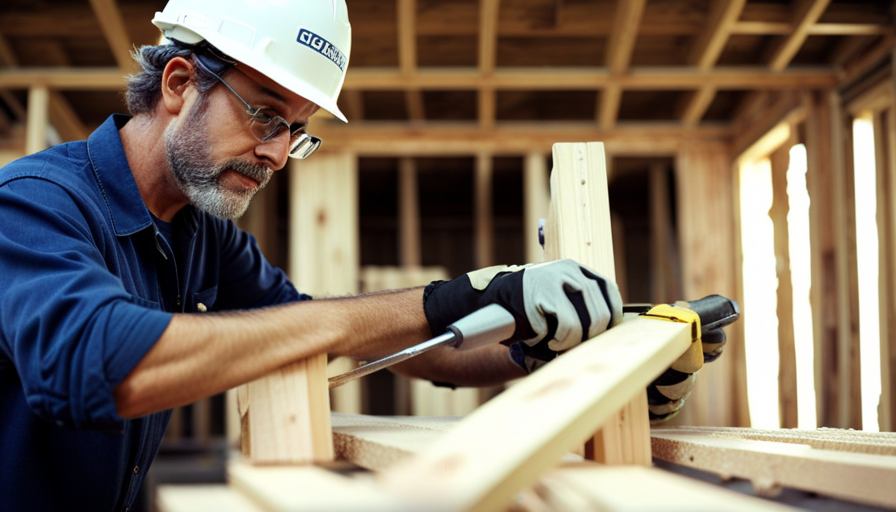
Building the Walls
To start building the walls, it’s important to note that the average cost of wall construction for a tiny house is significantly lower compared to traditional homes. This is mainly due to the smaller size and simpler design of the walls.
Here are some key framing techniques and wall insulation methods commonly used in tiny house construction:
-
Stud Framing: The walls of a tiny house are typically constructed using stud framing, where vertical wooden studs are evenly spaced apart to create a sturdy frame. This technique provides structural support and allows for easy installation of insulation.
-
Advanced Framing: Advanced framing techniques, such as using 2×6 studs instead of 2x4s, can maximize the insulation space within the walls, improving energy efficiency and reducing heat loss.
-
Insulation: Proper insulation is crucial in a tiny house to maintain a comfortable indoor temperature. Common insulation options include rigid foam boards, spray foam, and fiberglass batts. The choice of insulation material depends on factors like budget, climate, and personal preference.
-
Vapor Barrier: To prevent moisture buildup inside the walls, it’s essential to install a vapor barrier. This barrier prevents moisture from entering the wall cavity and causing issues like mold or rot.
Once the walls are framed and insulated, the next step is installing windows and doors. This ensures proper ventilation and access to the tiny house.
Installing Windows and Doors
Now it’s time to get those windows and doors in place so we can let the fresh air and natural light flood into our cozy little space. Proper window placement and door selection are crucial for both functionality and aesthetics. Here is a table that outlines the specifications for the windows and doors:
| Type of Window | Size (inches) | Quantity |
|---|---|---|
| Double-hung | 36×24 | 2 |
| Casement | 48×36 | 1 |
| Skylight | 24×24 | 2 |
| Type of Door | Size (inches) | Quantity |
|---|---|---|
| Front Door | 36×80 | 1 |
| Sliding Door | 60×80 | 1 |
| French Door | 72×80 | 1 |
To begin, measure and mark the locations for the windows and doors on the walls. Ensure that the placement allows for proper ventilation and easy access. Once marked, carefully cut out the openings using a saw. Install the windows by placing them into the openings and securing them with screws or nails. For the doors, select the appropriate style that suits your needs and attach them to the door frames using hinges. Make sure they open and close smoothly.
With the windows and doors in place, we can now move on to the next step of roof construction, where we will be installing the trusses and roofing materials.
Roof Construction
As I embark on the next phase of my project, I imagine the roof construction as the crowning glory that will protect and shelter my cozy abode, like a sturdy hat atop a charming cottage. The roof plays a vital role in keeping my tiny house safe from the elements, so it’s important to choose the right roofing materials and design.
When it comes to roofing materials, there are several options to consider. One popular choice for tiny houses is metal roofing. It’s durable, lightweight, and can last for a long time with minimal maintenance. Another option is asphalt shingles, which are affordable and come in a variety of colors and styles. Additionally, I could explore eco-friendly options like recycled rubber or cedar shakes.
In terms of roof design, I need to take into account the overall aesthetic of my tiny house as well as practical considerations. A gable roof is a classic choice that provides ample space for a loft area, while a shed roof offers a sleek and modern look. Flat roofs are also an option, especially for those who want to maximize rooftop space for solar panels or other installations.
As I wrap up the roof construction, I can’t help but feel excited about the progress I’ve made. Next, I’ll move on to the electrical and plumbing installation, bringing my tiny house one step closer to becoming a comfortable and functional home.
Electrical and Plumbing Installation
With the roof construction complete, it’s time to bring my cozy abode to life by installing the electrical and plumbing systems.
First, I’ll focus on the electrical wiring. I’ll start by mapping out the layout of the tiny house and determining the best locations for outlets, light switches, and fixtures. This will ensure that the electrical system is efficient and meets my needs.
I’ll then begin running the electrical wiring through the walls, making sure to follow all safety guidelines and regulations. Once the wiring is in place, I’ll install the electrical outlets, light switches, and fixtures, connecting them to the wiring. This will provide me with the necessary power to light up my tiny house and run all my appliances and devices.
Next, I’ll move on to the plumbing installation. I’ll begin by installing the main water supply line and connecting it to the tiny house. From there, I’ll run the plumbing pipes through the walls, carefully positioning them to ensure proper drainage and water flow.
I’ll then install the plumbing fixtures, such as sinks, toilets, and showers, connecting them to the pipes. This will provide me with a functional and efficient plumbing system that meets all my needs.
With the electrical and plumbing systems installed, my tiny house is now ready for the next step: insulation and weatherproofing.
Insulation and Weatherproofing
After the electrical and plumbing systems are in place, it’s time to cozy up my abode by insulating and weatherproofing.
Insulation is crucial in a tiny house to maintain a comfortable temperature and reduce energy consumption. There are various insulation techniques available, including batt insulation, spray foam insulation, and rigid foam insulation. I opted for batt insulation due to its affordability and ease of installation. It involves placing fiberglass or mineral wool insulation between the wall studs, ceiling joists, and floor joists. This helps to minimize heat transfer and maintain a consistent indoor temperature.
In addition to insulation, weatherproofing is essential to protect the tiny house from moisture and air infiltration. I used water-resistant materials such as weatherproof sheathing and house wrap. These materials create a barrier against water and wind, preventing leaks and drafts. I also sealed all gaps and cracks with caulk and weatherstripping to further enhance the weatherproofing.
With insulation and weatherproofing complete, I am now ready to move on to the next phase of construction: interior finishing. This involves adding the final touches to my tiny house, including flooring, wall coverings, and cabinetry. By creating a well-insulated and weatherproofed shell, I can now focus on creating a comfortable and aesthetically pleasing living space.
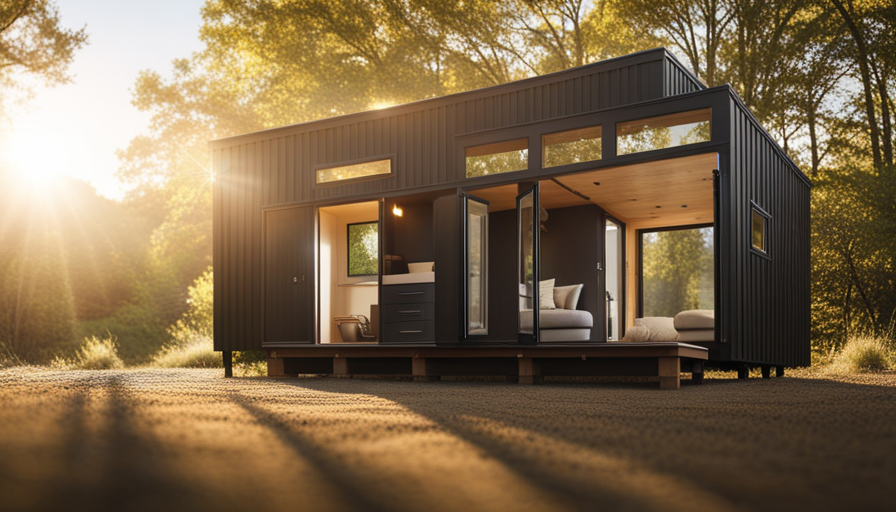
Interior Finishing
Now it’s time to put my personal touch on the inside of my cozy home, adding flooring, wall coverings, and cabinetry to create a warm and inviting space. Interior design plays a crucial role in optimizing the space within a tiny house. Every square inch counts, so careful planning and thoughtful design choices are necessary.
When it comes to flooring, I have to consider the durability and functionality of the materials. Opting for vinyl planks or laminate flooring can provide a stylish look while being easy to clean and maintain. Additionally, utilizing wall coverings such as paint or wallpaper can add personality and depth to the interior. I can choose colors and patterns that reflect my taste and create a visually pleasing atmosphere.
Cabinetry is another essential aspect of interior finishing. To maximize space optimization, I can opt for multi-functional furniture pieces that provide storage solutions. Custom-built cabinets can be designed to fit specific nooks and corners, ensuring every inch is utilized efficiently.
As I conclude the interior finishing, I’m now ready to move onto the final touches and decoration.
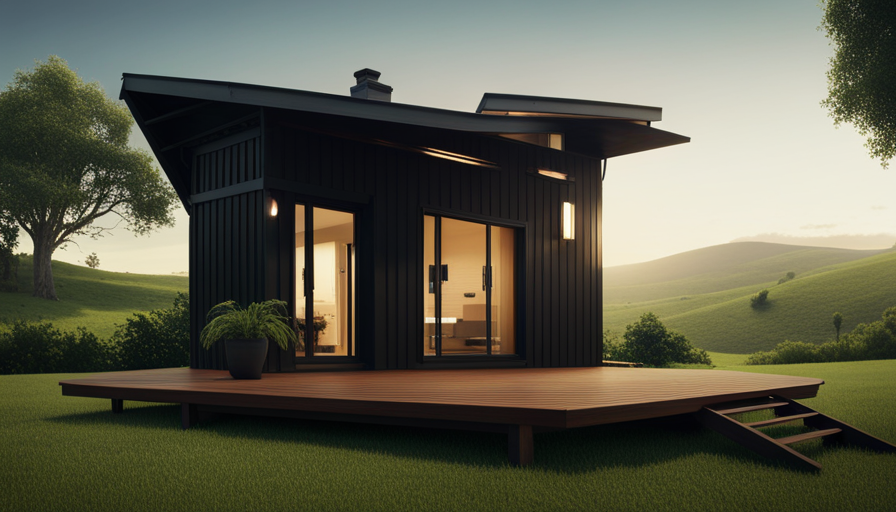
Final Touches and Decoration
To create a cozy and personalized atmosphere, you can add the final touches and decorations, making your tiny house feel like a warm and inviting home. Final touches are essential in completing the overall look and feel of your tiny house.
One important aspect to consider is the color scheme. Choosing the right color palette can greatly impact the ambiance of your space.
When it comes to final touches, it’s important to pay attention to the small details. Adding accessories such as throw pillows, curtains, and rugs can instantly transform your space. These elements not only add visual interest but also contribute to the comfort and coziness of your tiny house.
Another way to add final touches is by incorporating artwork and personal mementos. Hang up your favorite paintings or photographs to add a touch of personality and sentimental value to your space. You can also display small trinkets or souvenirs that hold special meaning to you.
In terms of color scheme, choose colors that complement each other and create a cohesive look. Consider using neutral tones as a base and then add pops of color through accent pieces. This will help create a visually pleasing and harmonious environment.
The final touches and decorations play a crucial role in making your tiny house feel like a home. By carefully selecting a color scheme and incorporating personal touches, you can create a cozy and inviting atmosphere that reflects your unique style and personality.
Frequently Asked Questions
What are some common design mistakes to avoid when planning a tiny house frame?
When planning a tiny house frame, it’s important to avoid common design mistakes to ensure an efficient layout.
One common mistake is not considering the weight distribution and structural integrity, which can lead to stability issues.
Another mistake is not optimizing the use of space, resulting in cramped and inefficient living areas.
Additionally, failing to plan for proper insulation and ventilation can lead to temperature control problems.
By avoiding these mistakes, you can create a well-designed and functional tiny house frame.
How much does it typically cost to gather materials and tools for building a tiny house frame?
When considering the cost of gathering materials and tools for building a tiny house frame, there are several factors to consider. Cost considerations include the type and quality of materials, as well as the necessary tools for construction.
The cost can vary depending on personal preferences and the size of the project. It’s essential to create a detailed budget and research the best prices for materials and tools to ensure an efficient and cost-effective build.
What are some alternative foundation options for a tiny house frame?
When considering alternative foundation options for a tiny house frame, there are several options to choose from.
One option is a concrete slab foundation, which provides a stable and durable base.
Another option is a pier and beam foundation, which allows for easy leveling and adjustment.
Additionally, a skid foundation, consisting of large beams or logs, provides mobility.
Each foundation type has its own pros and cons, so it’s important to carefully consider factors such as cost, durability, and mobility before making a decision.
How long does it take to build the walls of a tiny house frame?
To build the walls of a tiny house frame, it typically takes several steps. First, gather the common materials used, such as wooden studs, plywood, and nails.
Begin by measuring and cutting the studs to the desired length and attaching them together to form the wall frames.
Next, add insulation between the studs to properly insulate the walls.
Finally, attach the plywood sheathing to complete the walls.
This process ensures a sturdy and well-insulated tiny house frame.
What are some tips for selecting the right windows and doors for a tiny house frame?
When selecting windows and doors for a tiny house frame, it’s important to prioritize energy efficiency. Look for windows with low U-values and high R-values to minimize heat transfer. Consider double or triple glazing for improved insulation.
For doors, opt for ones with good weatherstripping and a solid core for better insulation.
To maximize natural light, choose windows that are larger and strategically placed to allow for ample sunlight. Consider skylights or glass doors to further enhance natural lighting.
Conclusion
In conclusion, building a tiny house frame requires careful planning, precise execution, and attention to detail. The process involves various stages, from the initial planning and design phase to the final touches and decoration. By following a systematic approach and utilizing the right tools and materials, one can create a sturdy and functional frame for their tiny house.
So, how long does it take to build a tiny house frame? Well, imagine the satisfaction of completing your dream home in just a matter of weeks.